
Keeping your data backed up is essential. In the event of hardware failure or a virus attack, having a copy of your data ensures your loss is minimal and you’re back on your feet in no time. As a Windows user, what useful tools and features are available to you?
Windows 10 actually includes some useful options in terms of backing up your data. In this guide, we’ll cover everything you need to know to create backups on Windows 10.
Important: This article delves into two key areas: (1) configuring and using the Backup and Restore features in Windows, and (2) data recovery through these features. Importantly, for successful data restoration, Backup and Restore must be set up prior to data loss. If you’re thinking, ‘What if it wasn’t configured beforehand?’ don’t despair! Your fallback could be DIY data recovery software. For its usage, please consult the relevant section.
Does Windows 10 Have a Backup & Recovery Utility?
Windows does come with a handful of useful tools for backing up your data. The sad thing is that most of the time, you need to know where to look in order to make use of them. Non-technical users rarely stray away from what they know, so having backup features hidden behind a collection of menus and windows results in them being easily missed. The two back up features we’ll focus on are Backup and Restore and File History.
In terms of recovery, Windows doesn’t come with any data recovery apps by default. Instead, if you want the official Windows recovery app, you must download it from the Microsoft Store. Windows File Recovery is a tool that allows you to recover your lost or deleted data using a command-line interface. If you find command-line tools intimidating, there’s also a third-party tool called Disk Drill you can use instead. We’ll discuss both in more detail later in the article.
Built-in Backup & Recovery Features in Windows 10
Let’s take a look at what Windows 10 backup options are available to you so you can prepare how you want to back up your data.
Backup & Restore (Windows 7)
Backup and Restore was the primary backup feature of Windows Vista and Windows 7. However, when Microsoft noticed that users weren’t backing up their data, they intended to make it easier by replacing it with File History.
While File History may be its successor, Backup and Restore remains a part of Windows because it’s reliable and still used by many to this day to backup Windows 10 computers. You can pick and choose what files and folders you want to backup, as well as when you want the backup to run.
How to Set up Windows 10 Backup and Restore
Let’s take a look at how you configure a scheduled backup using Backup and Restore on Windows 10:
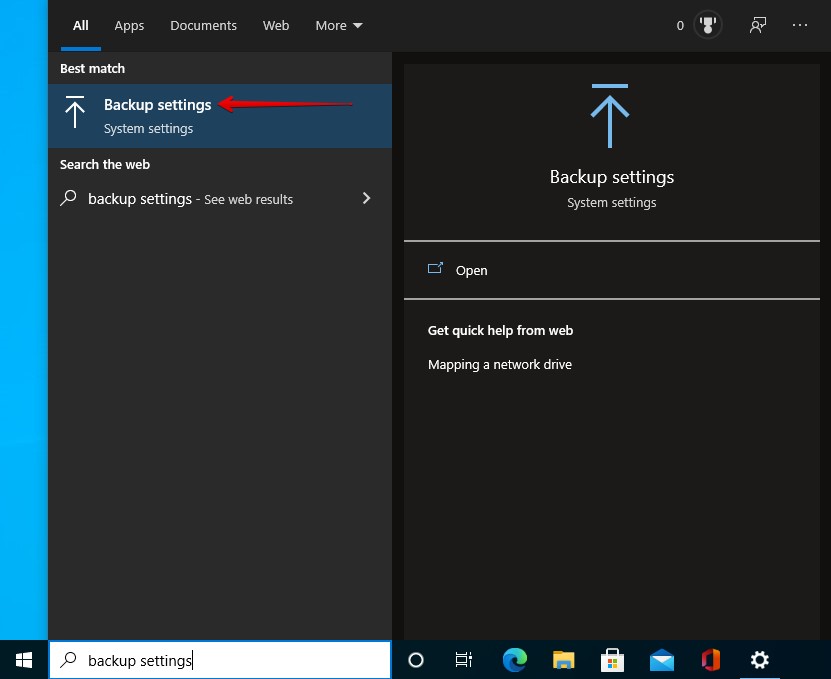
- Press Windows Key + S and type Backup settings. Open the first result.
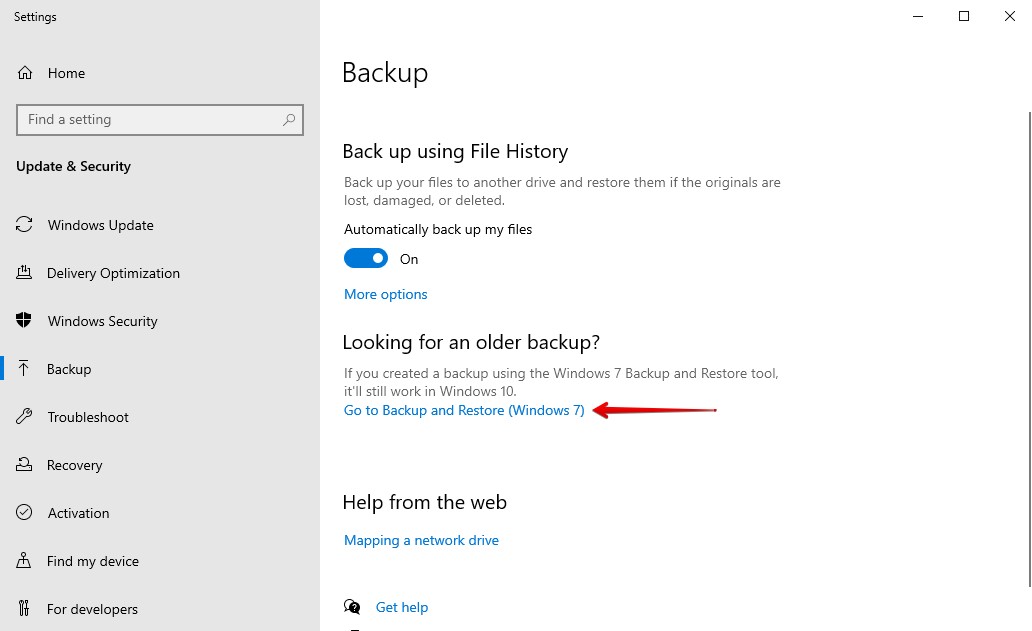
- Click Go to Backup and Restore (Windows 7).
- Click Set up backup.

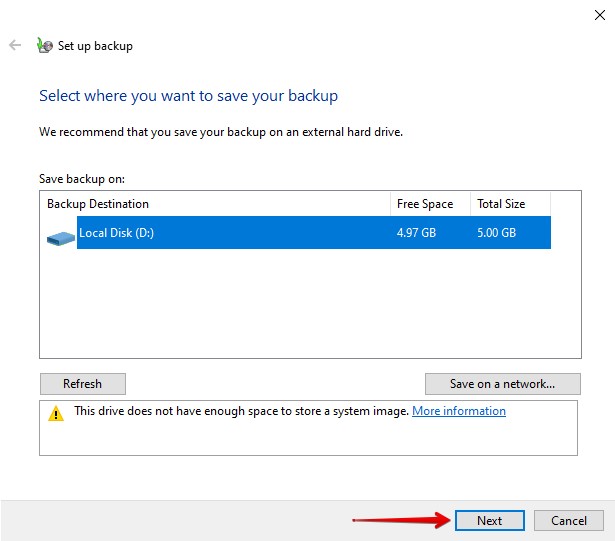
- Select the drive you want to keep the backup on. Click Next.
- Select Let me choose and click Next.

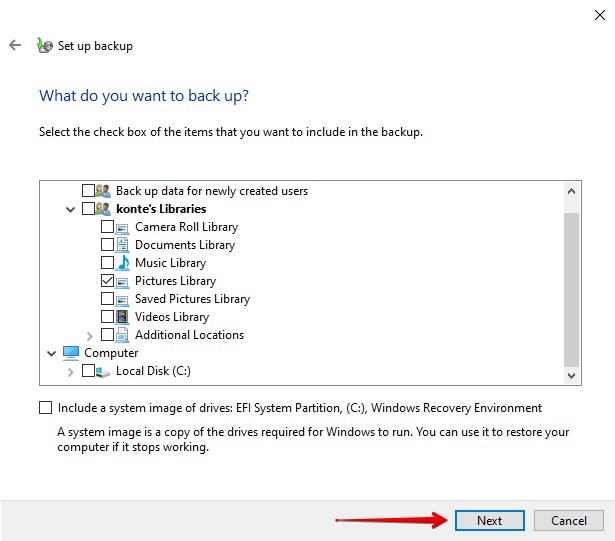
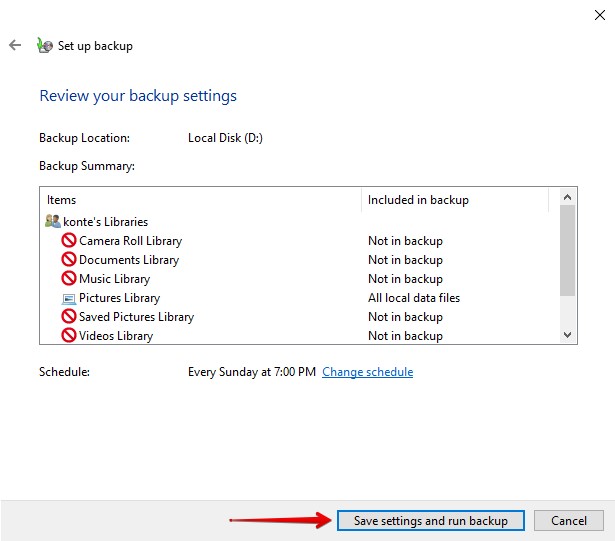
- Choose what data you want to back up by ticking the checkbox next to each list item. If you want to keep a system image backup of your system files, keep the bottom checkbox ticked. Click Next.
- By default, the backup will run every Sunday at 7pm. If you want to change this, click Change schedule. Otherwise, click Save settings and run backup.
How to Restore Files From Backup and Restore in Windows 10
Follow these instructions to restore a backup in Windows 10 from Backup and Restore:
- Press Windows Key + S and type Backup settings. Open the first result.
- Click Go to Backup and Restore (Windows 7).
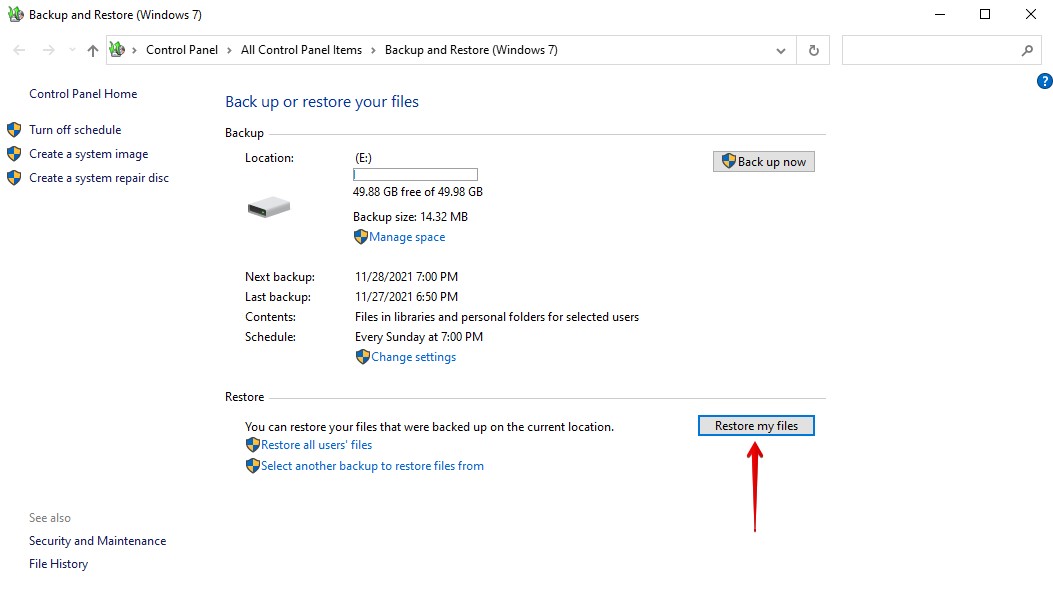
- Click Restore my files.
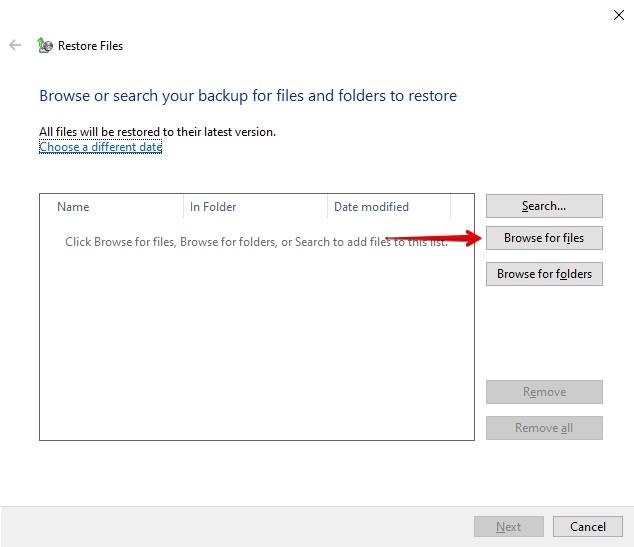
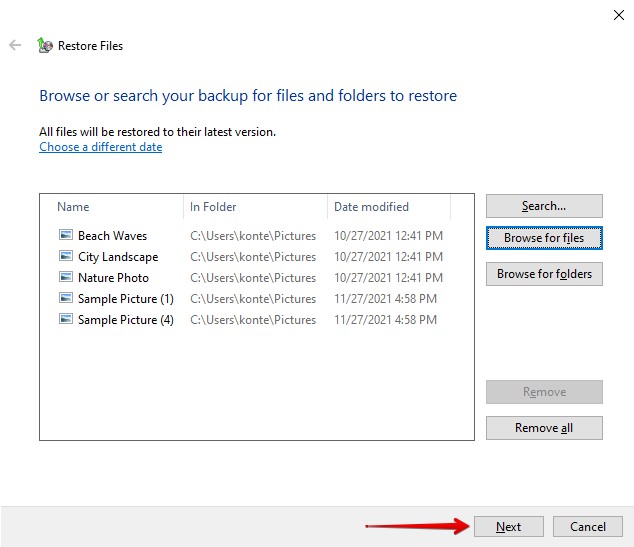
- Click Browse for files. Select the files you want to restore.
- Click Next.
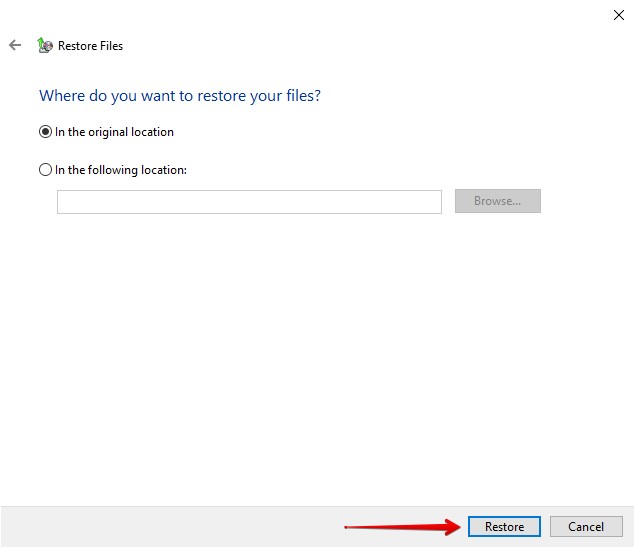
- Choose the location where you want to restore your files. By default, it will be to the original location. Click Restore.
File History
File History was released with Windows 8 and was intended as a replacement for Backup and Restore. It is still regarded as the preferred method to create backup files on Windows 10. It allows you to select what files or folders you want to keep safe and takes regular snapshots of the file. This method has additional benefits, as it allows you to restore a different version of the file rather than a single version. Sadly, you are unable to create system images like you could with Backup and Restore.
How to Set up File History on Windows 10
Use the below instructions to back up data on Windows 10:
- Press Windows Key + S and type Backup settings. Open the first result.
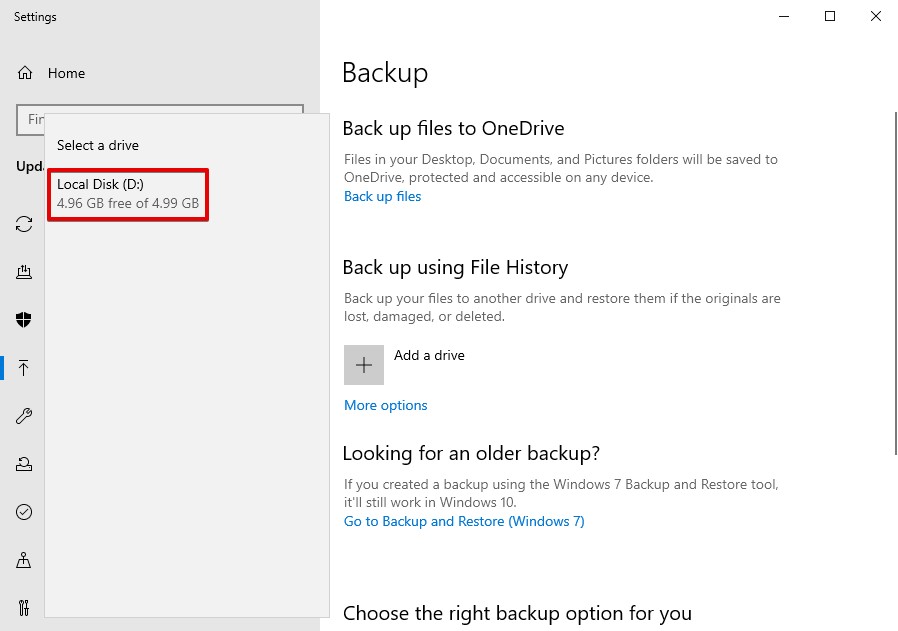
- Click Add a drive.

- Select the drive where you want to store the backups.
- Click More options to configure the backup.
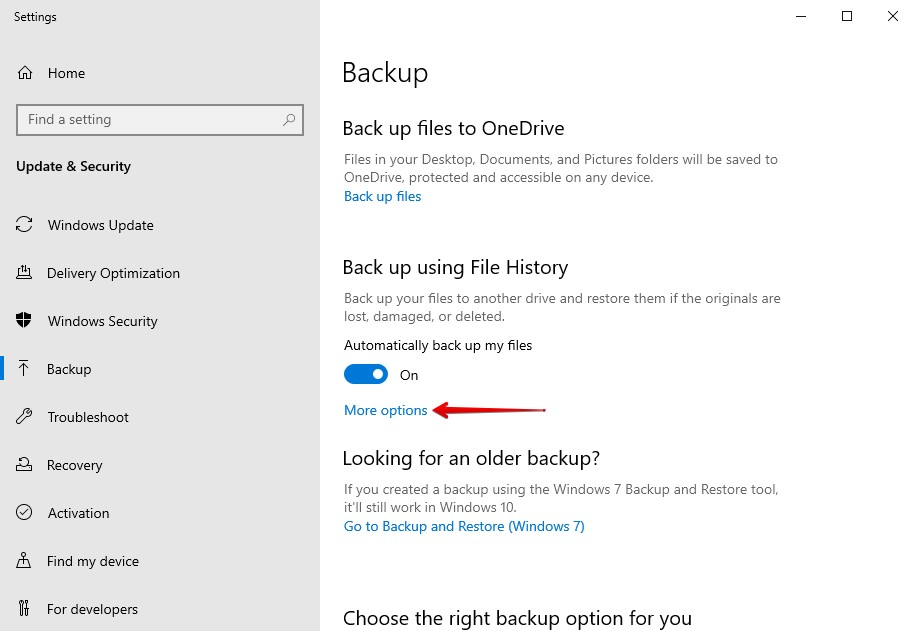
- Set how often you want the backup to run, as well as how long you want to retain backups for. By default, the backup will run every hour and keep all backups forever.

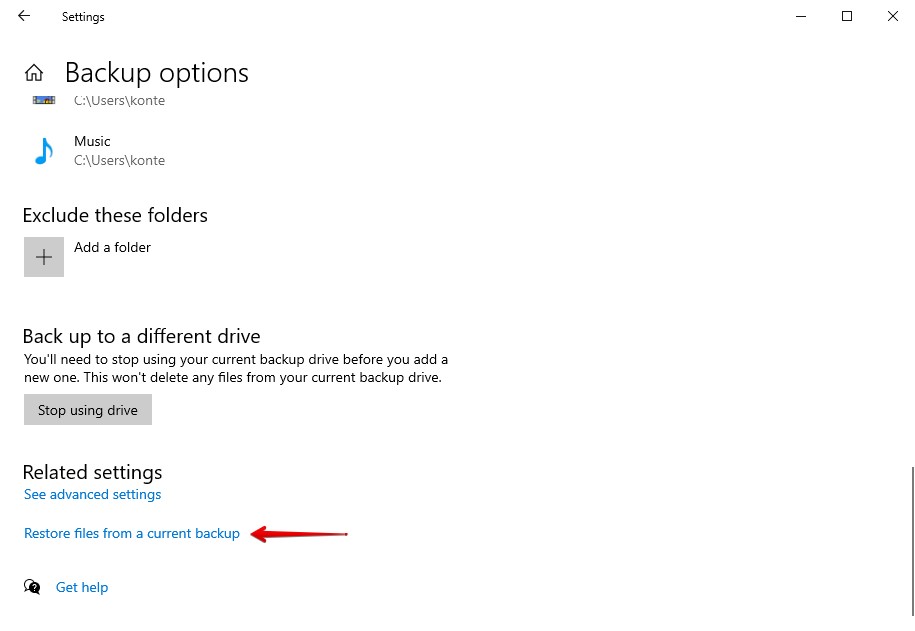
- In the Back up these folders section, you can choose what folders to keep a copy of. By default, it’s set to keep a backup of all folders contained in major directories (Desktop, Downloads, Pictures, Music etc.) To add a folder, click Add a folder.

How to Restore Files From File History in Windows 10
To restore files from File History, follow these steps:
- Press Windows Key + S and type Backup settings. Open the first result.
- Click More options.
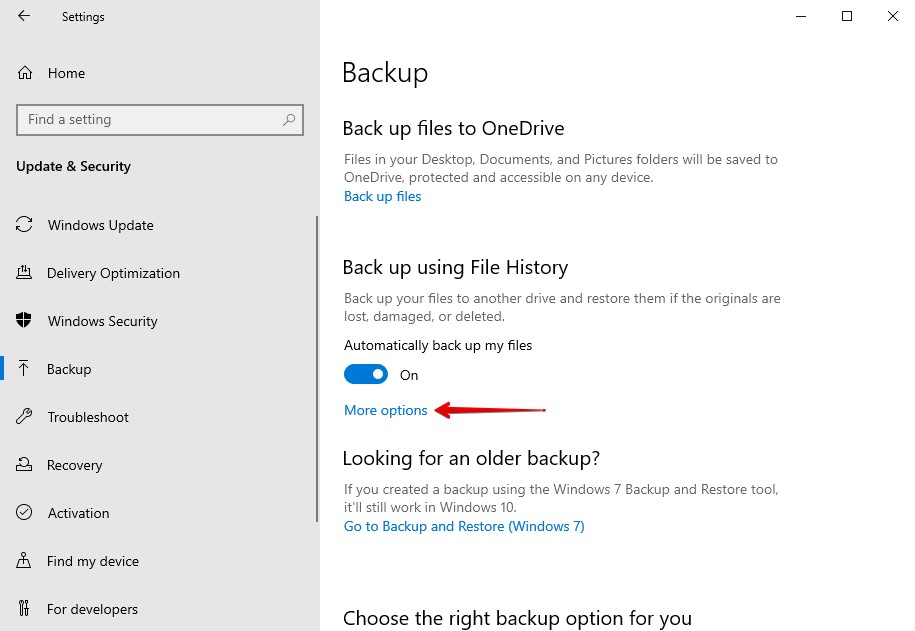
- Click Restore files from a current backup.
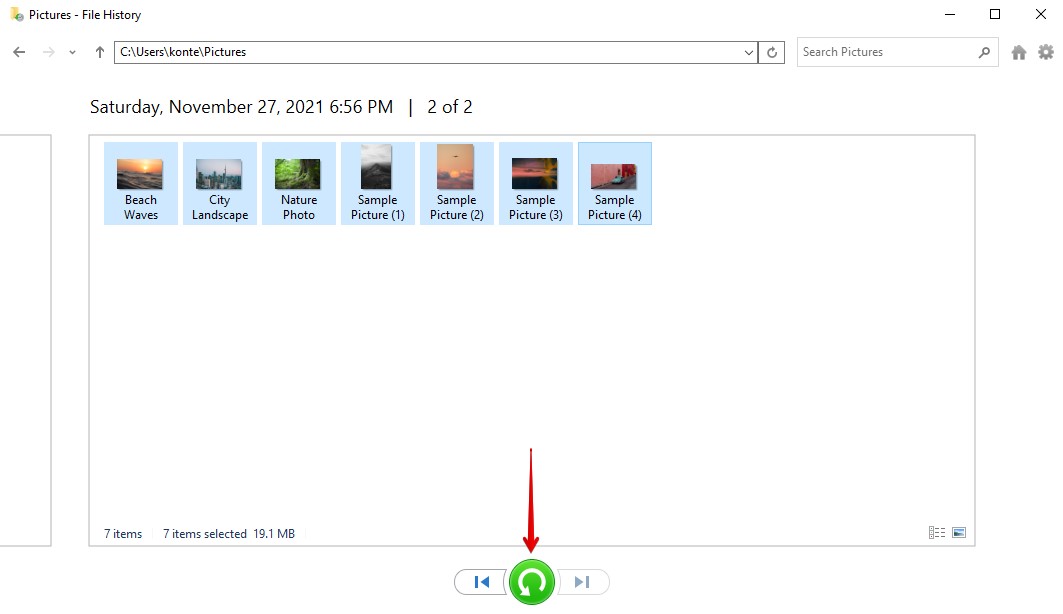
- Select the files you want to restore and click the green Restore button.
System Image Backups
A system image backup is regarded as a full backup of your computer. In addition to your personal files, it retains a copy of your system files, settings, apps, and configuration settings. This type of backup is often associated with a larger file size considering how much information is being saved.
The drawback of a system image is that you cannot choose individual items to restore like the previous methods. Instead, you must use it when Windows doesn’t allow you to boot, as it will restore all the necessary files for you to open and access Windows.
To create a system image backup, we’ll make use of Backup and Restore, as it has a built-in feature that allows you to create a system image. Follow these steps to do so:
How to Create a System Image Backup in Windows 10
To create a system image backup, follow these instructions:
- Press Windows Key + S and type Backup settings. Open the first result.
- Click Go to Backup and Restore (Windows 7).
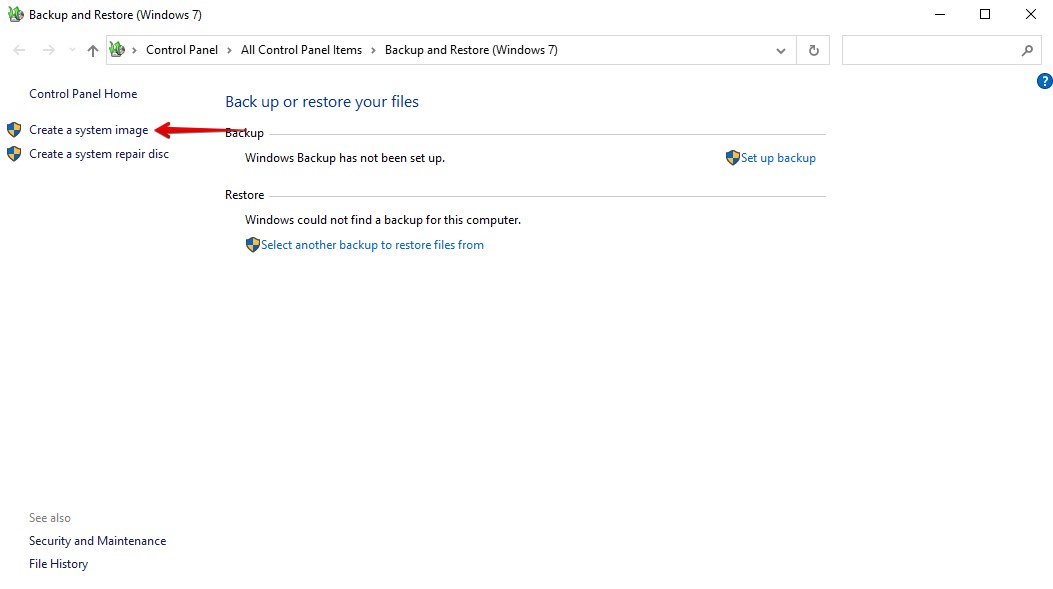
- Click Create a system image.
- Select where you want to save the system image backup. Click Next.
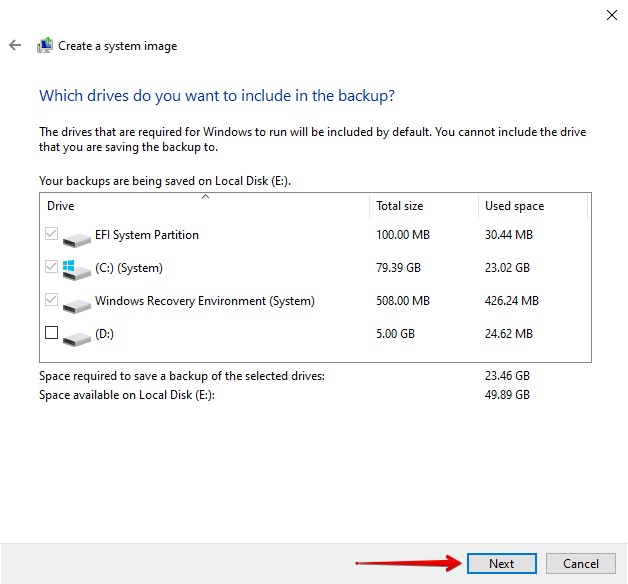
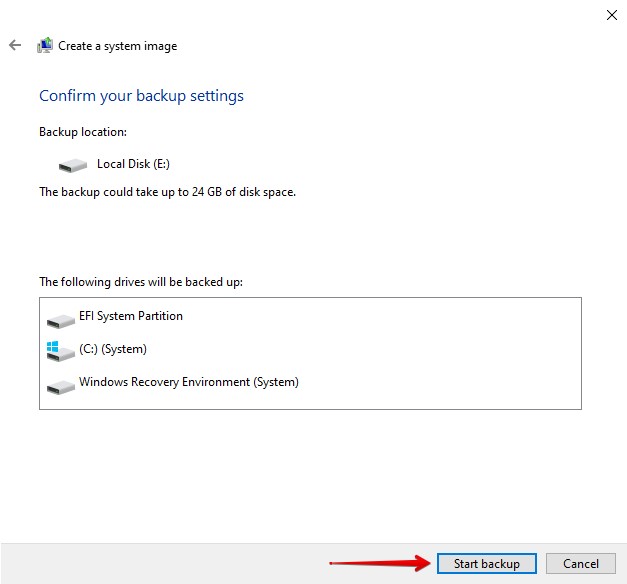
- Select what drives you want to back up. It will automatically select the EFI System Partition, the C: drive, and the Windows Recovery Environment. Click Next.
- Click Start backup to start the creation of the backup.
How to Restore Using a System Image Backup
In the event that you need to use a system image backup to access your computer, you will need a bootable version of Windows (bootable USB or DVD). Follow these instructions:
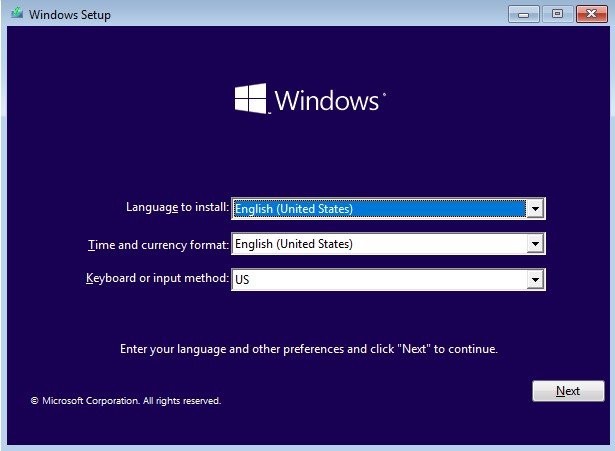
- Boot into the Windows pre-install environment. Click Next.
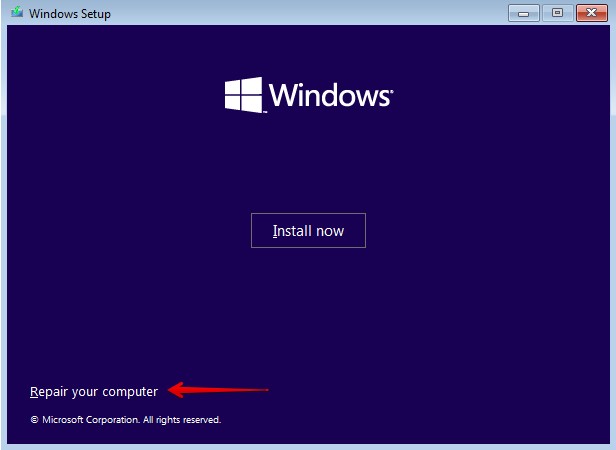
- Click Repair your computer.
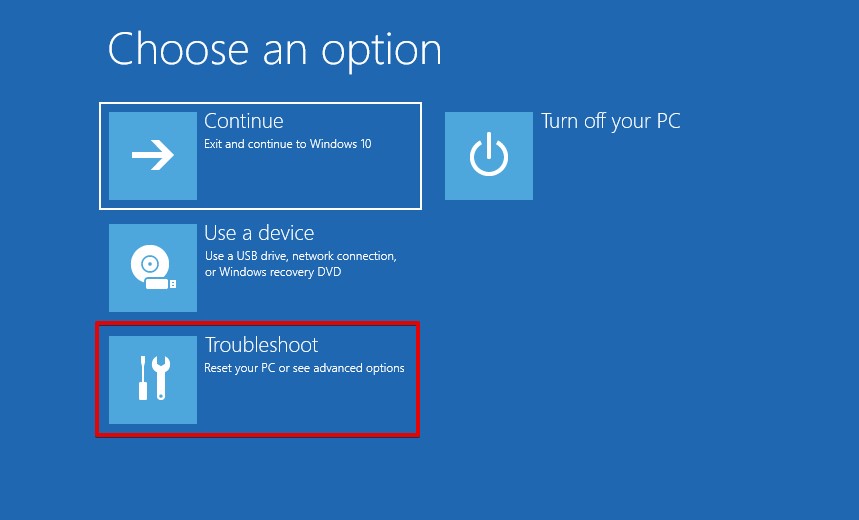
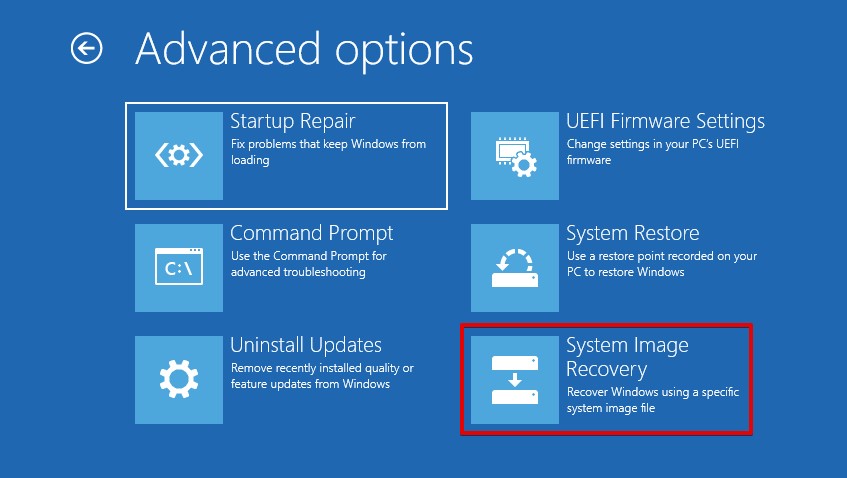
- Click Troubleshoot.
- Click System Image Recovery.
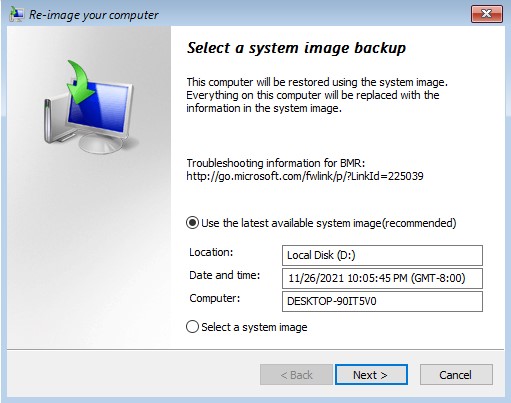
- Either select your system image manually or just click Next.
- Choose whether you want to format and repartition your drive. Click Next.

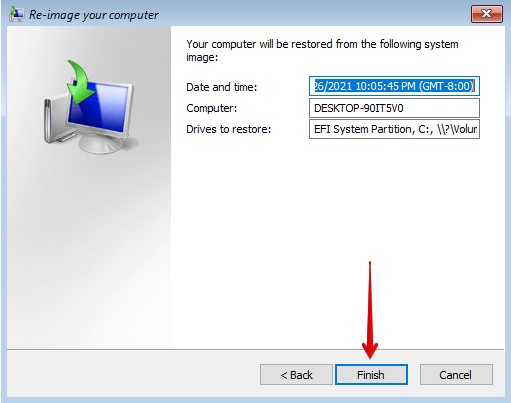
- Click Finish.
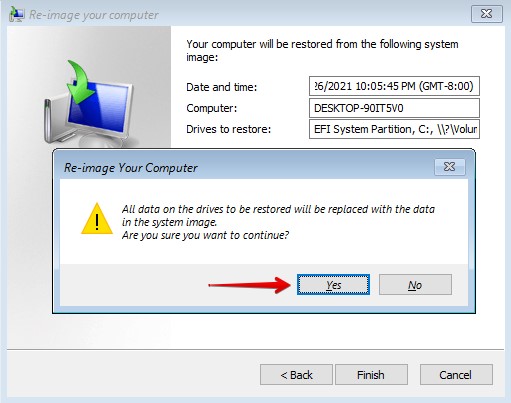
- Click Yes to confirm you’re prepared to replace the existing data with the system image.
Recycle Bin
The Recycle Bin can be a lifesaver in times where you’ve deleted a file before getting a chance to back it up. It can be found on your Desktop. When a file is deleted, it will go to the Recycle Bin first instead of being permanently deleted immediately. The only time this won’t happen is if the file or folder is too large, or the file is deleted using Shift + Delete.
Recovering data from the Recycle Bin is super quick and easy. Follow the below instructions to recover files or folders from the Recycle Bin:
- On your Desktop, open the Recycle Bin.
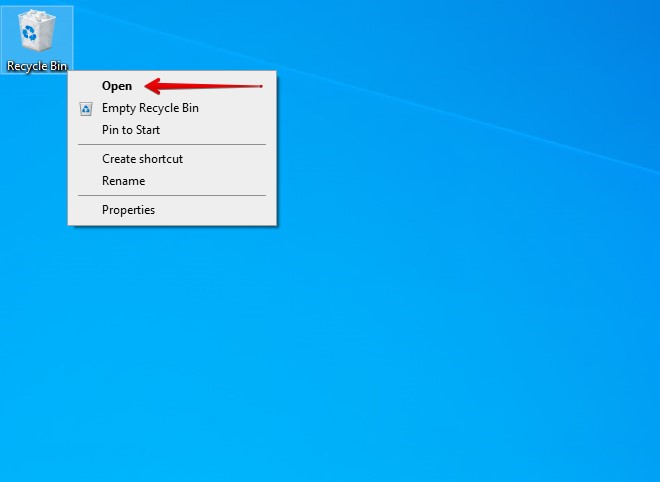
- Select the items you want to restore. To select multiple files, hold CTRL and left-click each file. When ready, click Restore the selected items.
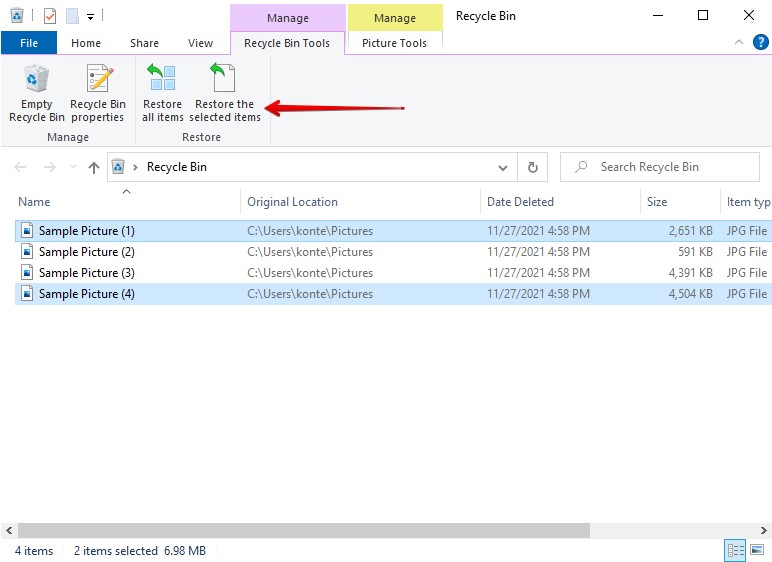
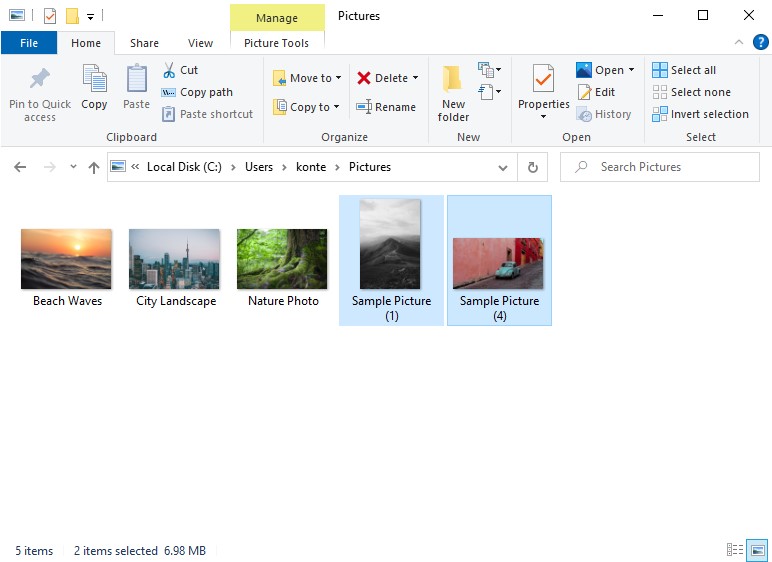
- The files will be restored to their original location.
What to Do If I Didn’t Have a Backup Set up in Advance
Data loss can occur before you get a chance to back up your files. Whether it be hardware failure, a power surge, or even just the accidental format of a drive. Don’t worry. Even after your data has been permanently deleted, there’s still a chance you can recover your deleted files in Windows 10 using data recovery software.
Data recovery tools and software work by scanning your drive and recovering any data that they discover. When your data is deleted, it’s not immediately erased from the drive. Instead, the data will physically remain on the drive until it’s overwritten with new data. Until this data is overwritten, you still have a chance of recovering it.
Let’s look at some useful data recovery tools you can use to get your data back.
Using your drive for anything after your data has been deleted may result in it being overwritten. This includes the installation of a data recovery tool. Therefore, try to use a portable version of the recovery tool or make a byte-to-byte image backup of your drive and recover from that.
Option A: Disk Drill
Disk Drill is a recovery tool that has proven its usefulness time and time again. It’s quick, reliable, and even allows you to recover up to 500MB before needing to upgrade to a paid plan. Moreover, it has a simple user interface that makes it accessible even to beginners. Additionally, the tool is designed with safety in mind, making it a secure option to use.
We’ll guide you through what the typical recovery looks like using Disk Drill using the instructions below:
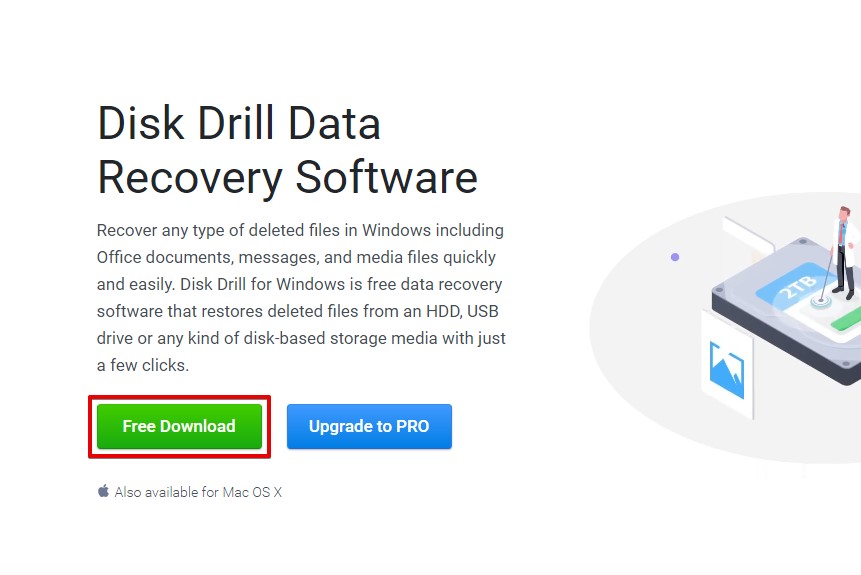
- Download Disk Drill for Windows. Install it then open it.
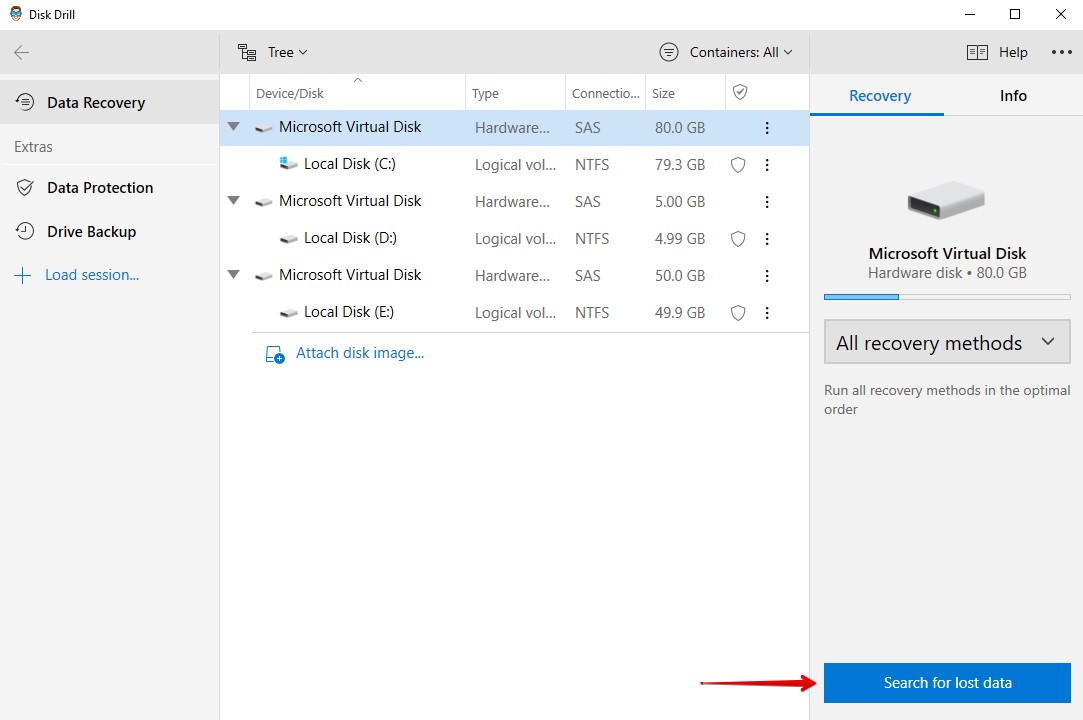
- You’ll be met with a screen listing your drives. Select the drive you want to recover data from, then click Search for lost data.
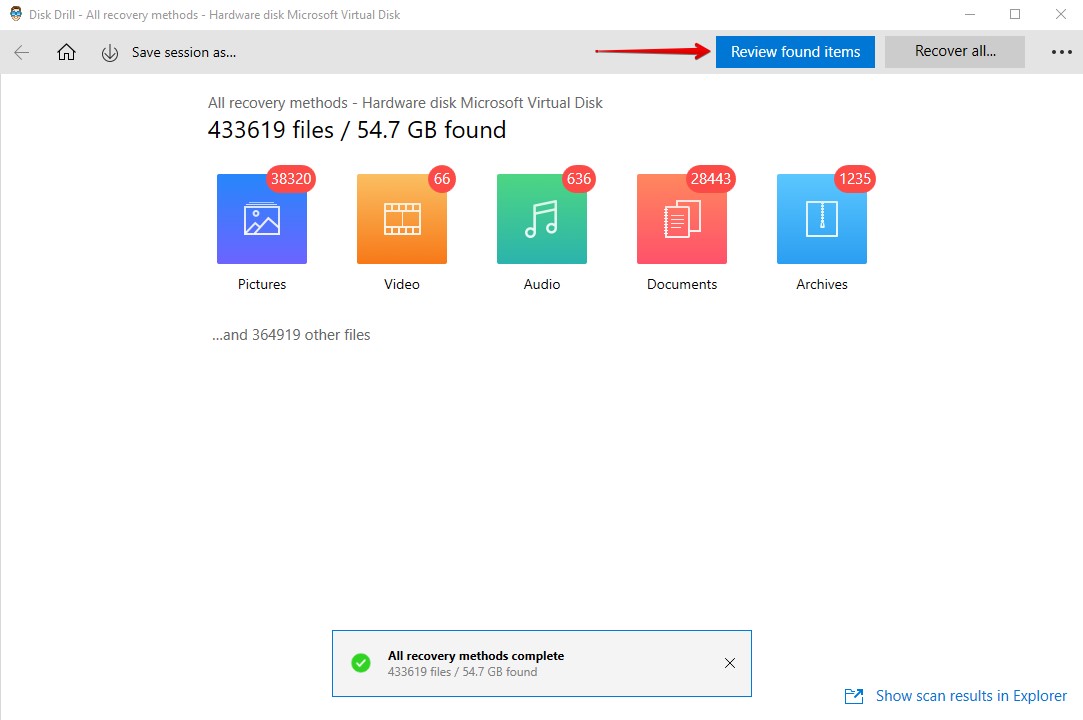
- Once Disk Drill has finished scanning your drive, click Review found items.
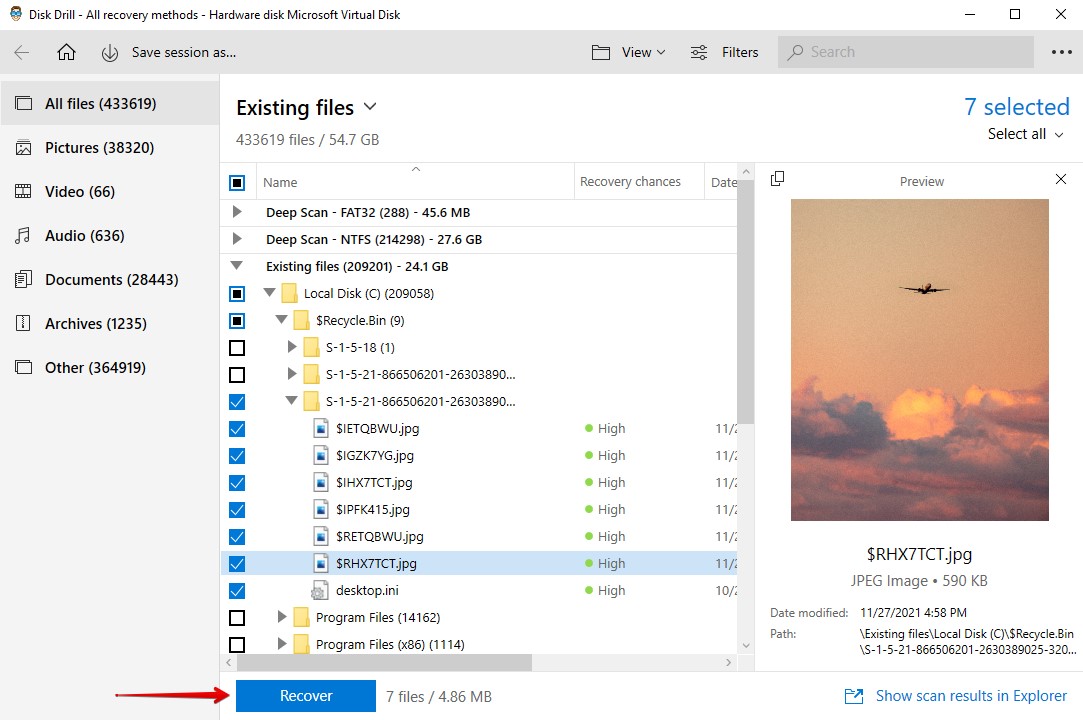
- Select what data you want to recover by clicking the checkbox next to each list item. Use the Recovery chances column for an indication on that file’s recovery chances. If needed, you can also Preview each file to ensure you’re choosing the correct one. When ready, click Recover.
- Select the output folder. It’s good practice to choose a separate physical partition to avoid overwriting your data as you recover it. When ready, click OK.

Now that you’ve seen Disk Drill’s recovery abilities, you may be surprised to find that you can use Disk Drill as a backup solution too. It allows you to create byte-to-byte image backups of your drive. These images can be used to recover data from or serve as a complete backup of all your data on that drive.
To take a byte-to-byte backup of your drive using Disk Drill, follow these steps:
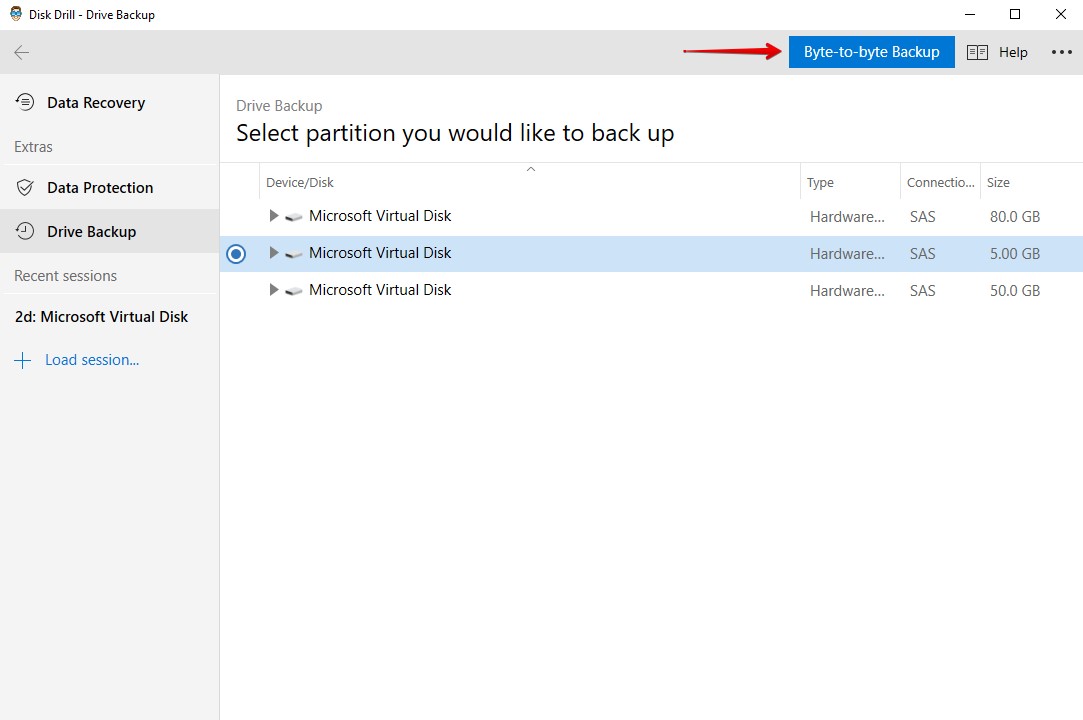
- Click Drive Backup.
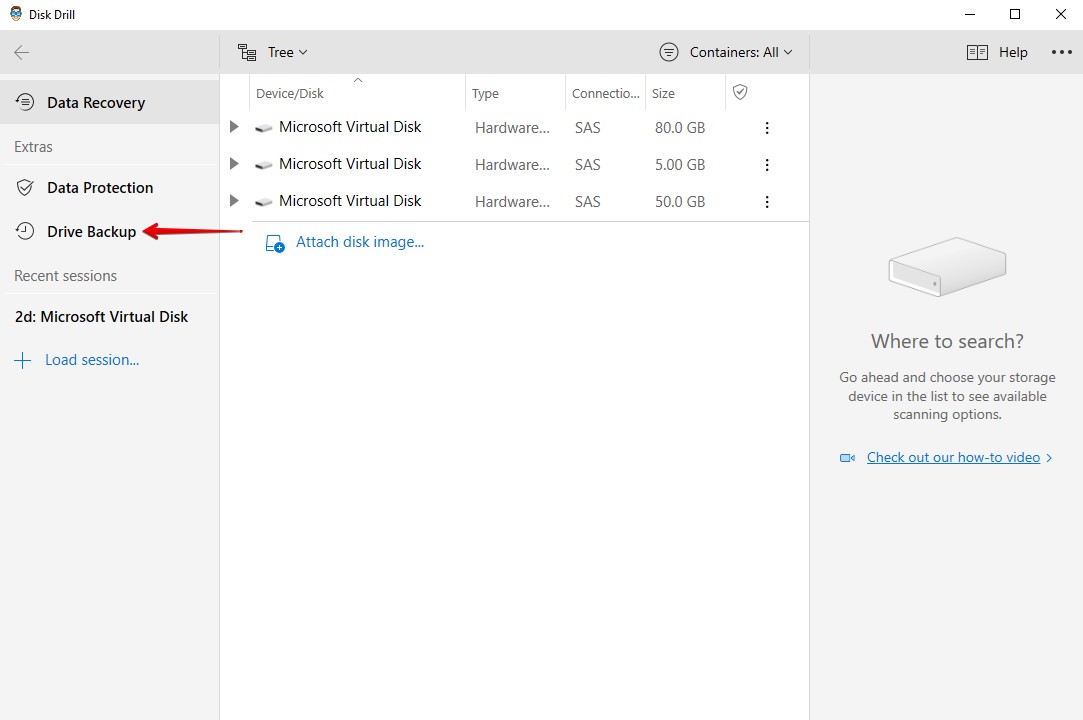
- Select the drive you want to back up. Click Byte-to-byte Backup.
- Choose the output location and press OK when ready.
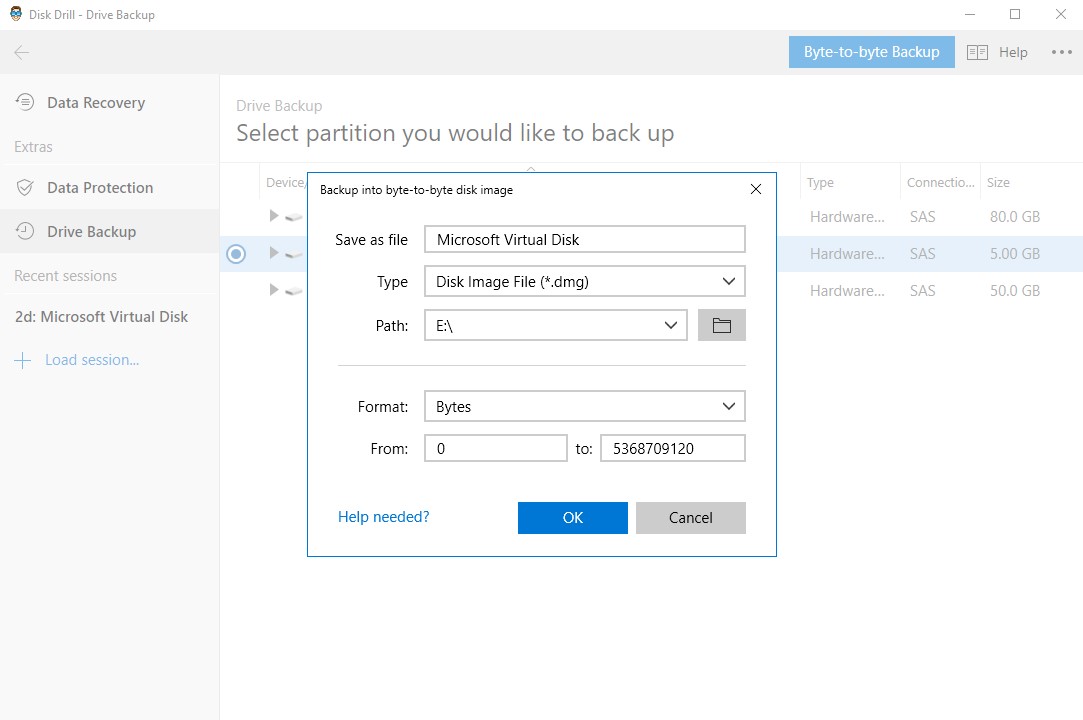
- Click Done to complete the process.

Option B: Windows File Recovery Tool
Windows File Recovery is the official recovery tool from Microsoft. It’s still quite young when compared to other recovery tools on the market, having only launched early 2020 on the Microsoft Store. It’s appealing to many because it’s completely free, only requiring a Microsoft account and a working version of Windows.
It has the ability to recover lost or deleted files from your hard drive or removable storage. It may be lacking some features that Disk Drill has to offer like a streamlined interface and the opportunity to preview your files before recovery, but it has the essential features that are needed to recover the data.
Windows File Recovery requires a separate physical partition you can recover to. This could be a separate internal drive or a removable drive (USB, SD card etc.)
As Windows File Recovery is a command-line tool, it can be a bit tricky for first-time users. Let’s take a look at the recovery process to give you a look at what it’s like using the tool:
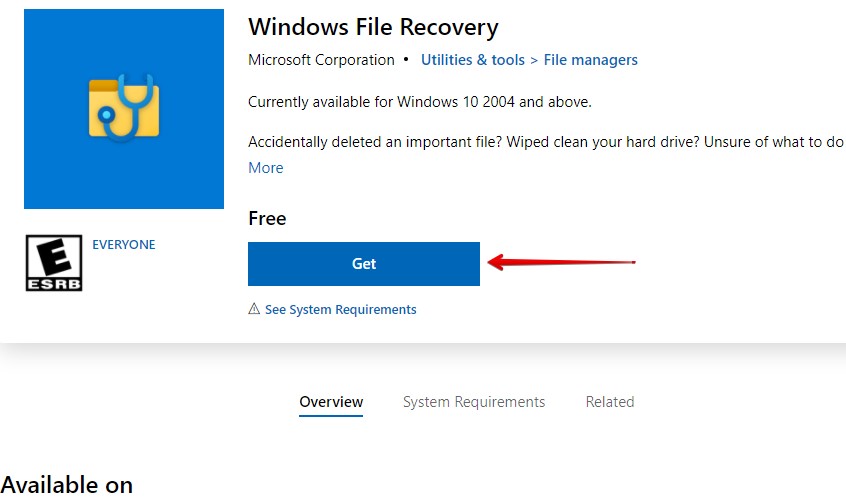
- Download Windows File Recovery from the Microsoft Store.
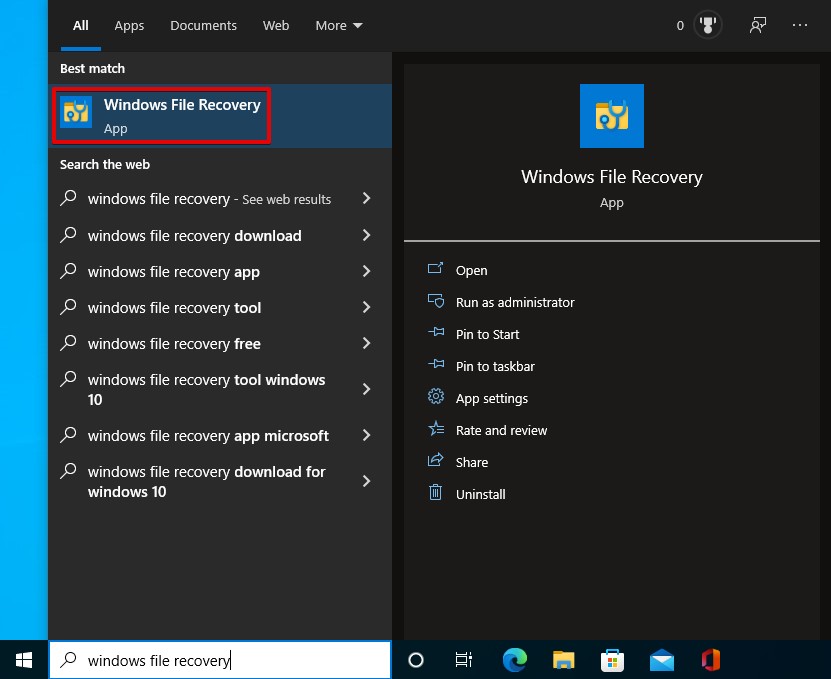
- Press Windows Key + S and search for Windows File Recovery. Open it.
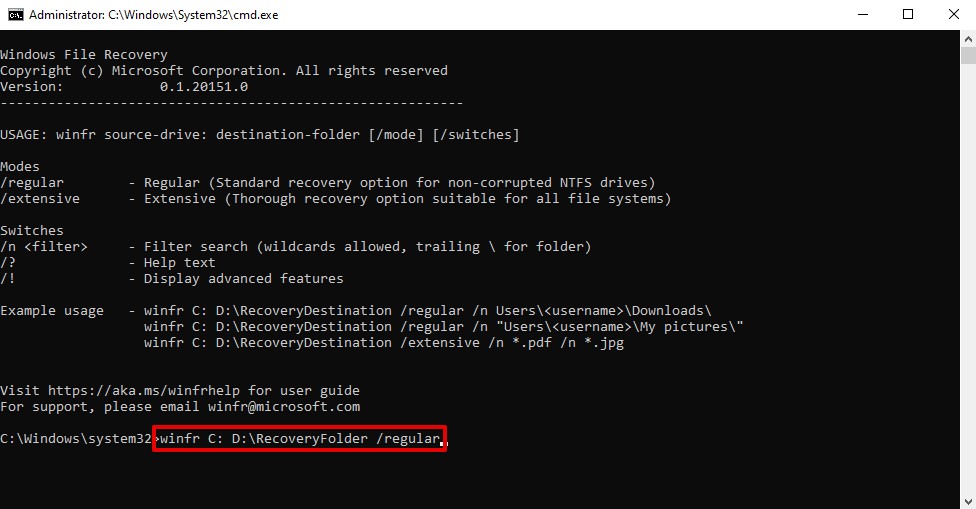
- Type winfr C: D:\RecoveryFolder /regular. Replace C: with the drive letter you’re recovering from. Replace D:\RecoverFolder with the path to your output folder. Press Enter.
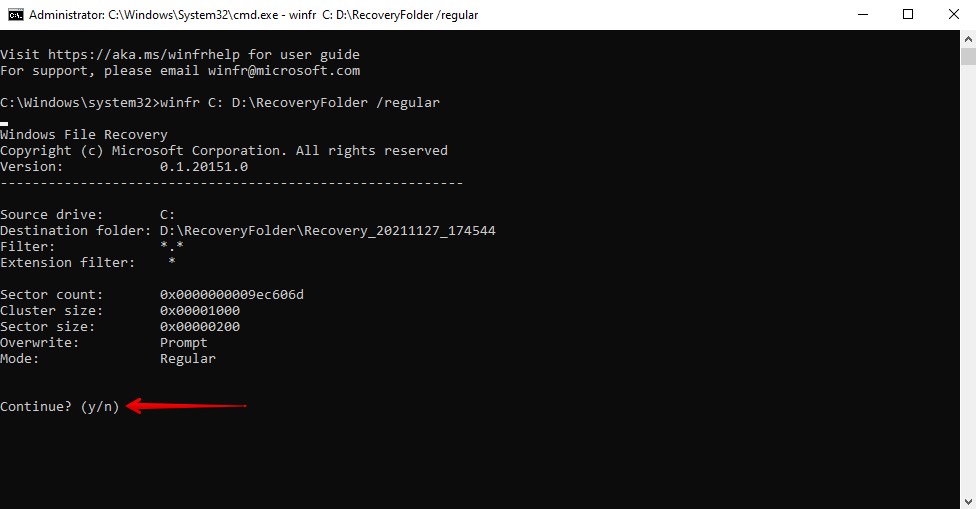
- When asked to continue, press Y.
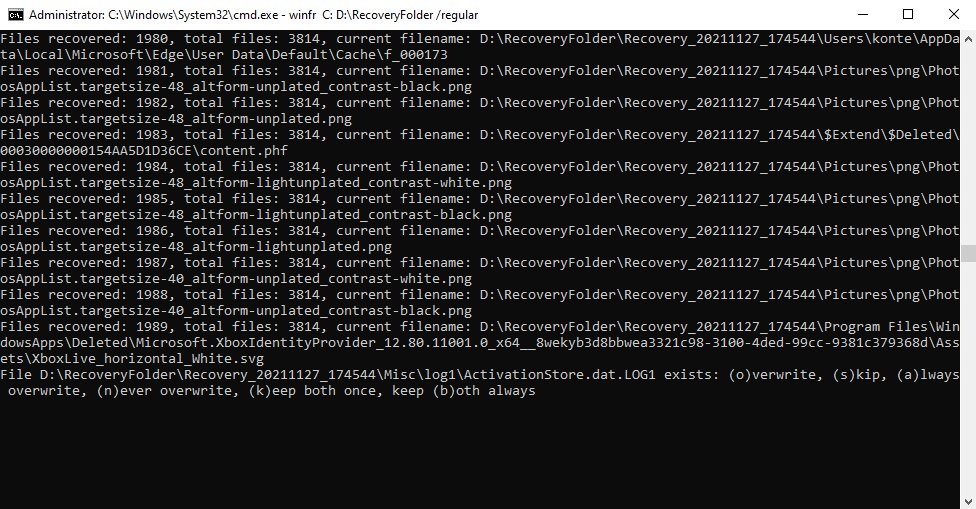
- If at any point there is a conflict (typically a file with the same filename), press O to overwrite, S to skip, A to always overwrite, N to never overwrite, K to keep once, or B to always keep both files.
- When recovery is finished, click Y to view the recovered files or N to exit.
What About Windows 11?
With the release of Windows 11 in October 2021, many were wondering what data recovery will be like on the new version of Windows. Thankfully, data recovery in Windows 11 isn’t too dissimilar to Windows 10.
Backup and Restore and File History both work on Windows 11. Disk Drill and Windows File Recovery have also been tested on Windows 11 and work fine. Many, if not all of the same options you currently use will be available to you, with some even getting a slight facelift thanks to the new user interface.
FAQ
Yes, Backup and Restore is available on Windows 10. Although File History is the now preferred method of backing up your data, Microsoft has decided to keep Backup and Restore for users who are accustomed to it and the fact that it’s still fully functional.
Both File History and Backup and Restore are backup solutions included with Windows.
Backup and Restore, released with Windows Vista and 7, allows you to create scheduled backups of your data. Additionally, you can create system image backups that allow you to boot into Windows in the event your system files are damaged.
File History, released with Windows 8, is a more streamlined and user-friendly backup solution that was released by Microsoft after they identified that users weren’t backing up their data. It takes regular backups and allows you to restore to specific versions of a file. However, it does not allow you to create system image backups.
You can use File History to configure a scheduled backup to your external drive. You can choose when to back up and what you want to back up.
- Press Windows Key + S and type Backup settings. Open the first result.
- Click Add a drive.
- Select your external drive.
- Click More options to configure what files are backed up and when.
Yes, in addition to the files required to boot and run Windows, it will create backup of everything on the drive. It will not back up data from additional drives unless specifically told to.
File History is now the preferred method of backing up your data. It’s included with your copy of Windows 10 and creates scheduled backups of your files in the background. Essentially, once you set it up, you can forget about it until you actually need to use it. Not only will it regularly back up your files, but it will also keep multiple copies of the file to allow you to restore to a previous version.
Conclusion
Windows 10 comes with some useful backup features like Backup and Restore and File History. In terms of recovery, though, you will need to find a solution. Microsoft has their own recovery tool, Windows File Recovery, but it’s only available once you download it from the Microsoft Store. If you want a more comprehensive recovery solution that’s also easier to use, look towards Disk Drill instead.
This article was written by Jordan Jamieson-Mane, a Staff Writer at Handy Recovery. It was also verified for technical accuracy by Andrey Vasilyev, our editorial advisor.
Curious about our content creation process? Take a look at our Editor Guidelines.