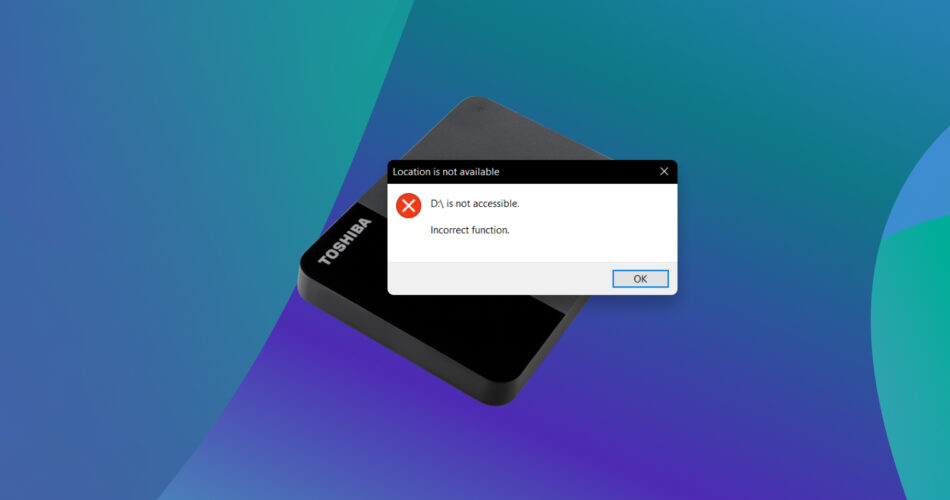
The first time I’ve encountered the “X:\ is not accessible. Incorrect function” error was during the Windows XP era, and it involved a blank CD (remember those?). If you’re reading this article, then I’m willing to bet that you don’t even have a CD/DVD drive in your computer. Instead, the error message was triggered by an external hard drive or SSD, correct? In that case, you’re dealing with a more modern incarnation of this persistent issue, so you need modern solutions, which is exactly what I’m here to give you.
Why Does the “X: Is Not Accessible: Incorrect Function” Error Happen?
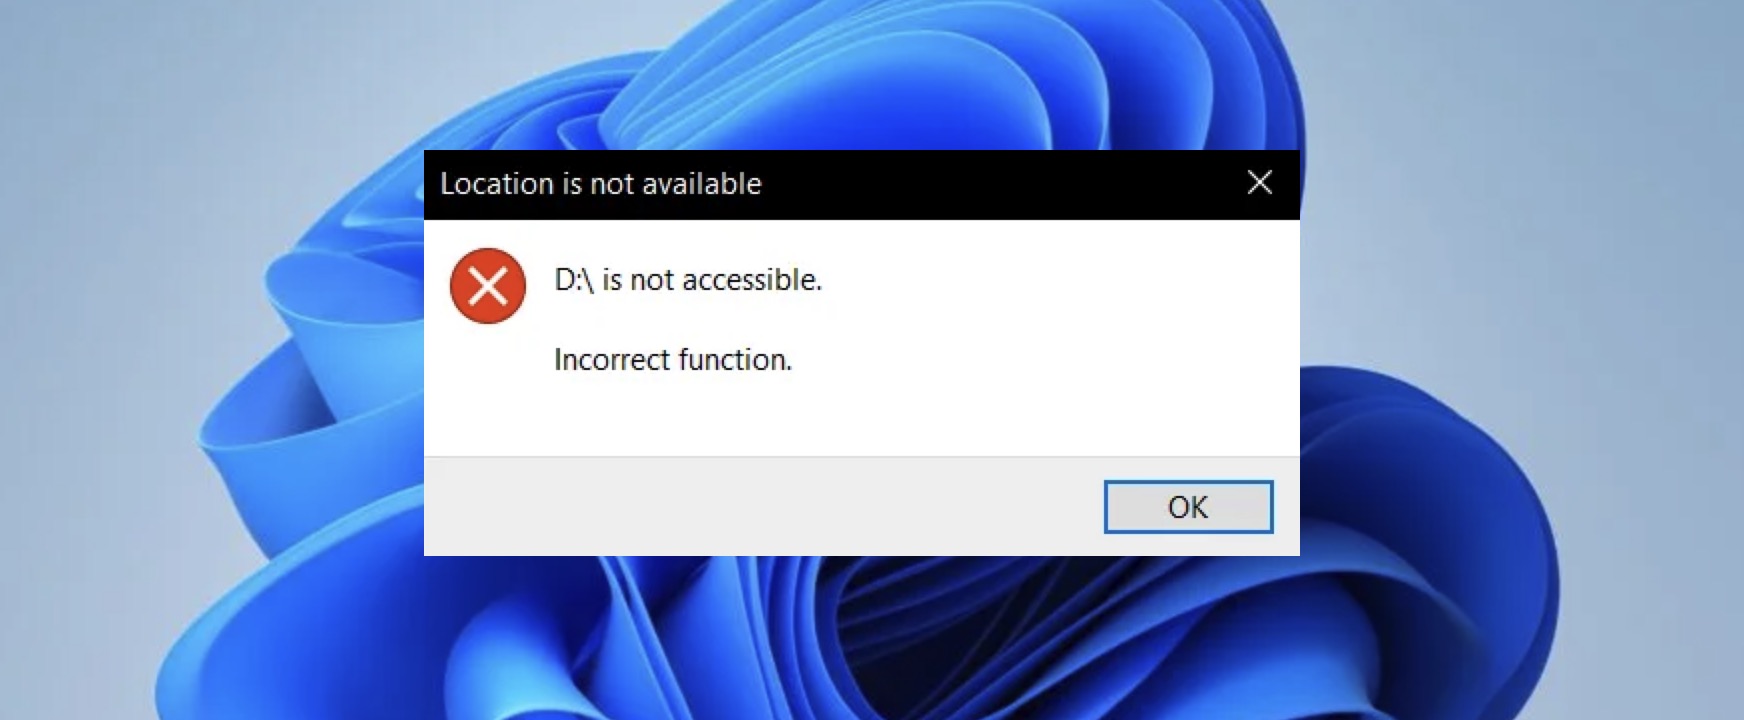
The “X:\ is not accessible. Incorrect function” error has been bothering Windows users for more than a decade now, but why? There are several common problems that can trigger this error when you connect an external hard drive or SSD to your computer, including:
- Improper connection: The cause of our today’s error can be (and often is) something as simple as a loose or faulty USB cable or a malfunctioning USB port.
- Faulty external enclosure: For SSDs and hard drives in external enclosures, the enclosure itself can be the culprit. I’ve encountered (both firsthand and online) many situations where an incompatible or defective enclosure triggered this error.
- Failing drive: It sucks, but hard drives and SSDs don’t last forever. The “X:\ is not accessible. Incorrect function” error can actually be an early sign of a much more serious problem, one that may even lead to the drive failing completely (exactly what happened to this unfortunate TenForums poster).
- Operating system corruption: When your operating system becomes corrupted, it can start behaving in all kinds of unexpected and unwanted ways, and the “X:\ is not accessible. Incorrect function” error is among them.
- Software bugs, conflicts, or configuration issues: Software can sometimes also be the culprit. For instance, I’ve seen cases where disk encryption software like VeraCrypt caused this error due to configuration file issues.
In the next section, I’ll walk you through the most effective solutions you can use to address each of these scenarios.
Tested Methods to Fix “Drive Not Accessible Incorrect Function” Error
Here are five methods I’ve found most effective for fixing the “X:\ is not accessible. Incorrect function” error.
Don’t waste your time: You might come across advice online suggesting methods like running chkdsk, updating drivers, or changing permissions. While these can be useful for other issues, they typically don’t address the root causes of the “drive is not accessible incorrect function” error, so I recommend you don’t waste your time with them.
Method 1: Check Your Connections (Cable and USB Port)
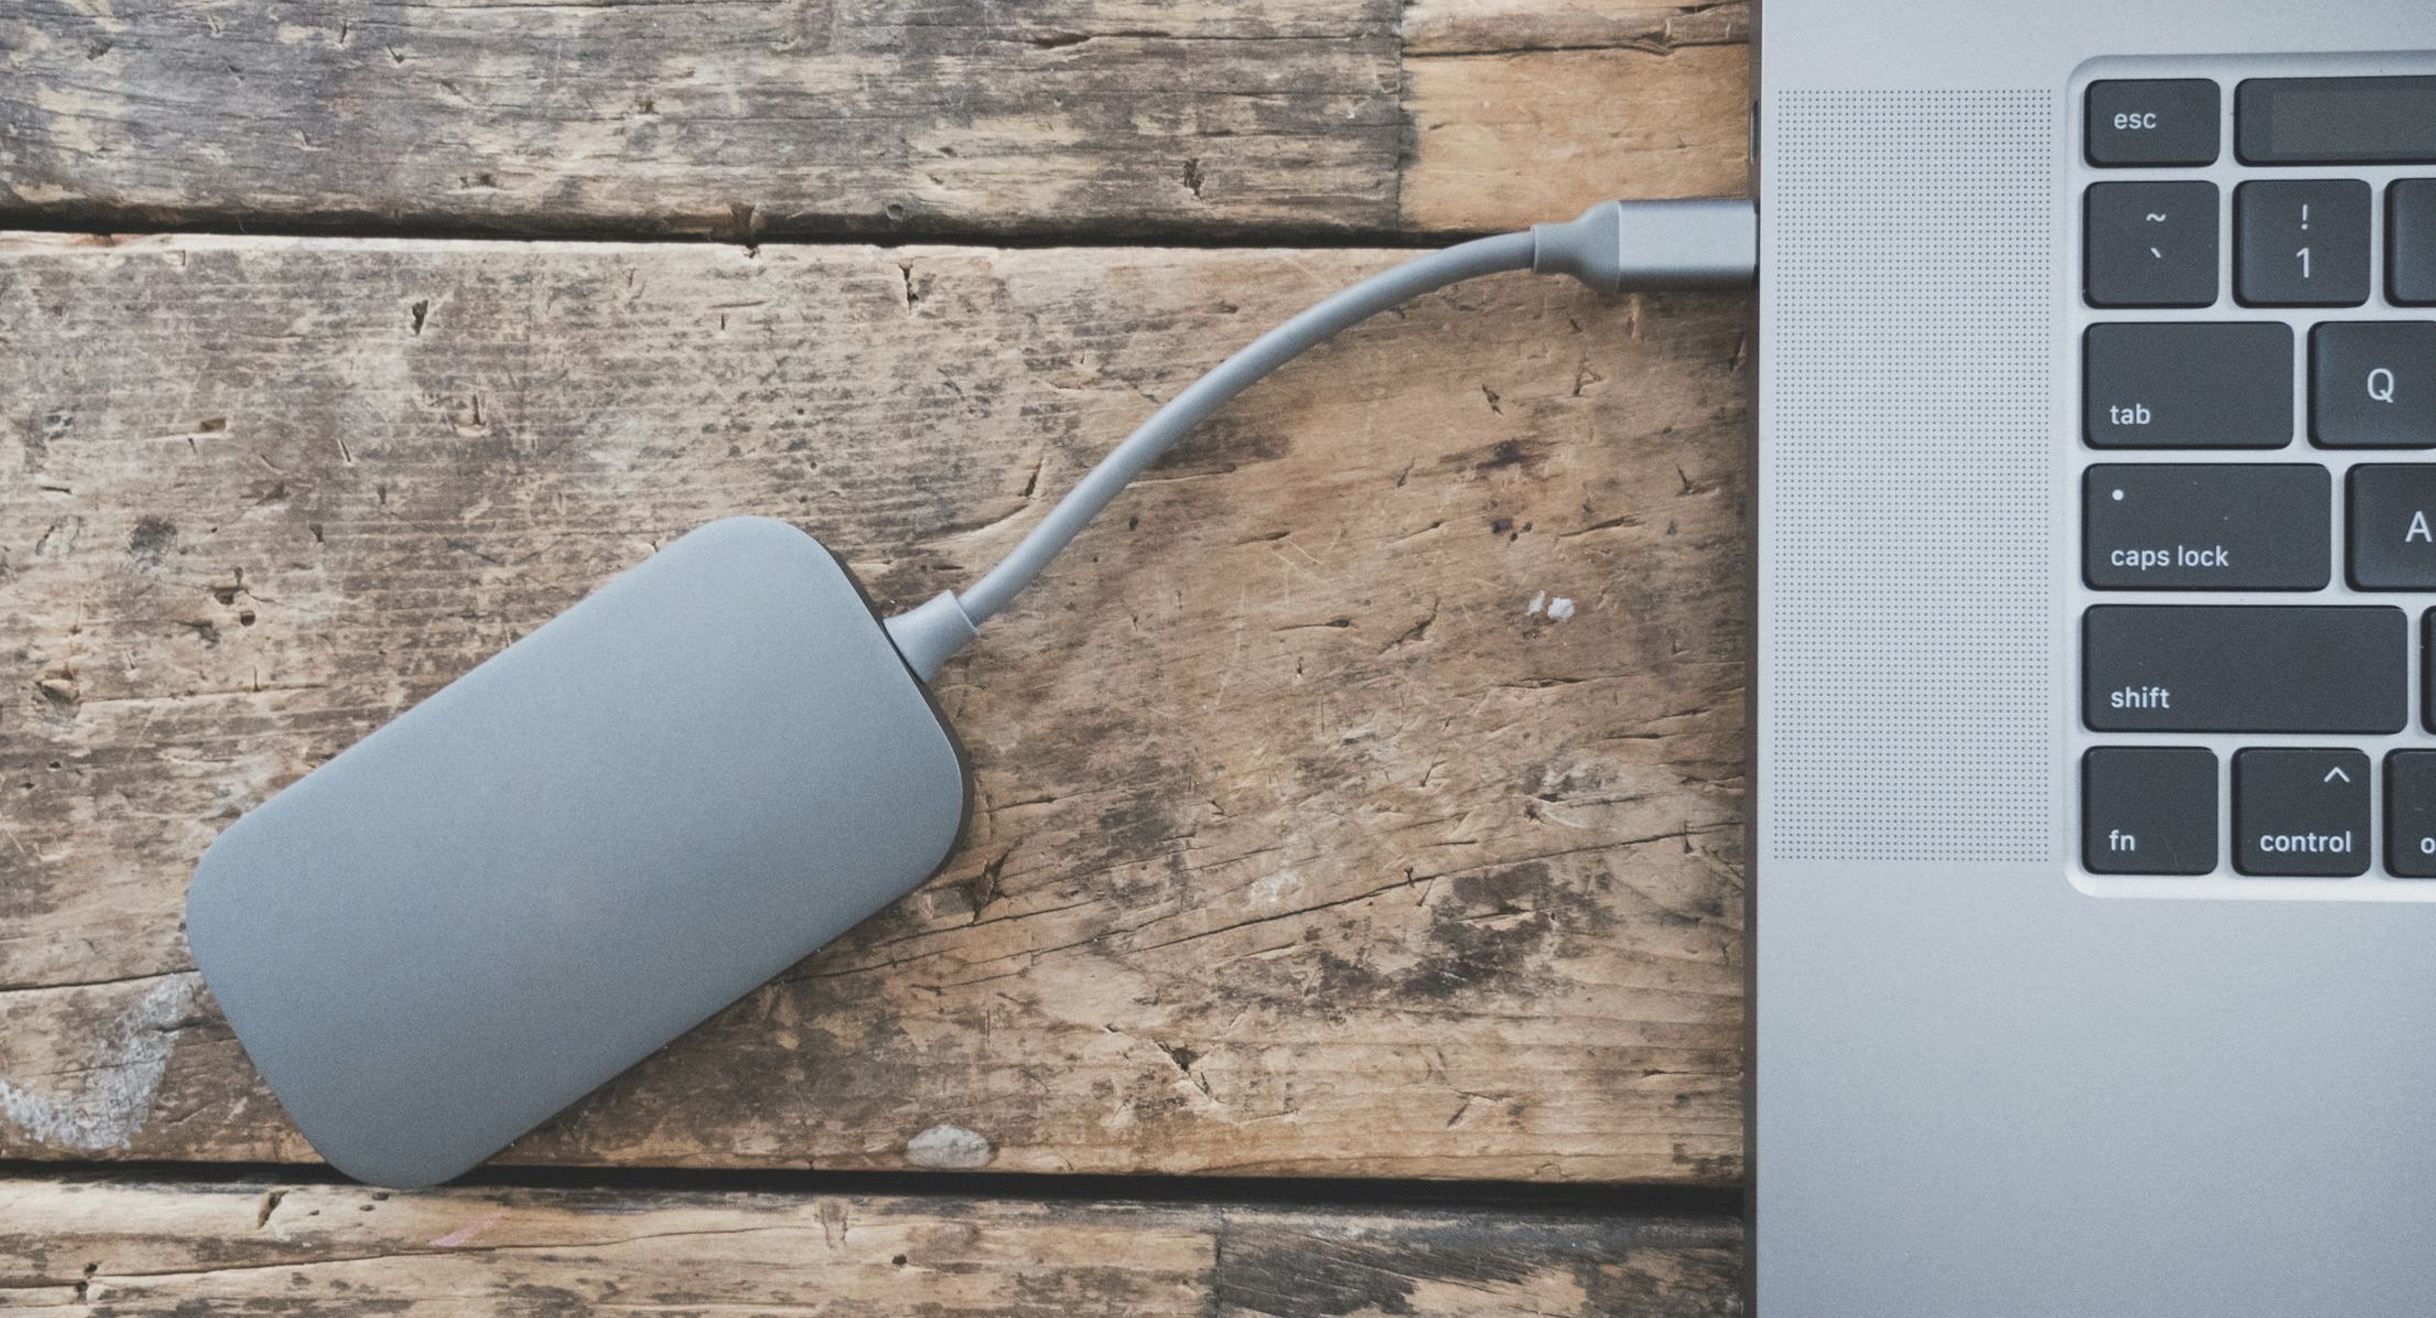
Photo by Jessica Lewis 🦋 thepaintedsquare from Pexels
Many times, the “X:\ is not accessible. Incorrect function” error can be fixed just by making sure all connections are 100% solid. Start by unplugging your external drive’s USB cable and plugging it back in firmly. While you’re at it, check if there’s no visible damage to the cable or the USB port.
If reconnecting doesn’t solve the issue, try using a different USB cable if you have one available. Also, connect your drive to a different USB port on your computer. Still nothing? Then I recommend you connect the drive to someone else’s computer. If the issue continues to persist, you know the problem isn’t the connection and should move on to the second method.
Method 2: Connect the Drive Directly to the Motherboard
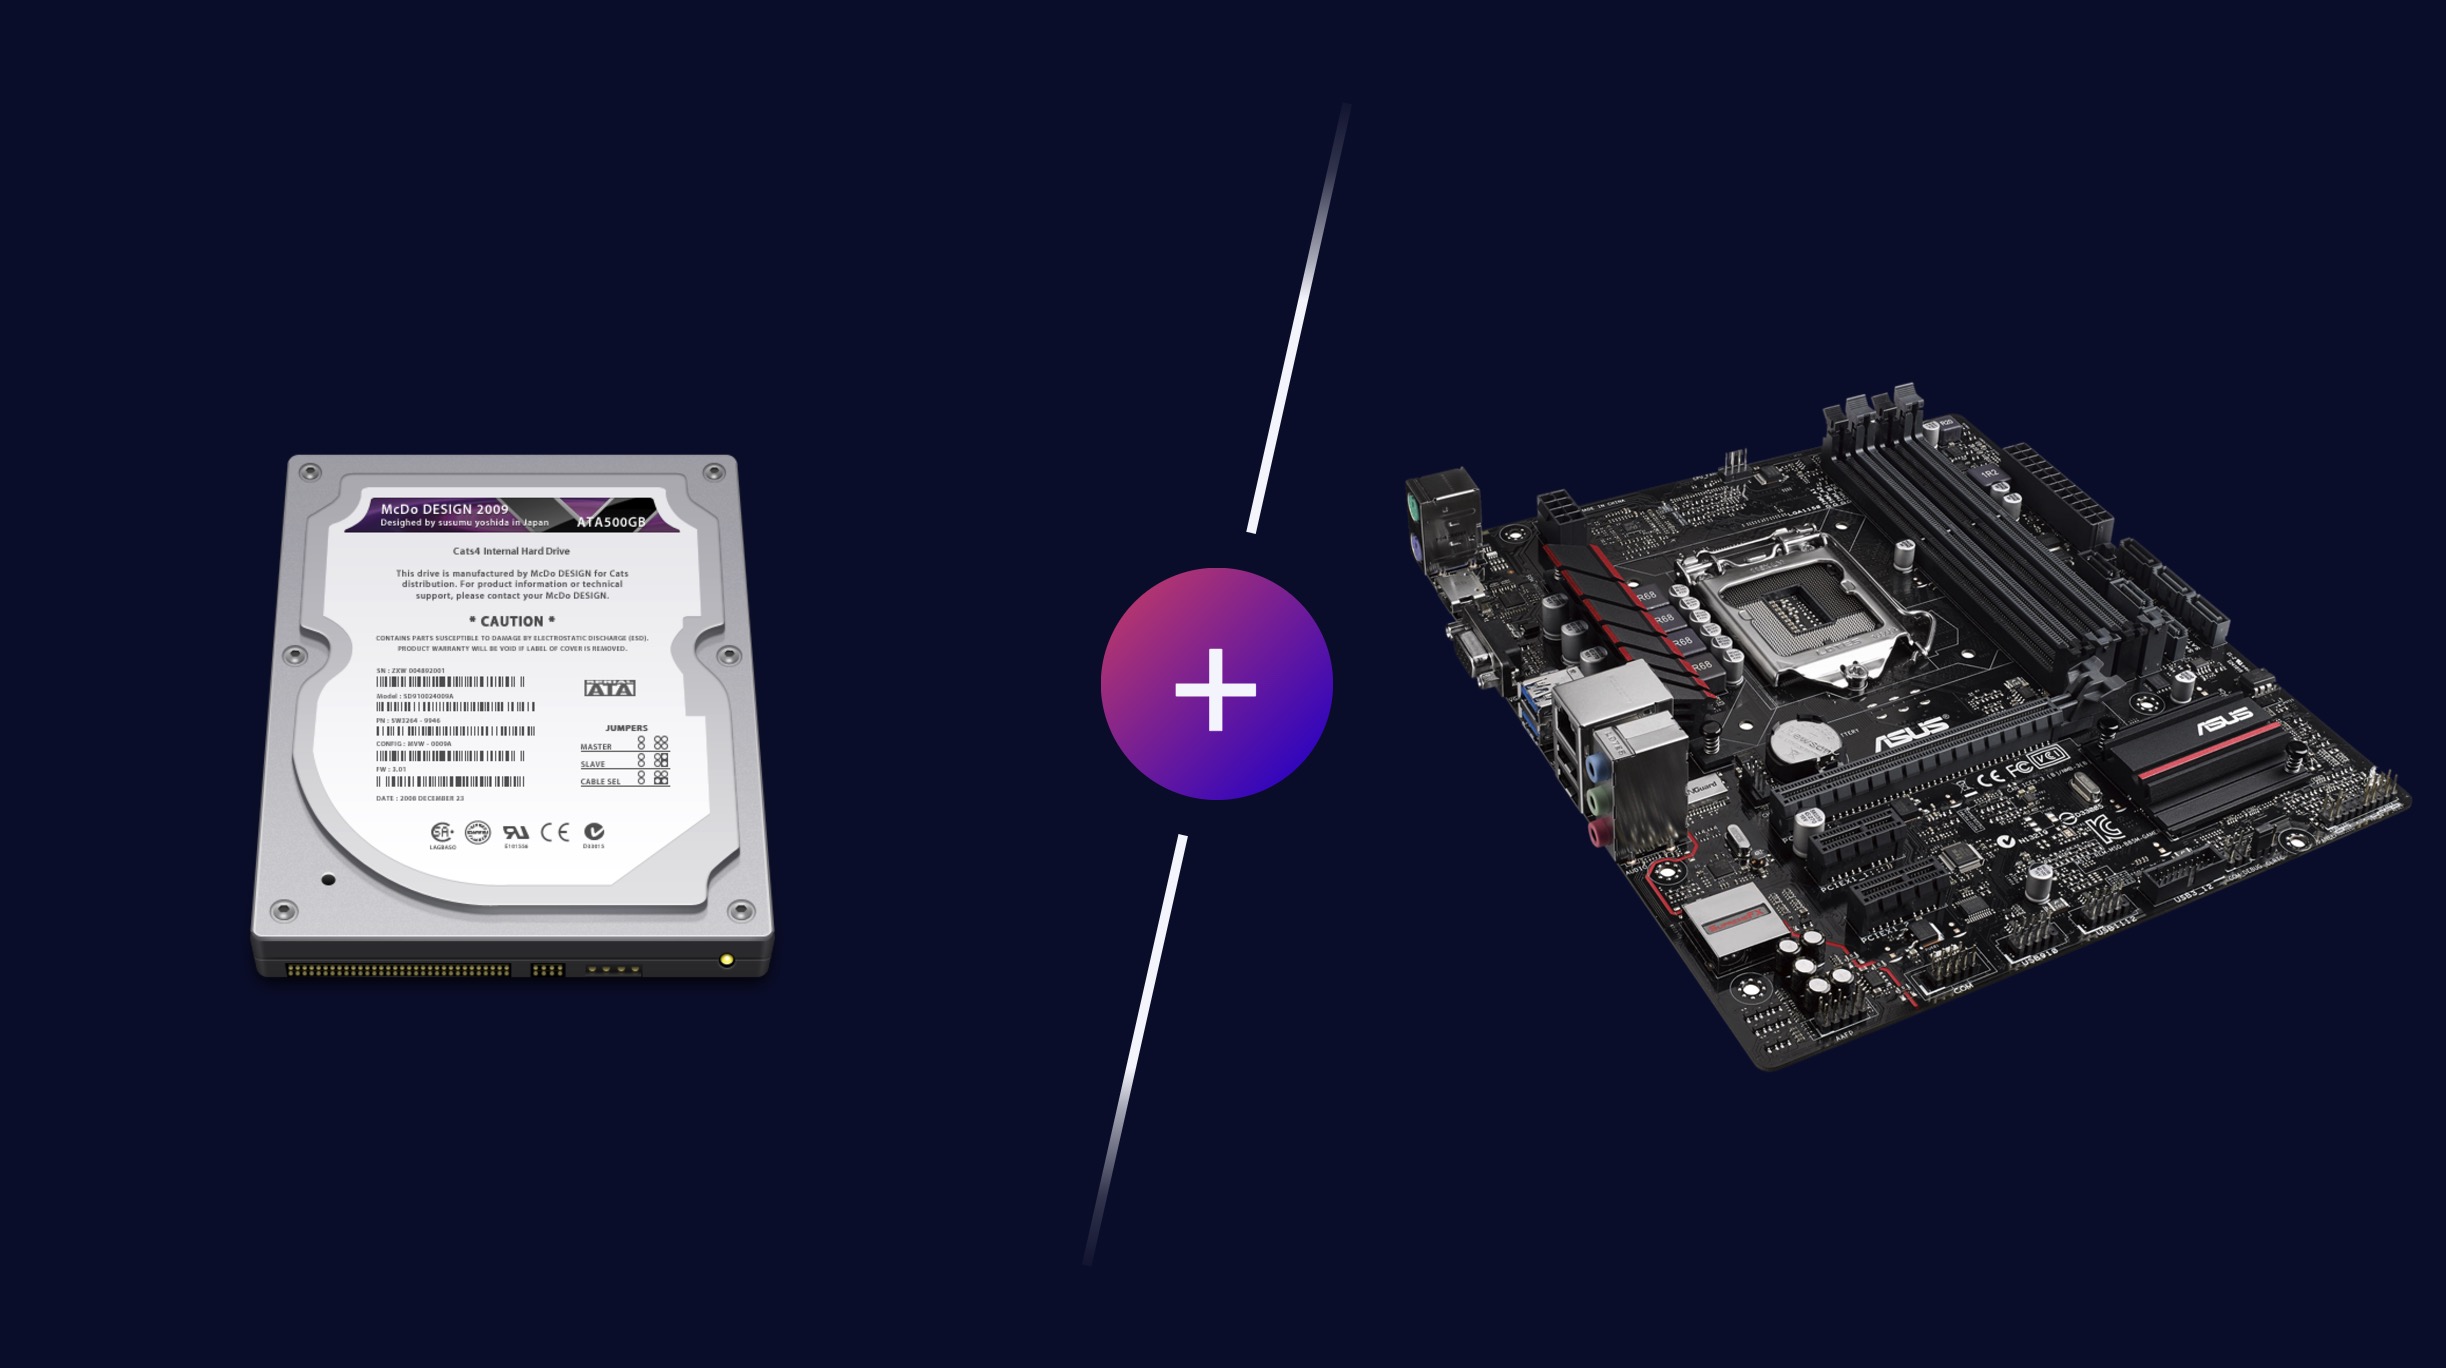
If checking your connections didn’t solve the problem, the next step is to get rid of your external drive’s enclosure because there could be something wrong with it.
The removal of your external drive from its enclosure can be very easy or quite difficult—it all depends on the design of the enclosure. Aftermarket enclosures are typically easy to disassemble because they’re designed to be opened and have the drive swapped out. However, drives that come in enclosures from the factory, especially rugged or waterproof models, can be a real challenge to open. If you’re dealing with one of these, I strongly recommend you look up a disassembly guide on YouTube for your specific model.
Once you’ve removed the drive from its enclosure, you’ll need to connect it directly to your computer’s motherboard. Here’s what you’ll need:
- SATA drives: A SATA power cable and a SATA data cable
- 2 drives: an available M.2 slot on your motherboard
Make sure to turn off your computer before you start working on it. Unplug the power cable from the wall outlet and press the power button to discharge any residual electricity. When you’re done, you can boot up your system, and the drive should be automatically recognized.
This solution has proven effective for many users experiencing the “drive is not accessible incorrect function” error. For instance, Reddit user Zensor7 shared their success story:
“Update: Was able to plug the SSD straight into a motherboard slot now. After booting up the PC, the SSD could be seen again correctly with no issues!”
Method 3: Perform a S.M.A.R.T. Test
Many newer external drives support S.M.A.R.T. (Self-Monitoring, Analysis, and Reporting Technology) monitoring technology even when connected via USB, and just about all drives support this useful technology when connected directly to the motherboard as explained above.
With S.M.A.R.T. monitoring, you can check the health of your drive to see if there’s something wrong with it. While there are several tools available for running S.M.A.R.T. tests, I personally recommend using Disk Drill. It’s a user-friendly data recovery tool that also includes a robust S.M.A.R.T. monitoring feature. Here’s how to use it:
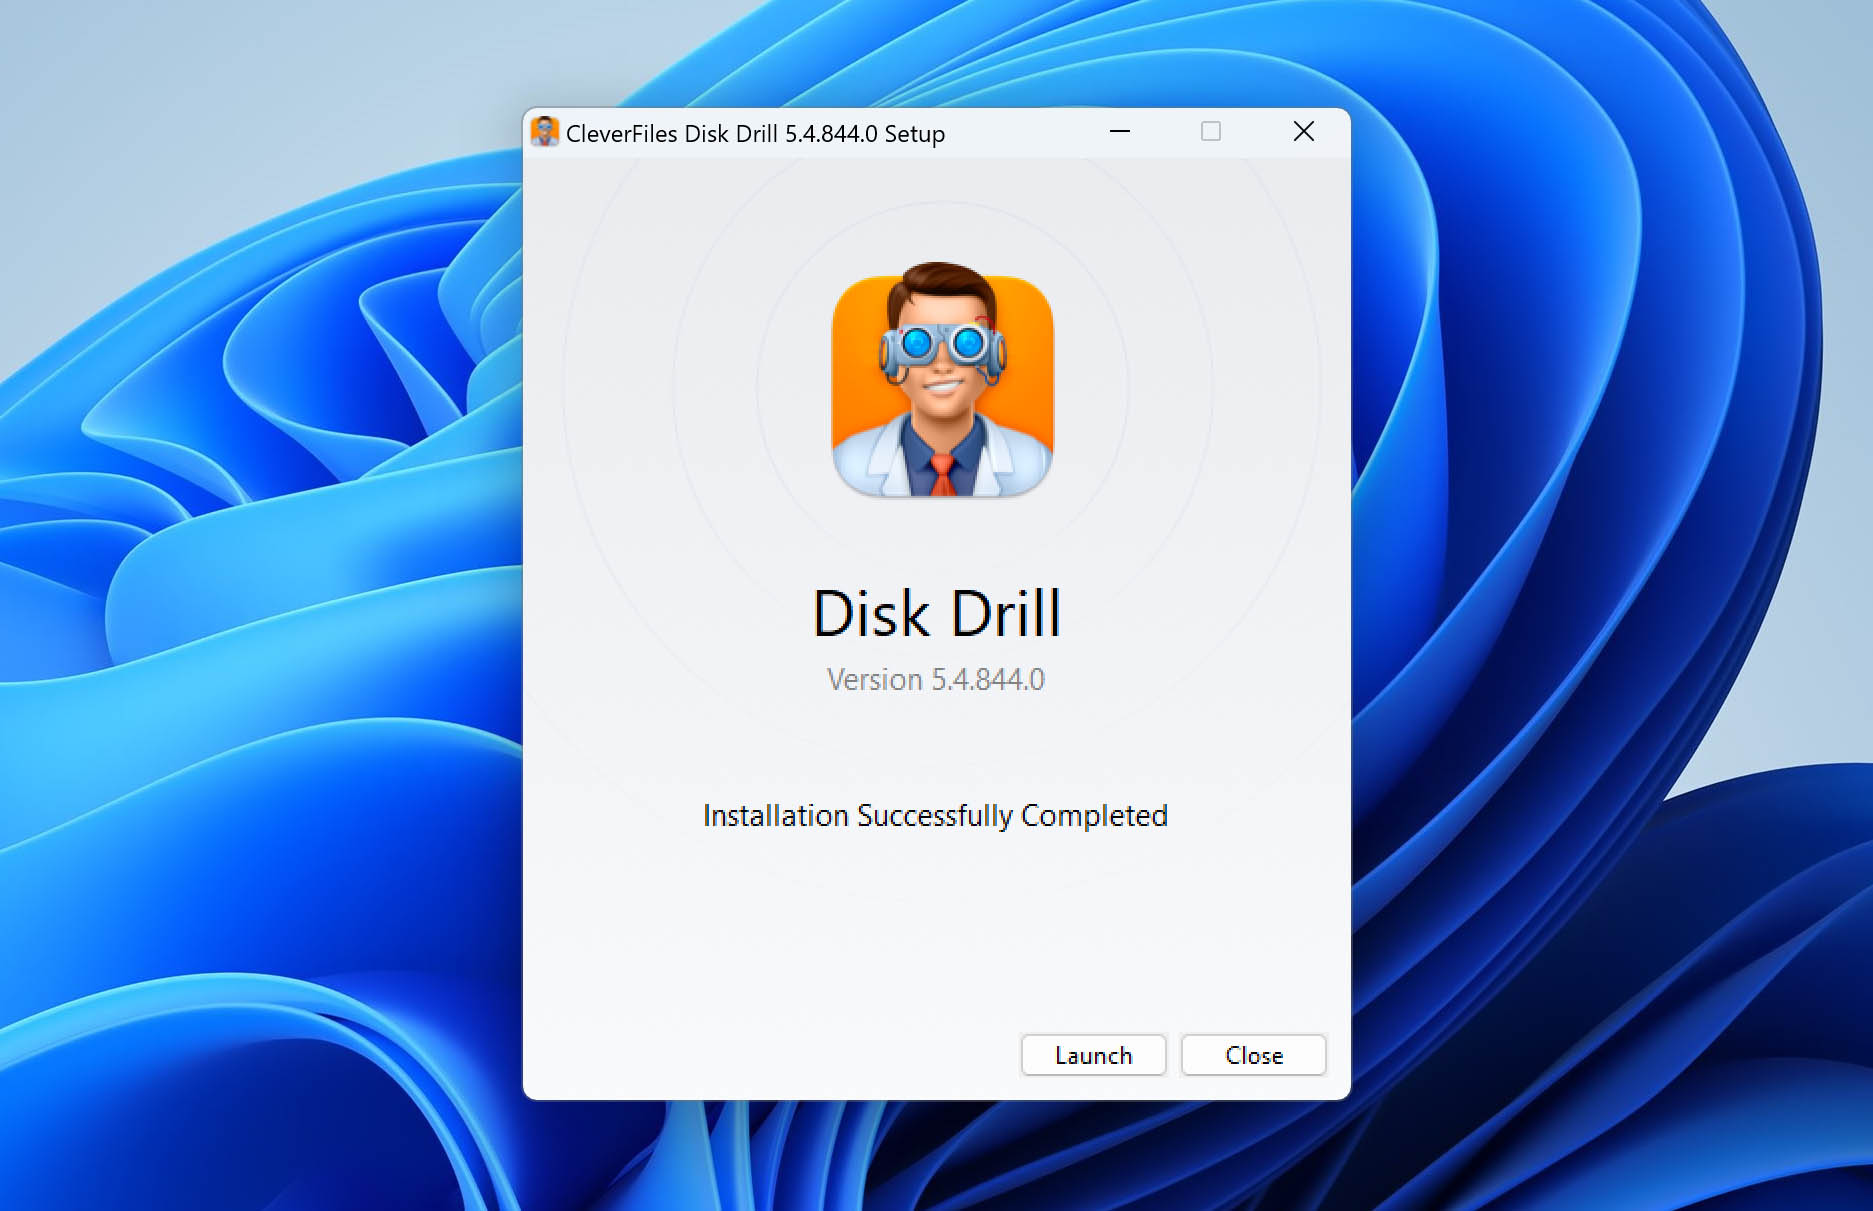
- Download and install Disk Drill from the official website.
- Launch Disk Drill and select S.M.A.R.T. Monitoring from the Extra Tools list in the left pane.
- Choose the drive you want to test from the list of available devices.
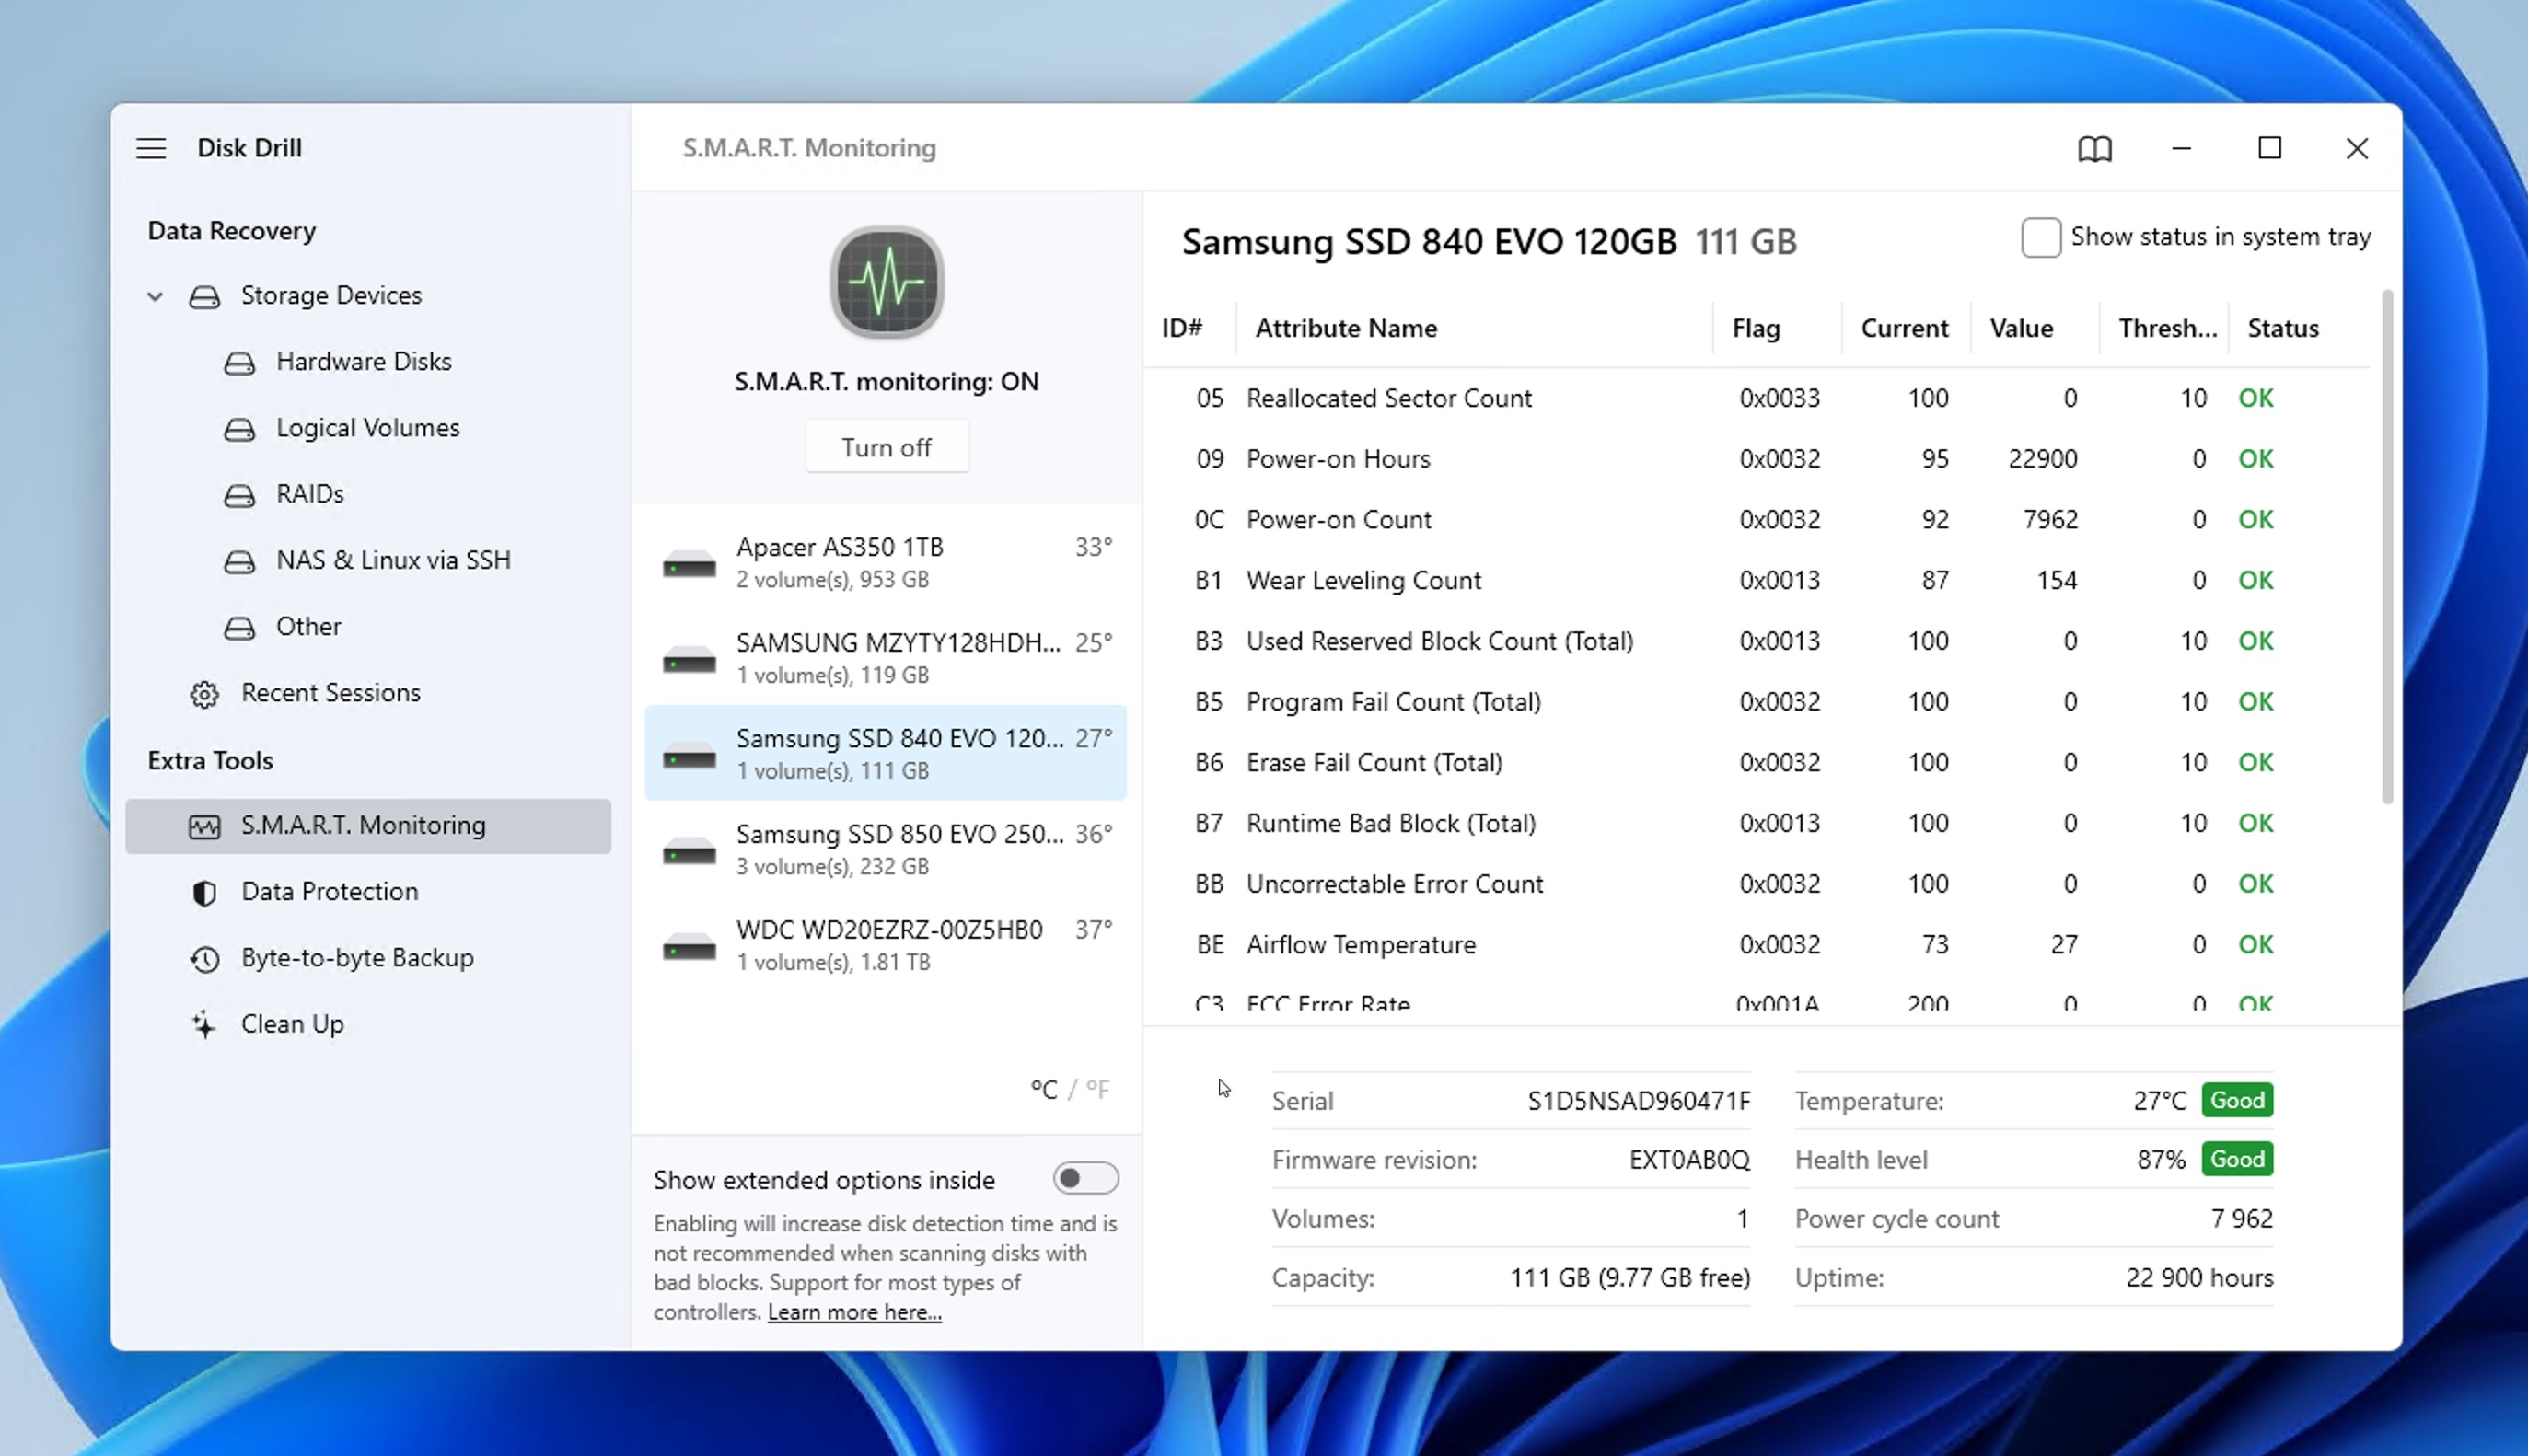
- Analyze the results.
Pay close attention to any attributes marked as Warning or Critical as they could indicate that your drive is failing. If you determine that it is failing, then I recommend you create a complete byte-to-byte backup of the entire drive using Disk Drill’s Drive Backup feature because you never know when the drive decides to fail completely or becomes inaccessible. Please jump to the last section of the article for detailed instructions on how to do so.
Method 4: Repair Missing or Corrupted System Files
Corrupted system files can cause all kinds of annoying issues, including the “X:\ is not accessible. Incorrect function” error because your operating system is responsible for facilitating the communication between your computer and its connected devices, including external drives.
The good news is that Windows comes with a built-in tool called System File Checker (SFC), which can be used to scan and, if necessary, repair corrupted system files. To use it, you need to do the following:
- Open the Command Prompt as an administrator. You can do this by right-clicking on the Start button and selecting Command Prompt (Admin).

- In the Command Prompt window, type the following command and press Enter: sfc /scannow

- The scan may take several minutes to complete. During this time, you’ll see a progress indicator on the screen.
If SFC finds corrupted files but can’t fix them, or if you’re still experiencing the drive error after running SFC, you can try a more comprehensive scan using the Deployment Image Servicing and Management (DISM) tool. This tool is designed to repair the Windows system image itself, which can resolve deeper system integrity issues that SFC can’t handle. Here’s what you need to do:
- Open Command Prompt as an administrator again.
- Type the following command and press Enter: DISM /Online /Cleanup-Image /RestoreHealth

- This process can take 20 minutes or more to complete. Let it run until it’s finished.
Once DISM completes, run the SFC scan again as described earlier. By using DISM followed by SFC, you’re giving your system a thorough check and repair that should address all system file corruption.
Method 5: Resolve Issues Caused by Third-Party Software
There’s no shortage of third-party software applications that can make your drive inaccessible, and it’s beyond the scope of this article to address all possible scenarios. Instead, I’ll focus on one of the most common culprits I’ve encountered: third-party encryption software, specifically VeraCrypt.
VeraCrypt is a popular disk encryption tool, but it can sometimes conflict with certain system configurations, leading to the error we’re discussing. A perfect example of this issue was shared in a VeraCrypt forum discussion, where a user encountered our exact error after installing VeraCrypt on a new Windows 10 Pro system.
In this case, the problem was traced back to a conflict with the AppleHFS.sys driver, which is present on some Windows systems, particularly those running on Apple hardware via Boot Camp. The solution involves disabling this driver. Here’s how you can do it:
- Search for the file “applehfs.sys” in your Windows directory and subdirectories.
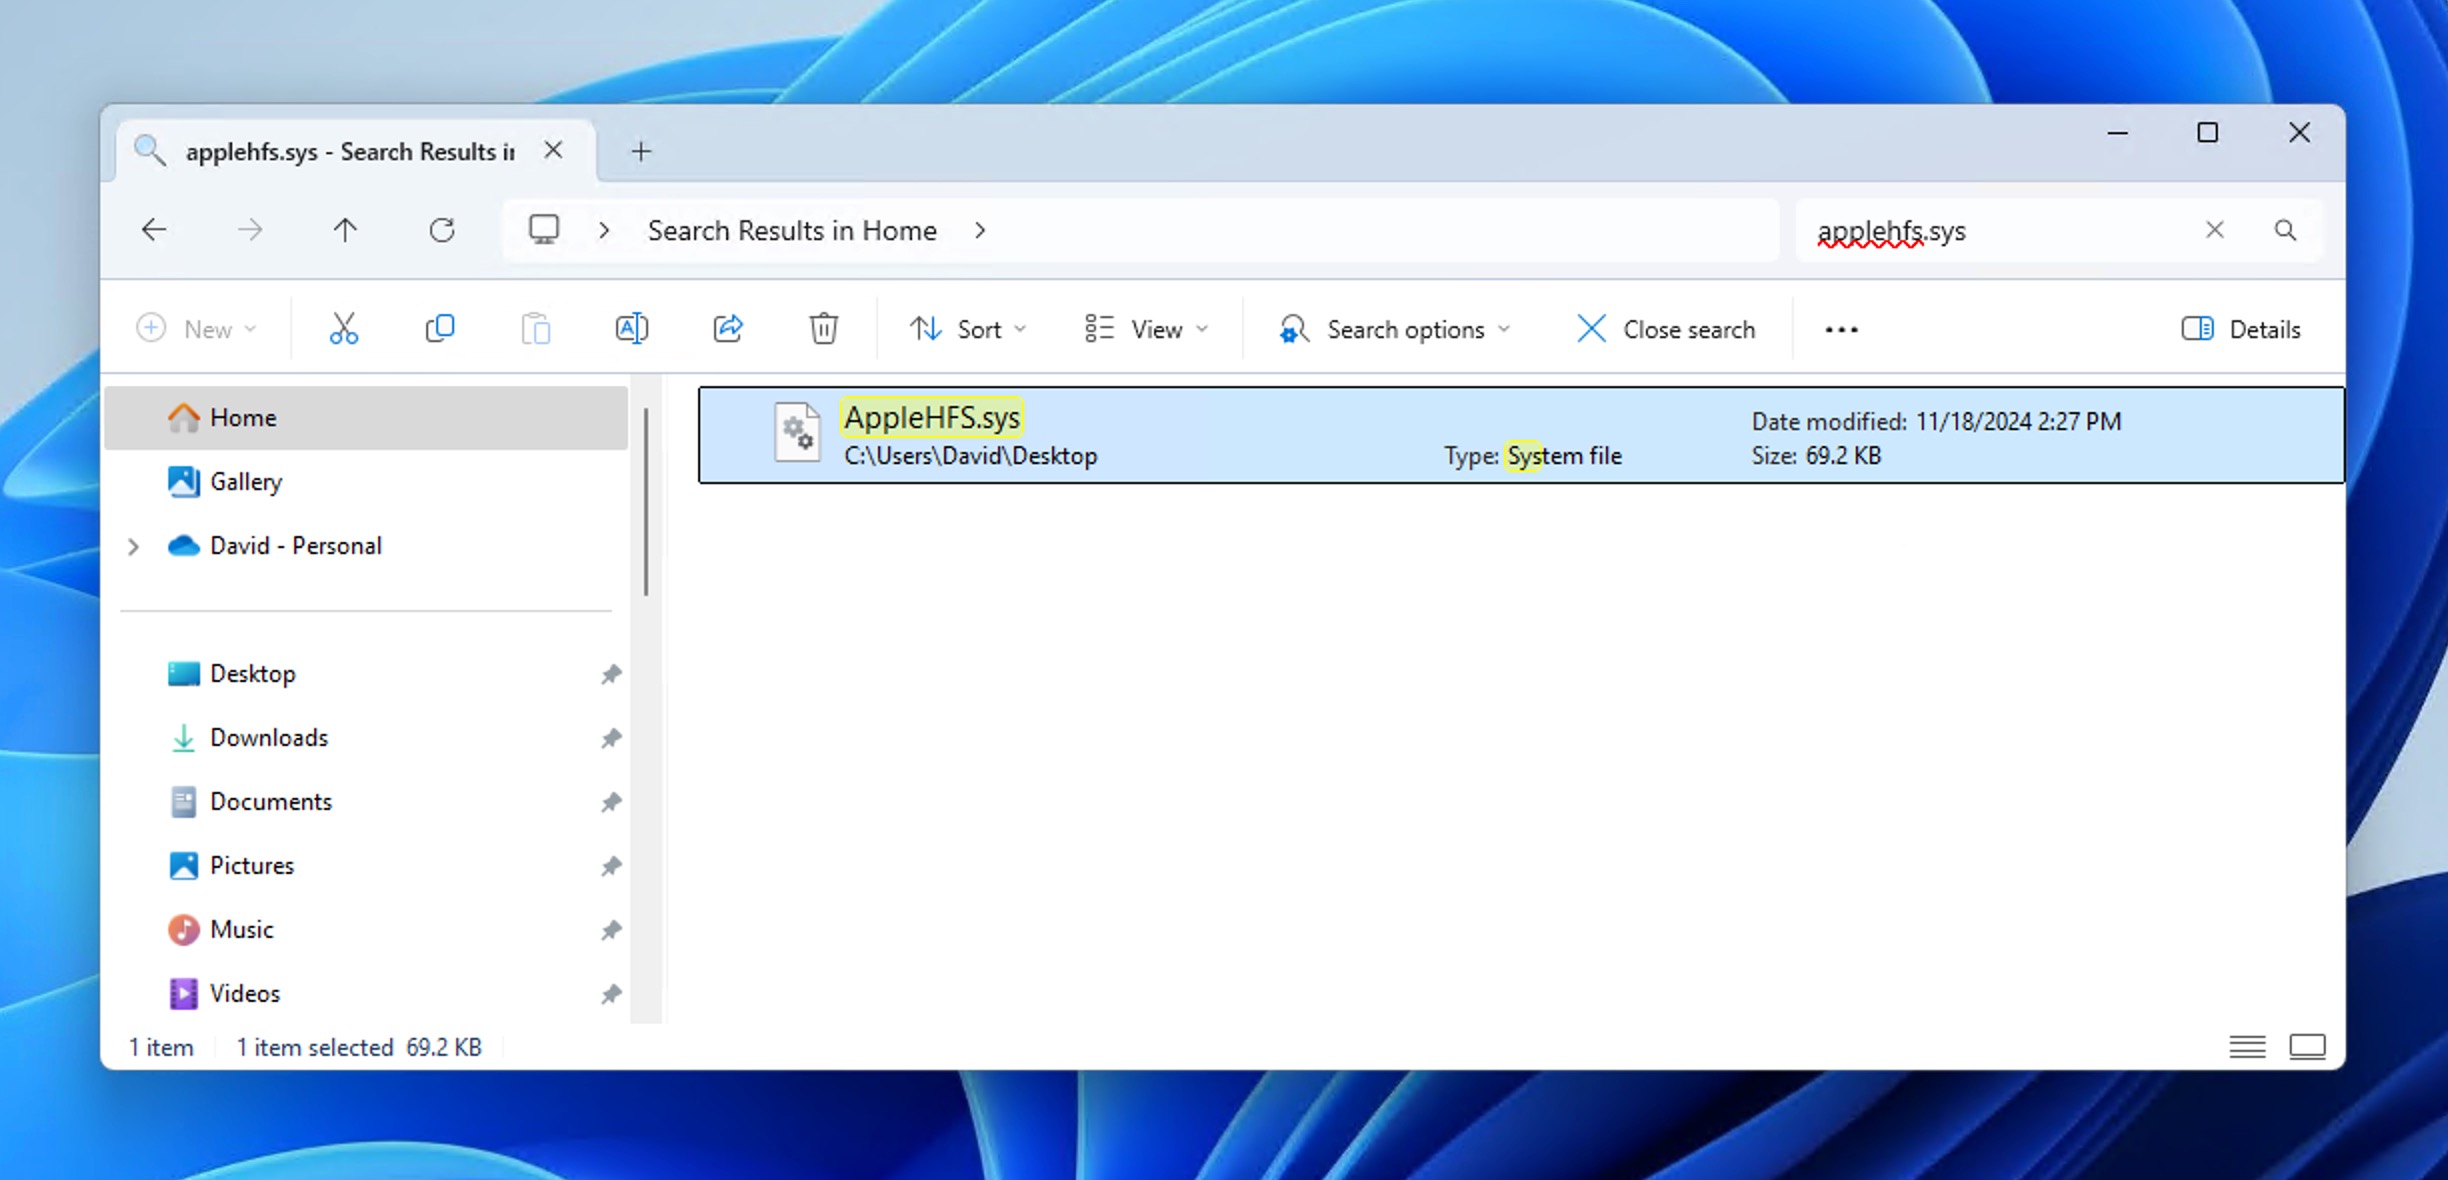
- Once found, rename it to something like “applehfs-old.sys”.
- Reboot your computer.
After performing these steps, try accessing your VeraCrypt-encrypted drive again—the error should be gone.
How to Back Up and Recover an Inaccessible Drive
As I’ve explained in the section dealing with S.M.A.R.T. monitoring technology, it’s a good idea to create a full backup of any inaccessible drive that appears to be failing before you attempt any further troubleshooting. This precautionary step can save you from potential data loss if the drive’s condition worsens suddenly.
Even if you can’t access the drive through normal means, specialized software can often still create a backup (if the drive is visible in the Windows Disk Management tool, then you should be able to back it up).
In my experience, Disk Drill is an excellent tool for this task because it offers both comprehensive backup and powerful recovery features. What’s more, Disk Drill is exceptionally easy to use, so even complete beginners and technophobes can painlessly put it to good use.
Here’s how to use it:
- Download and install Disk Drill from the official website.

- Launch Disk Drill and click on the Drive Backup option under Extra Tools.
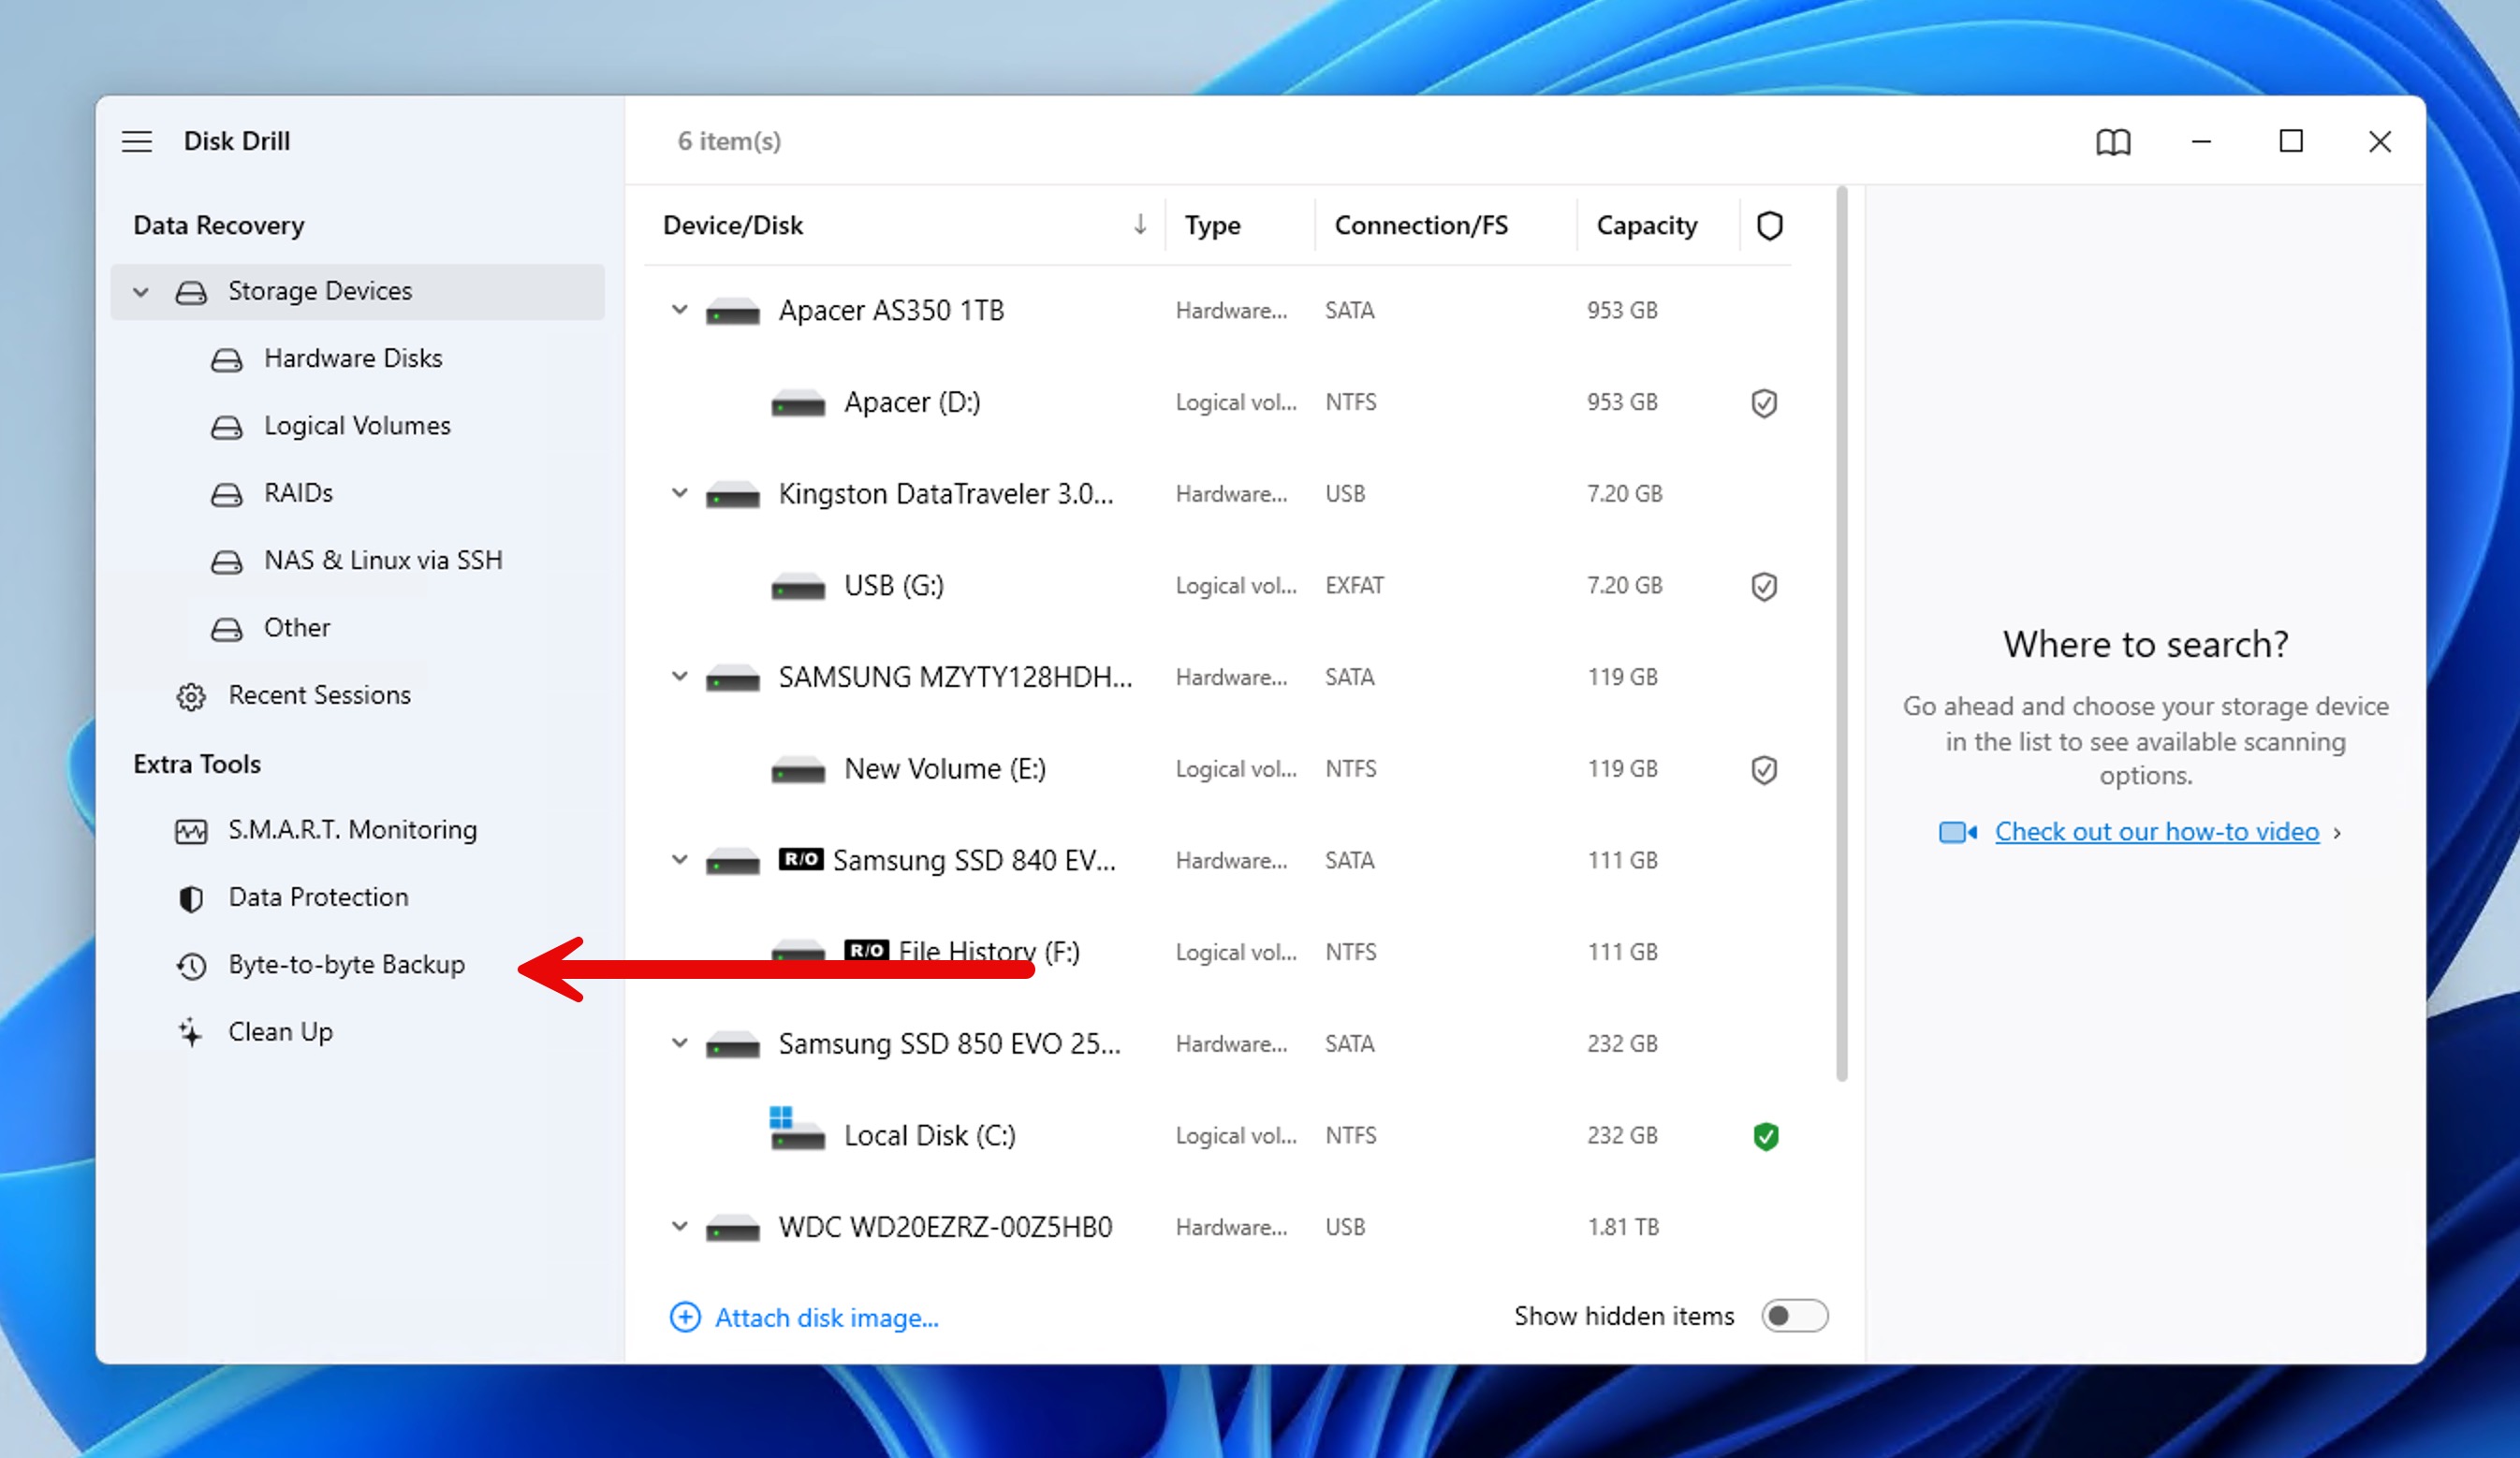
- Select the storage device you want to back up. You can select individual partitions as well, but I recommend you back up the entire storage device if you have enough free storage space since this gives you the option to recover any deleted file that’s still physically present on drive (hasn’t been overwritten).
- Click on the Byte-to-byte backup button at the top.
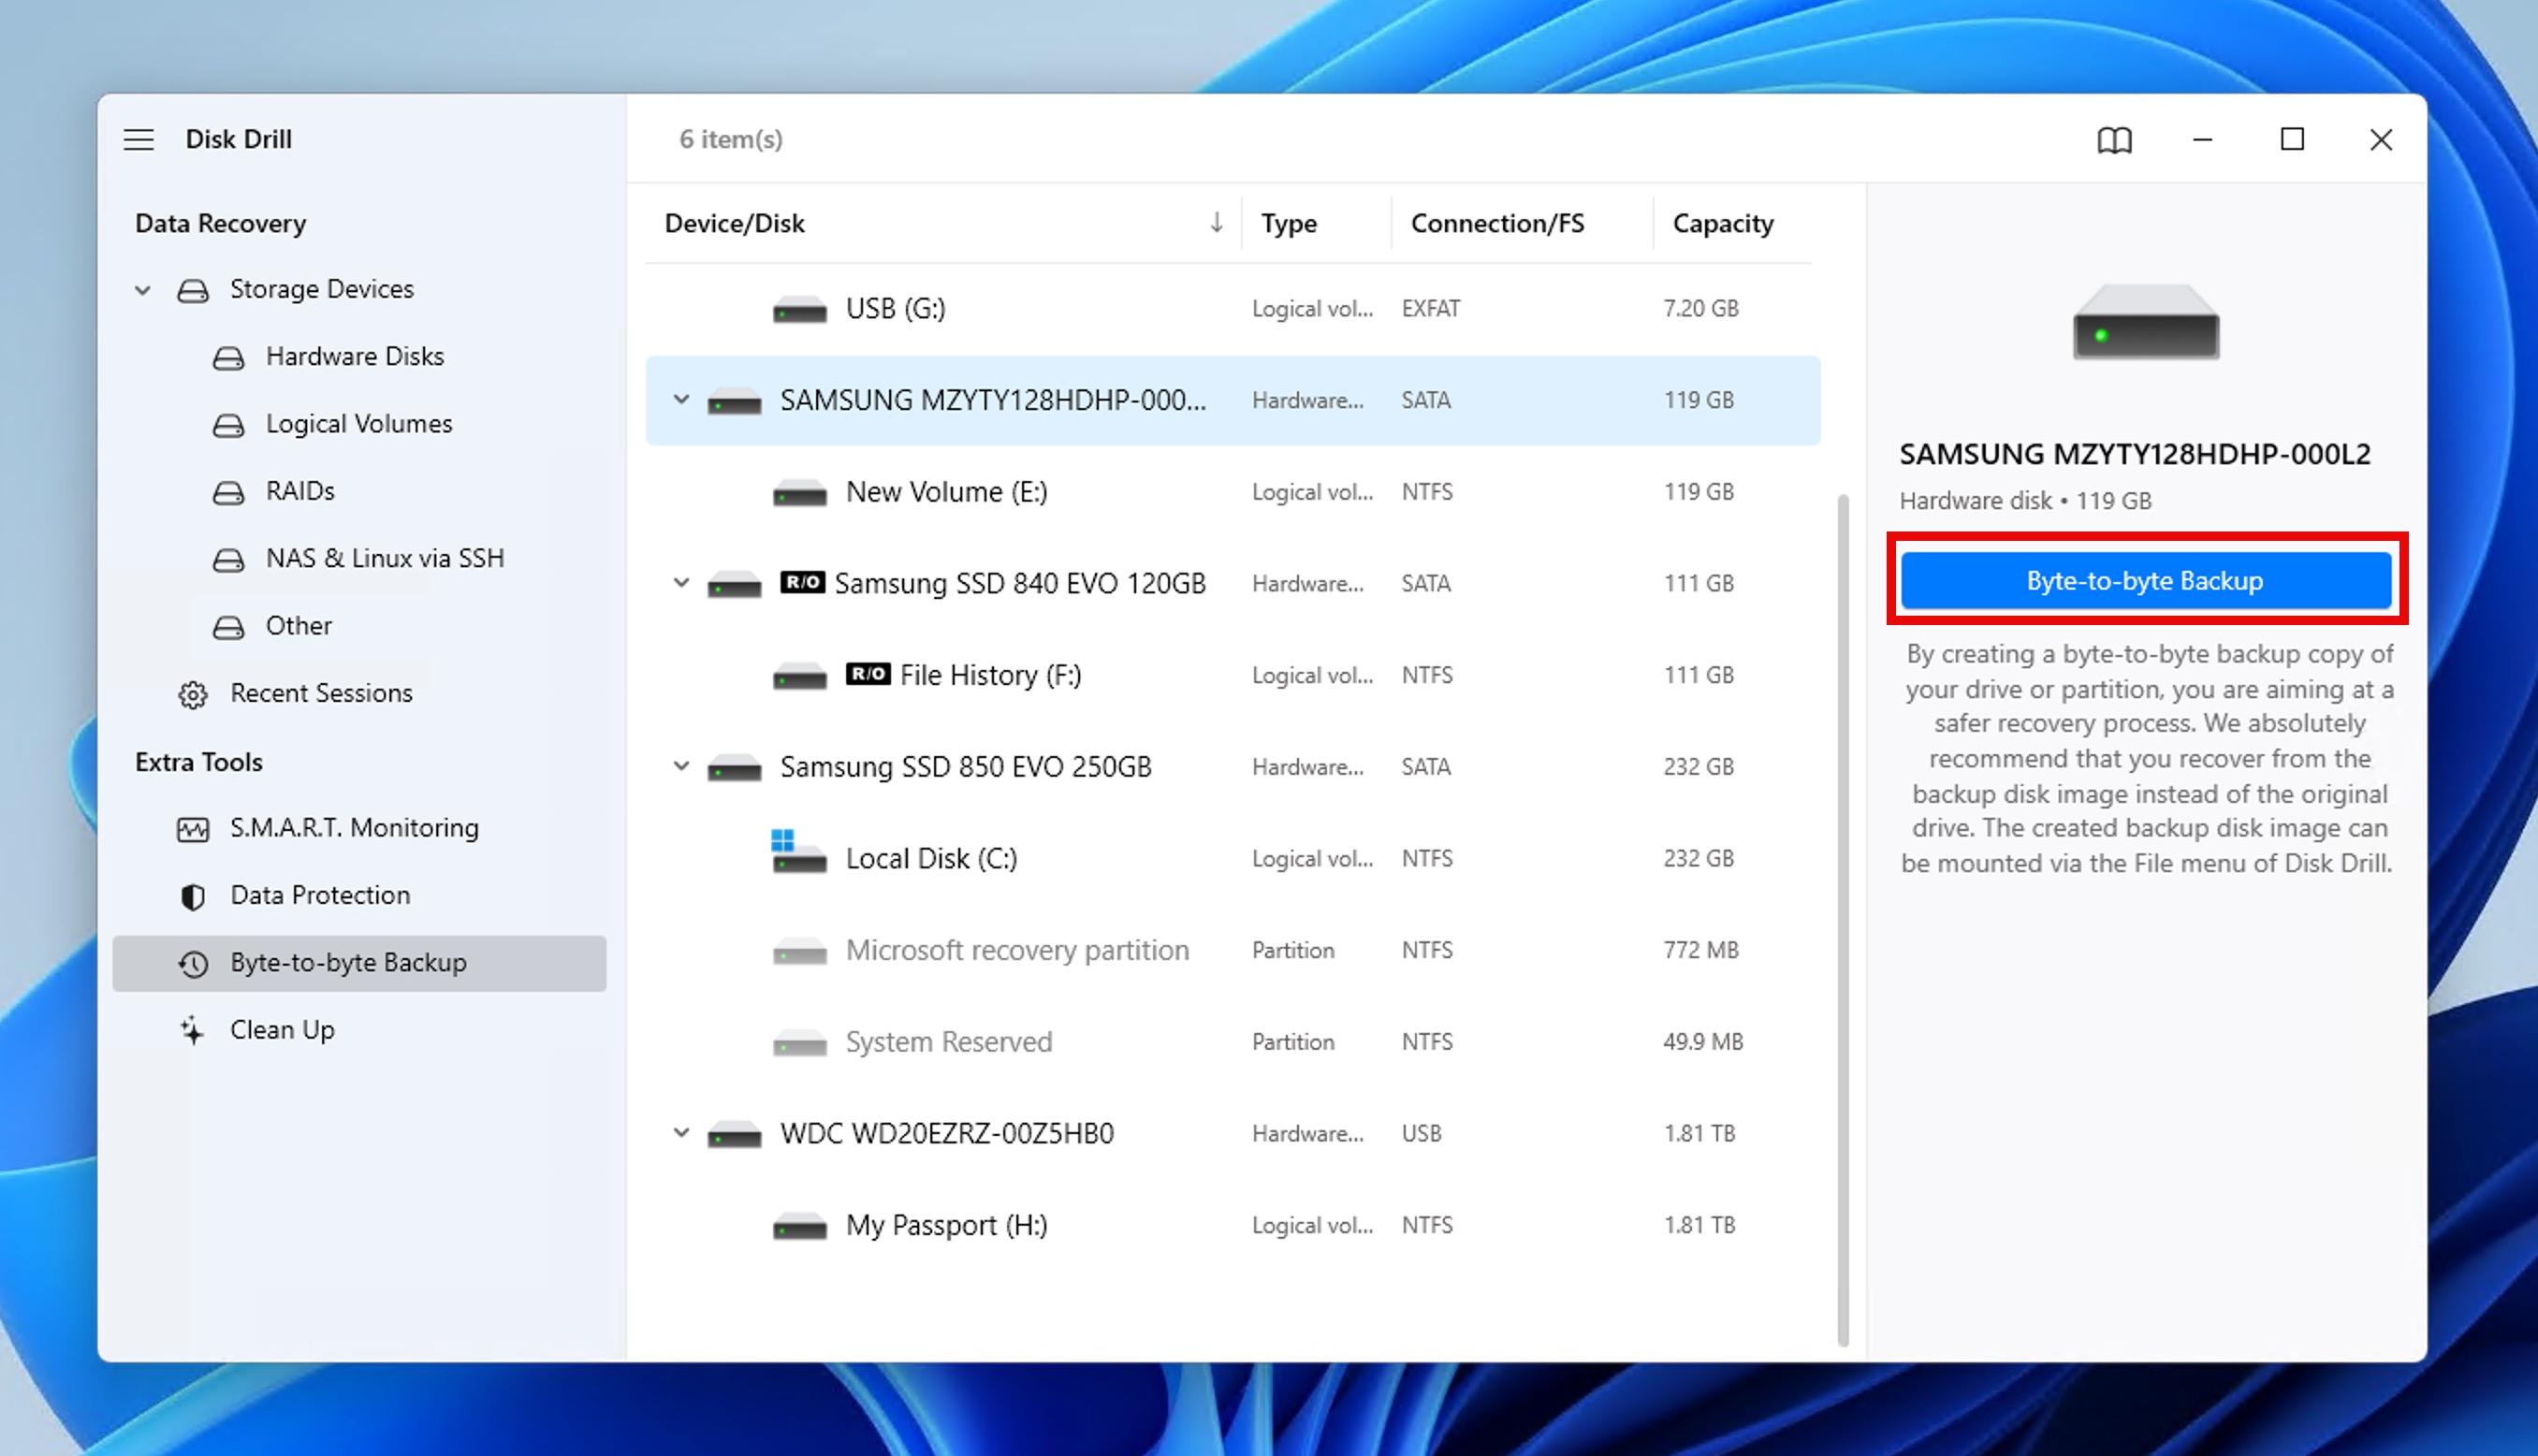
- Choose a directory to save the disk image.
- Click OK and wait for Disk Drill to create the image.
Once you have a byte-to-byte backup, you can mount it in Disk Drill and recover files from it:
- Select the Storage Devices tab under Data Recovery.
- Click the Attach disk image option below the list of available storage devices.
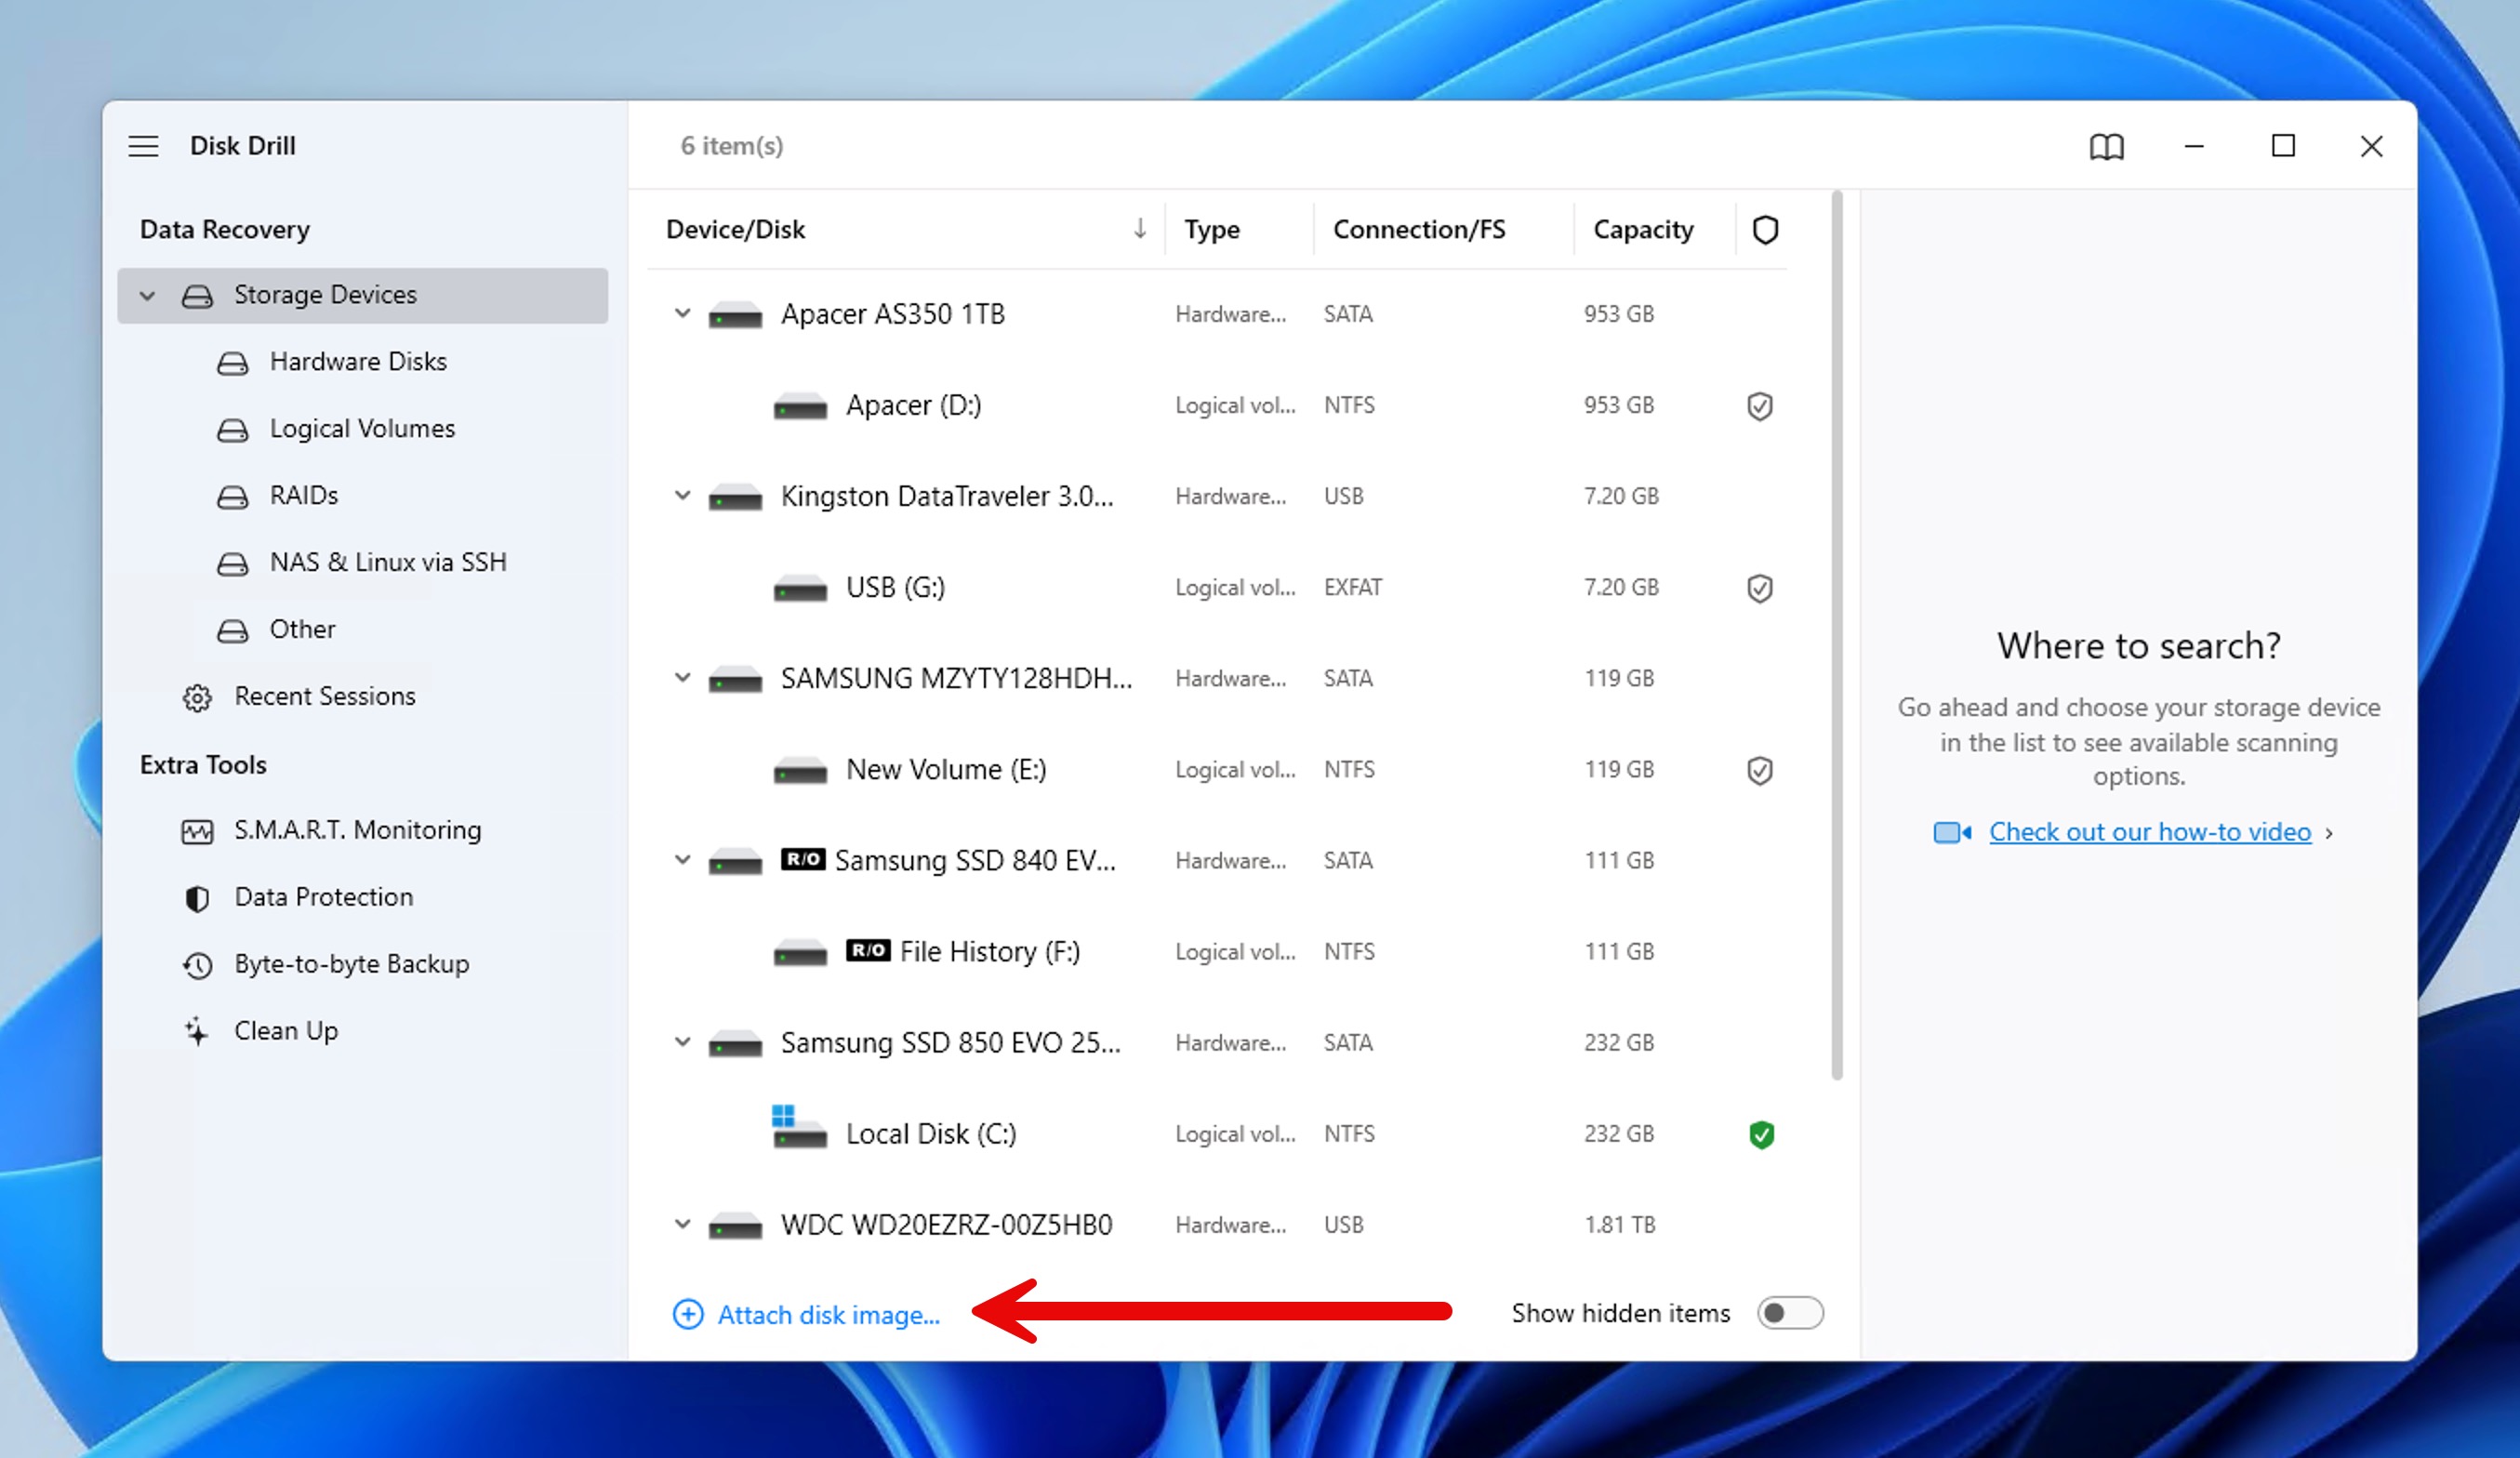
- Locate and select your backup file.
- The backup will be added as a virtual disk in the data recovery screen.
- Select the virtual disk and click on Search for lost data.
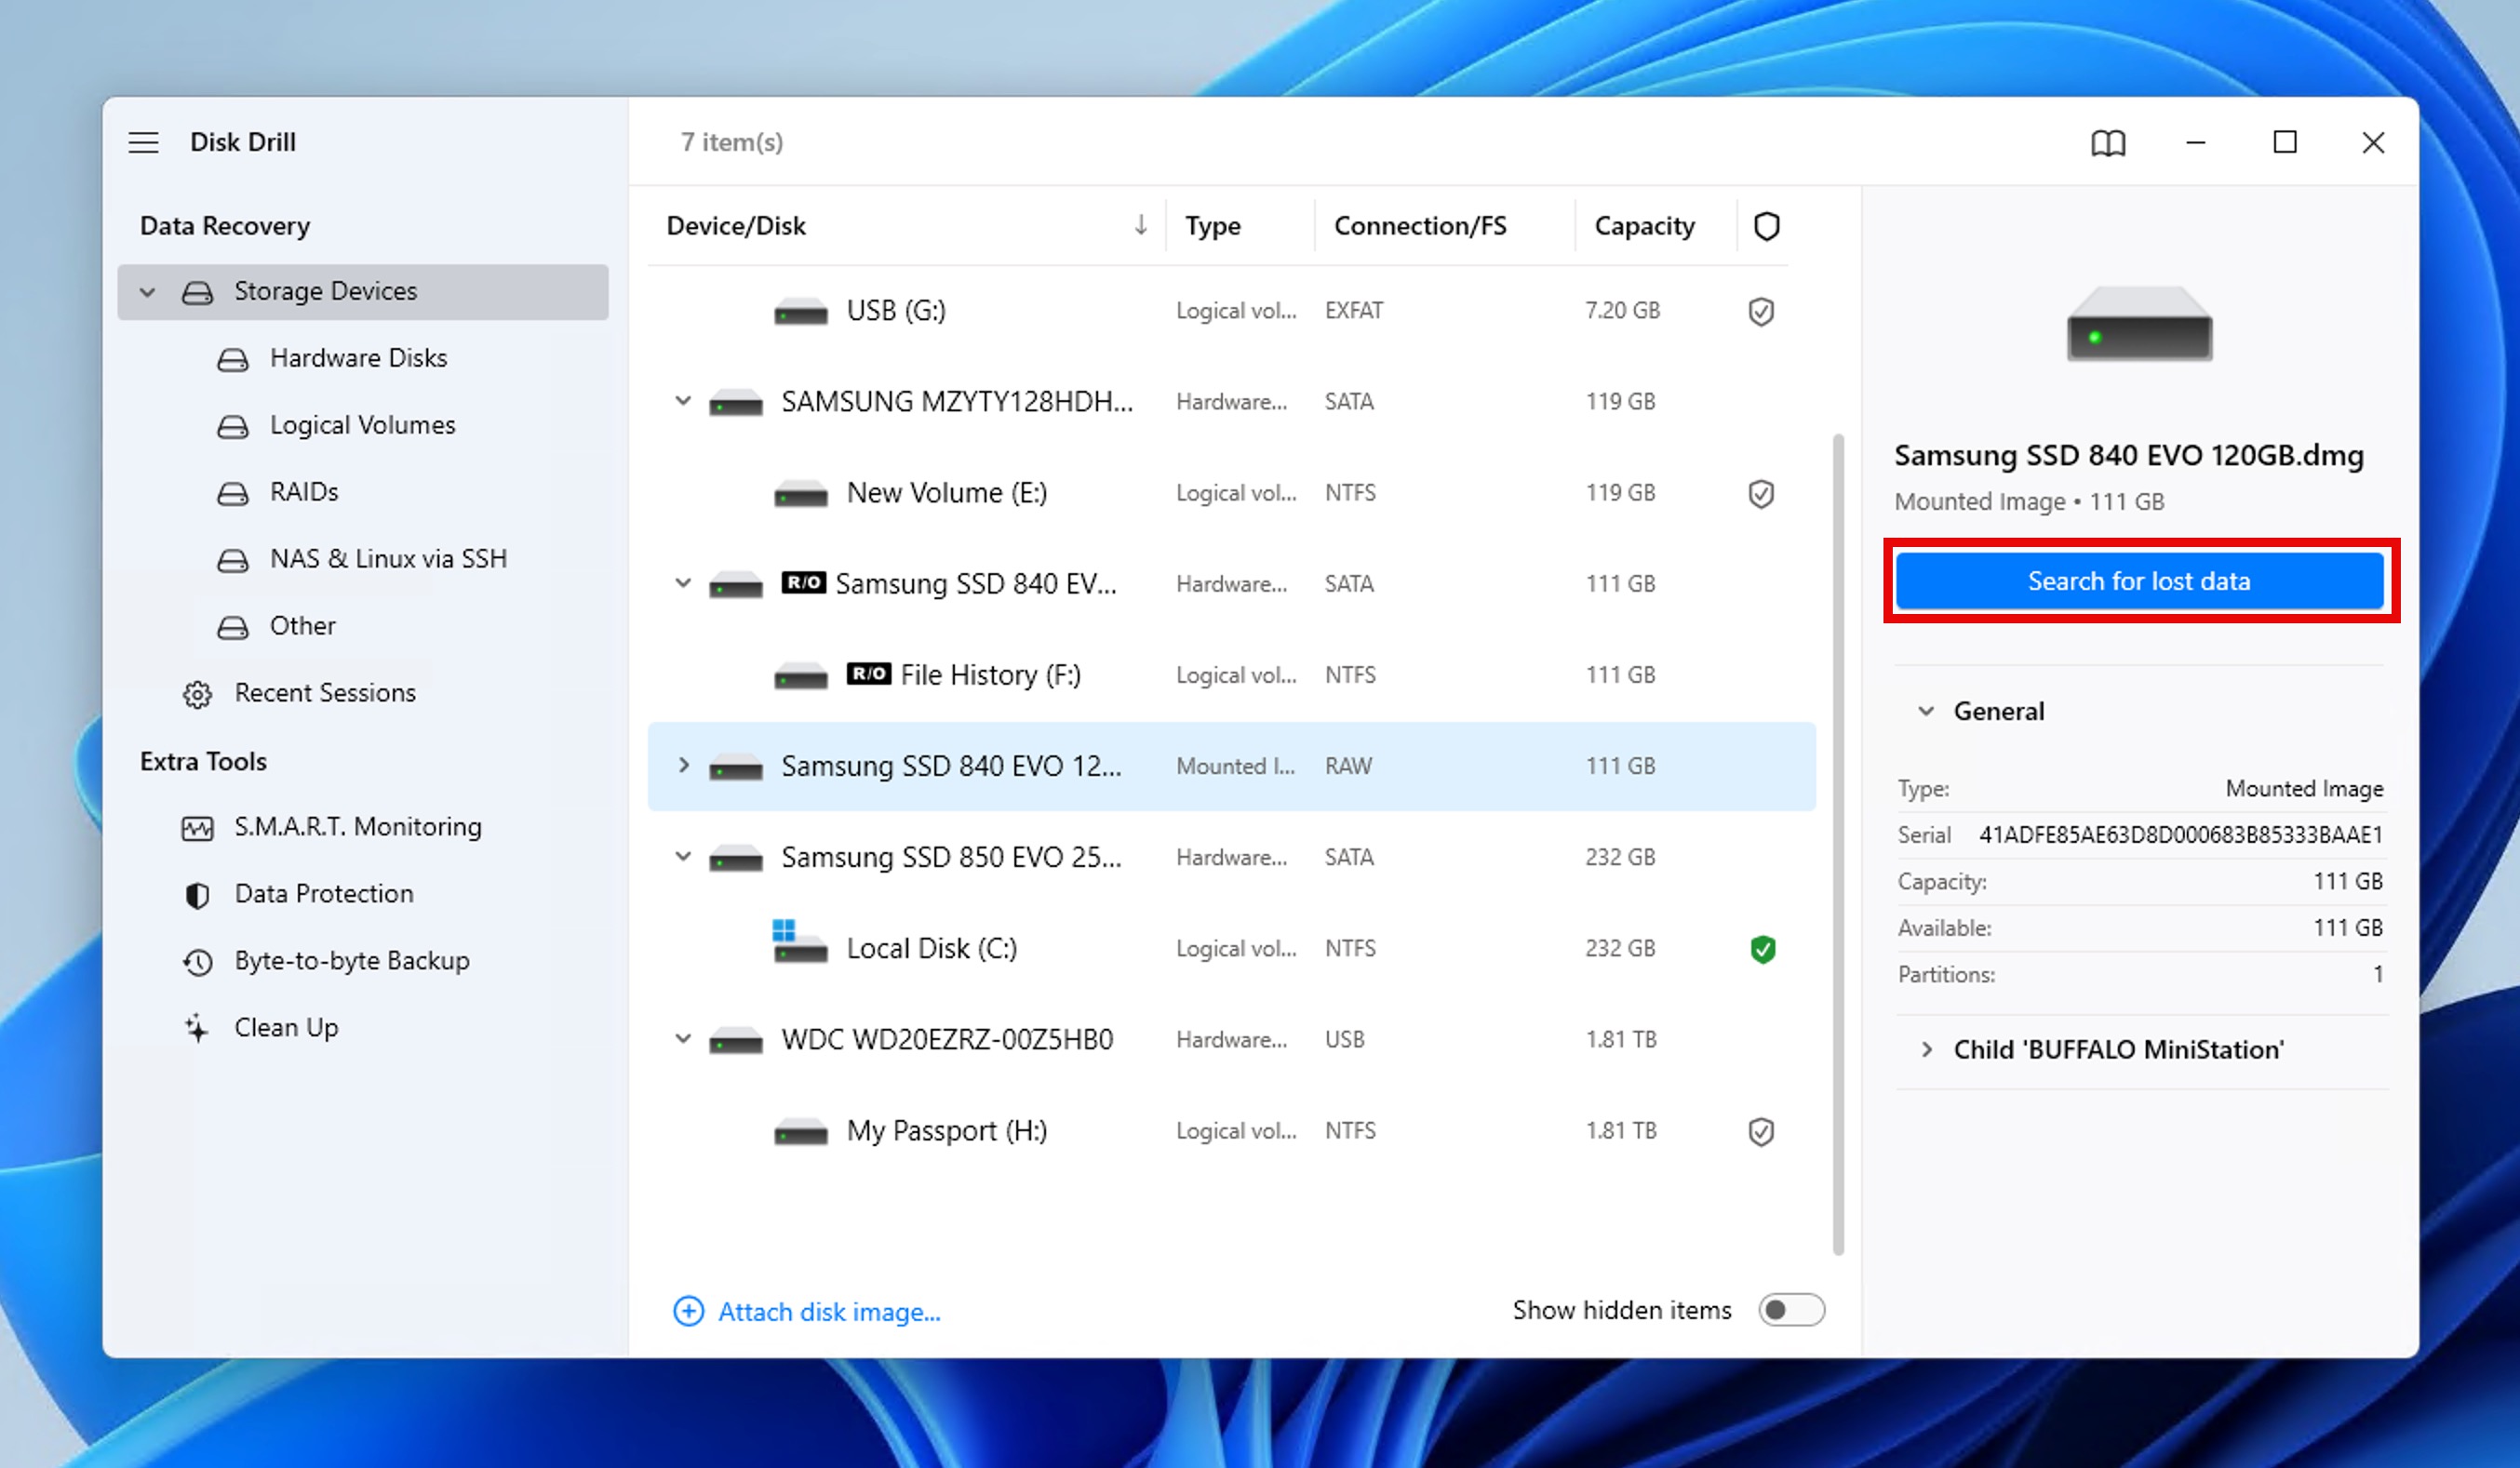
- After the scan, review the found items, select the files you want to recover, and click on the Recover button.
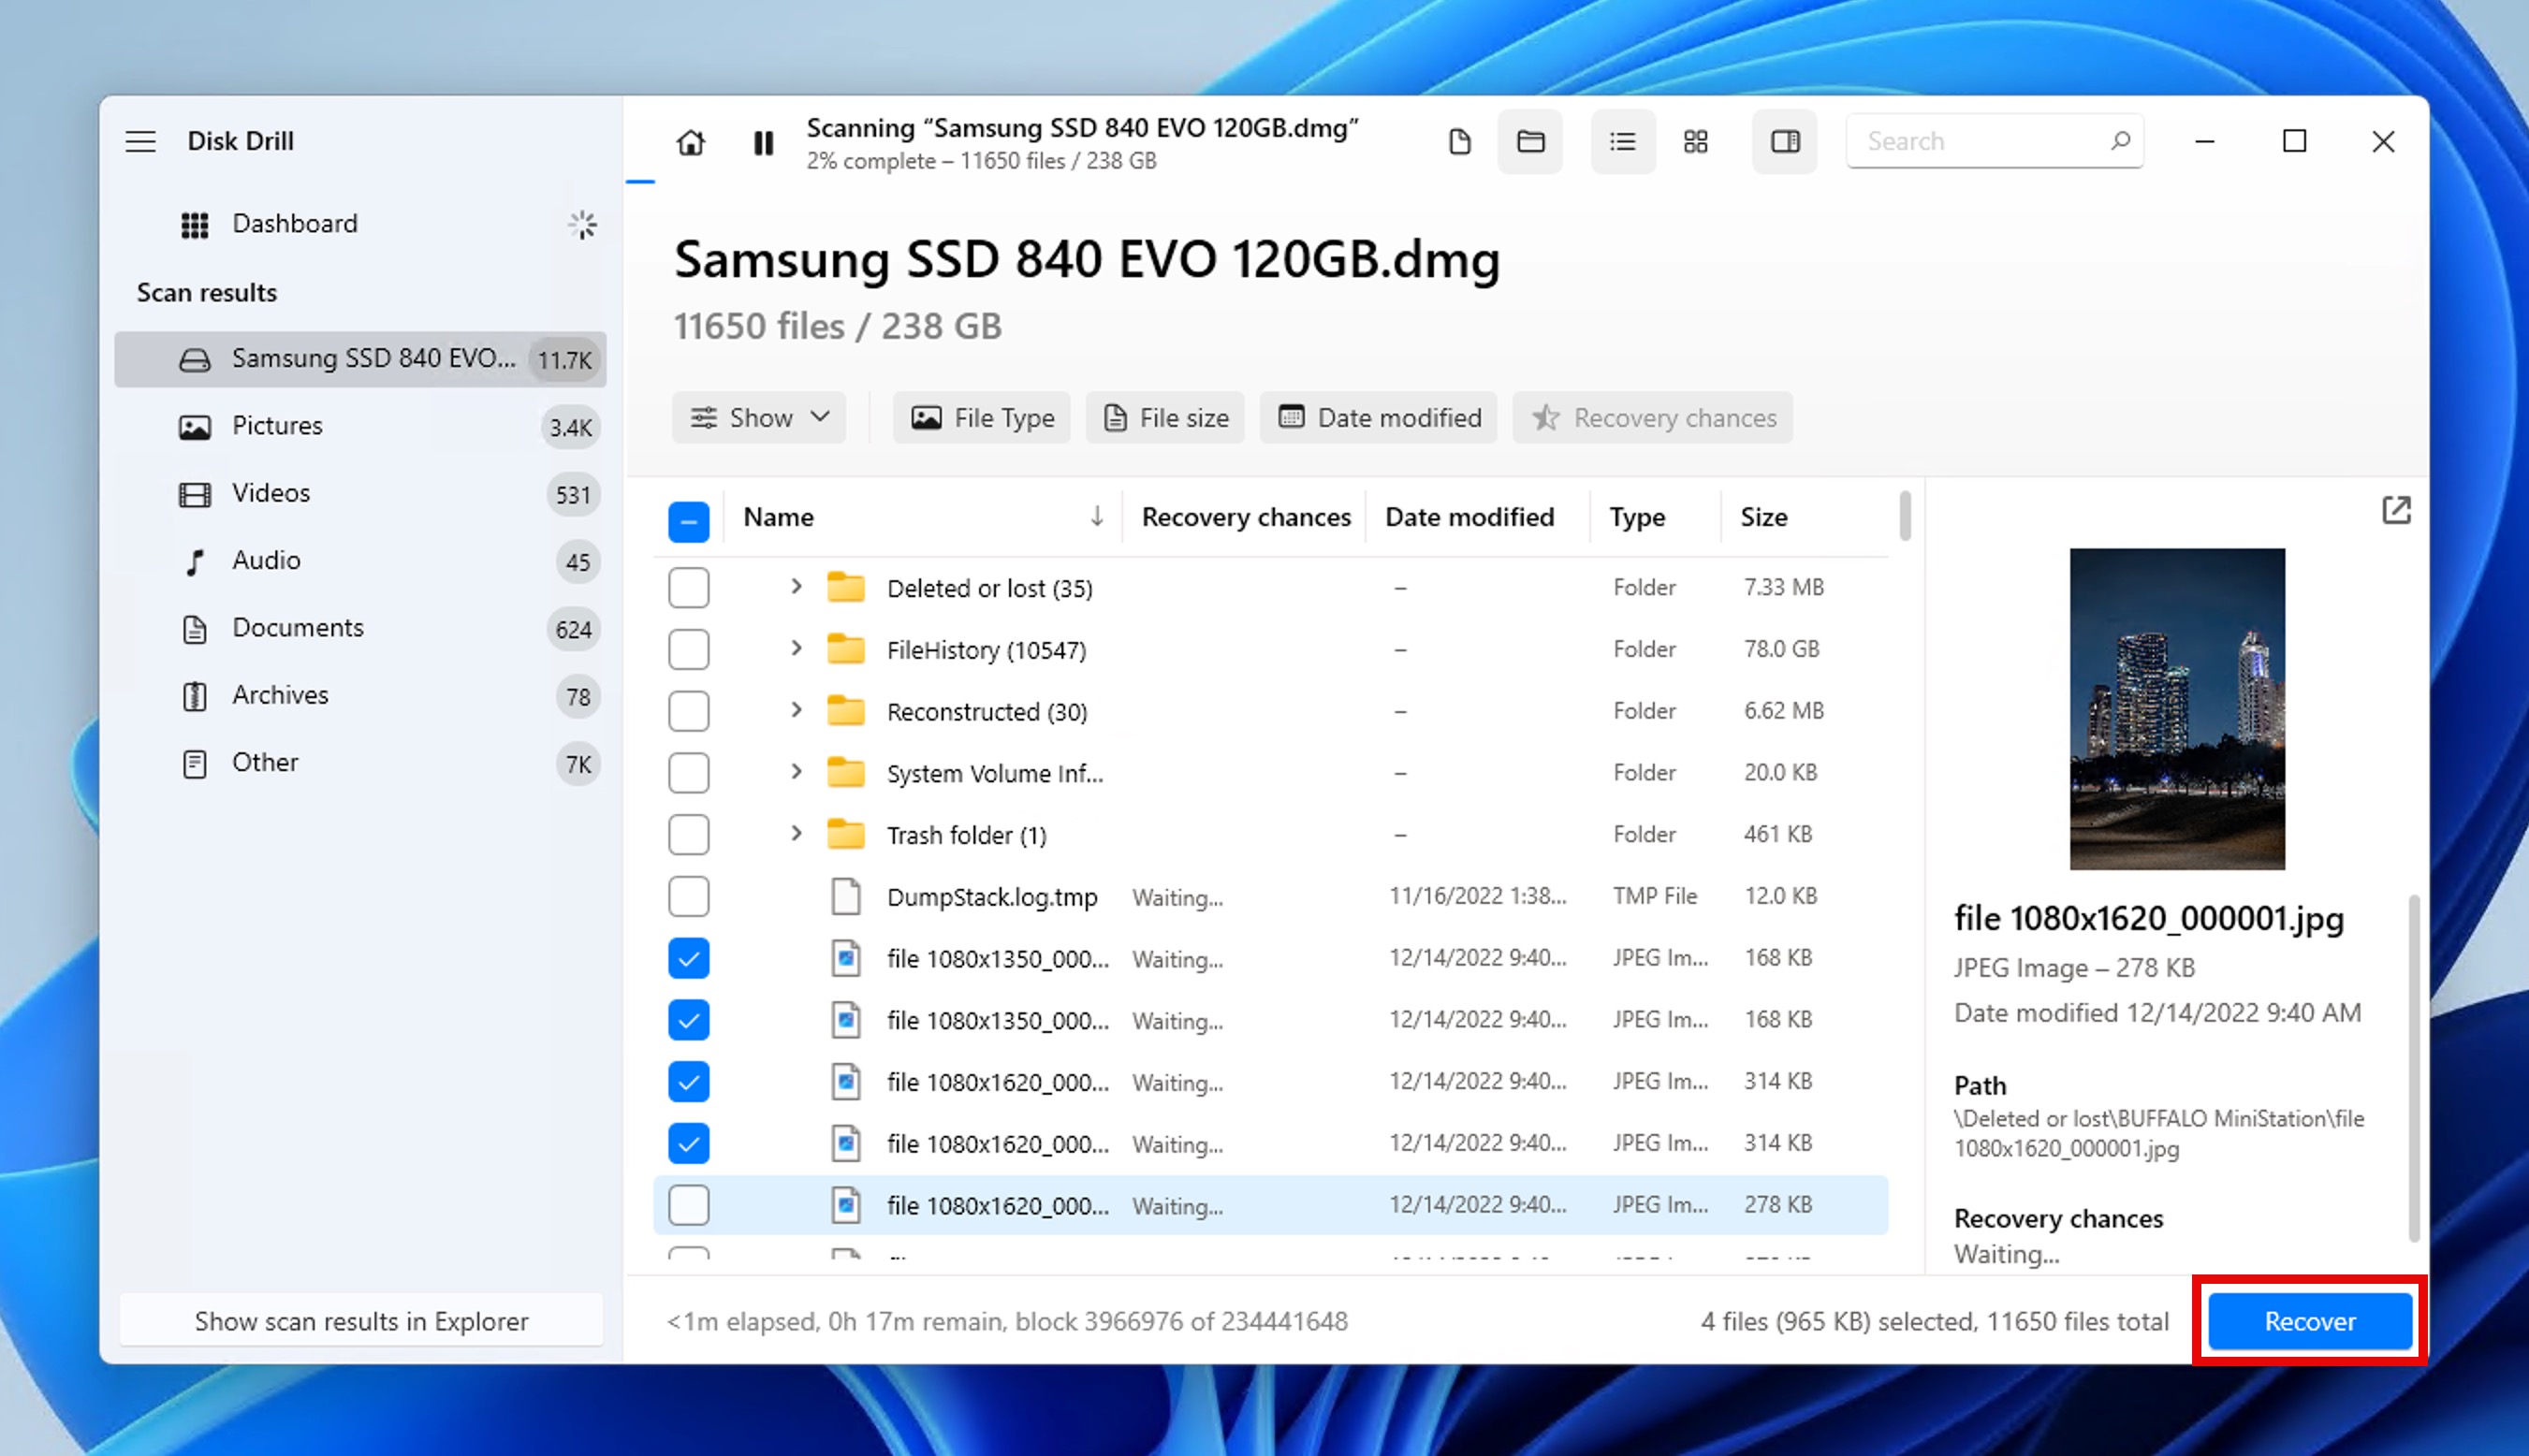
- Choose a recovery location and click Next.
By going through the steps above, you’ll still have a chance to recover your data even if your drive fails completely, and that’s well worth the time and effort required.
Conclusion
The “X: is not accessible. Incorrect function” error has several common solutions, all of which I’ve described in this article. If you go through them one by one, then the likelihood of you being able to access your drive again is high. Just remember that if you suspect your drive is failing, you should always create a backup using Disk Drill or similar software before attempting any fixes.
FAQ
Can the 'drive is not accessible incorrect function' error lead to data loss?
While the error itself doesn’t cause data loss, it can be a sign of a failing drive. I recommend you check your drive’s health using the S.M.A.R.T. monitoring feature of Disk Drill or any other tools capable of doing so, for example, CrystalDiskInfo.
Can I use the methods described in this article for both internal and external drives?
Yes, most of these methods work for both internal and external drives, though some steps may differ slightly for internal drives.
Will updating my drivers fix the 'X: is not accessible. Incorrect function' error?
Updating drivers rarely solves this specific error. It’s more effective to focus on hardware connections, drive health, and system file integrity.
How often should I run S.M.A.R.T. tests on my drives?
It’s a good practice to run S.M.A.R.T. tests monthly, or immediately if you notice any unusual behavior from your drive.
This article was written by David Morelo, a Staff Writer at Handy Recovery Advisor. It was also verified for technical accuracy by Andrey Vasilyev, our editorial advisor.
Curious about our content creation process? Take a look at our Editor Guidelines.
