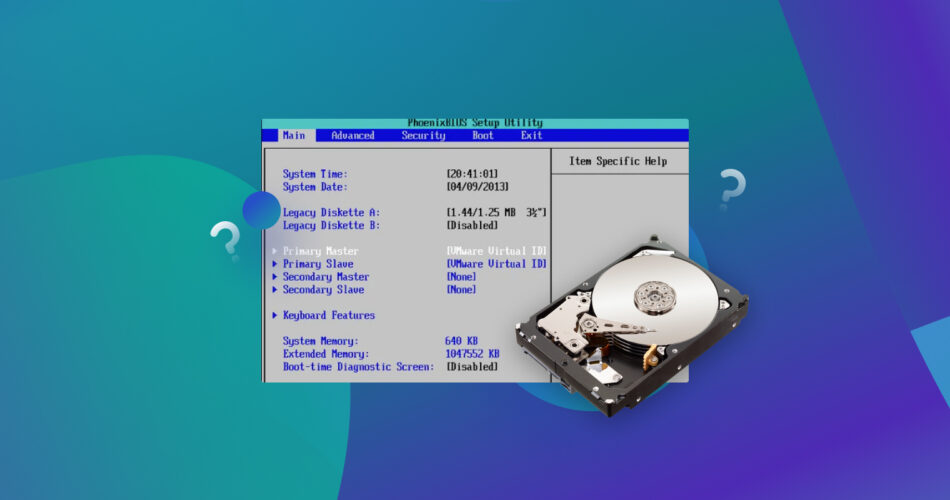
Are you having issues with your disk not showing up in the BIOS? If so, you’re not alone. The main problem with fixing a hard drive that’s not showing up in BIOS is that many solutions traditionally recommended for fixing storage devices simply don’t work. For example, you can’t update your drivers, run the CHKDSK tool, let alone initialize the drive when you’re stuck at the BIOS level.
What you need is a slightly different approach, one that addresses the core issue in a systematic manner instead of randomly throwing solutions at the wall and hoping something sticks. I’ve personally encountered this problem and tested various solutions, confirming that the methods described below can truly help resolve this issue.
Systematic Approach to Fix BIOS Drive Detection Issues
The key to fixing issues with your hard drive not detected in BIOS lies in ruling out different potential causes one by one, starting with the most common and easiest to check. I’ve arranged these solutions in order of complexity, from simplest to most involved. With some luck, your drive will be visible again in no time. Let’s get to it!
Fix 1: Check the Connection (Internal and External Drives)
Core issue: One of the most common reasons for a hard drive not showing up in BIOS is a faulty connection. This could be due to loose cables, damaged connectors, or even a malfunctioning port on your motherboard/computer or the drive itself.
First, power down your computer and disconnect the power cable. If you’re troubleshooting an internal drive, then you need to open your computer’s case and locate it. Check that the data cable connecting your hard drive to the motherboard/computer is firmly attached at both ends. Keep in mind that internal hard drives need two cables: one supplies power and the other one is used for transferring data. Some external hard drives also require additional power through a separate cable.

If the drive is connected as it should be but still isn’t detected, then it’s time to examine the cables and ports for signs of damage. Look for any kinks or cuts in the cables, bent or broken pins in the ports, and anything else out of the ordinary.
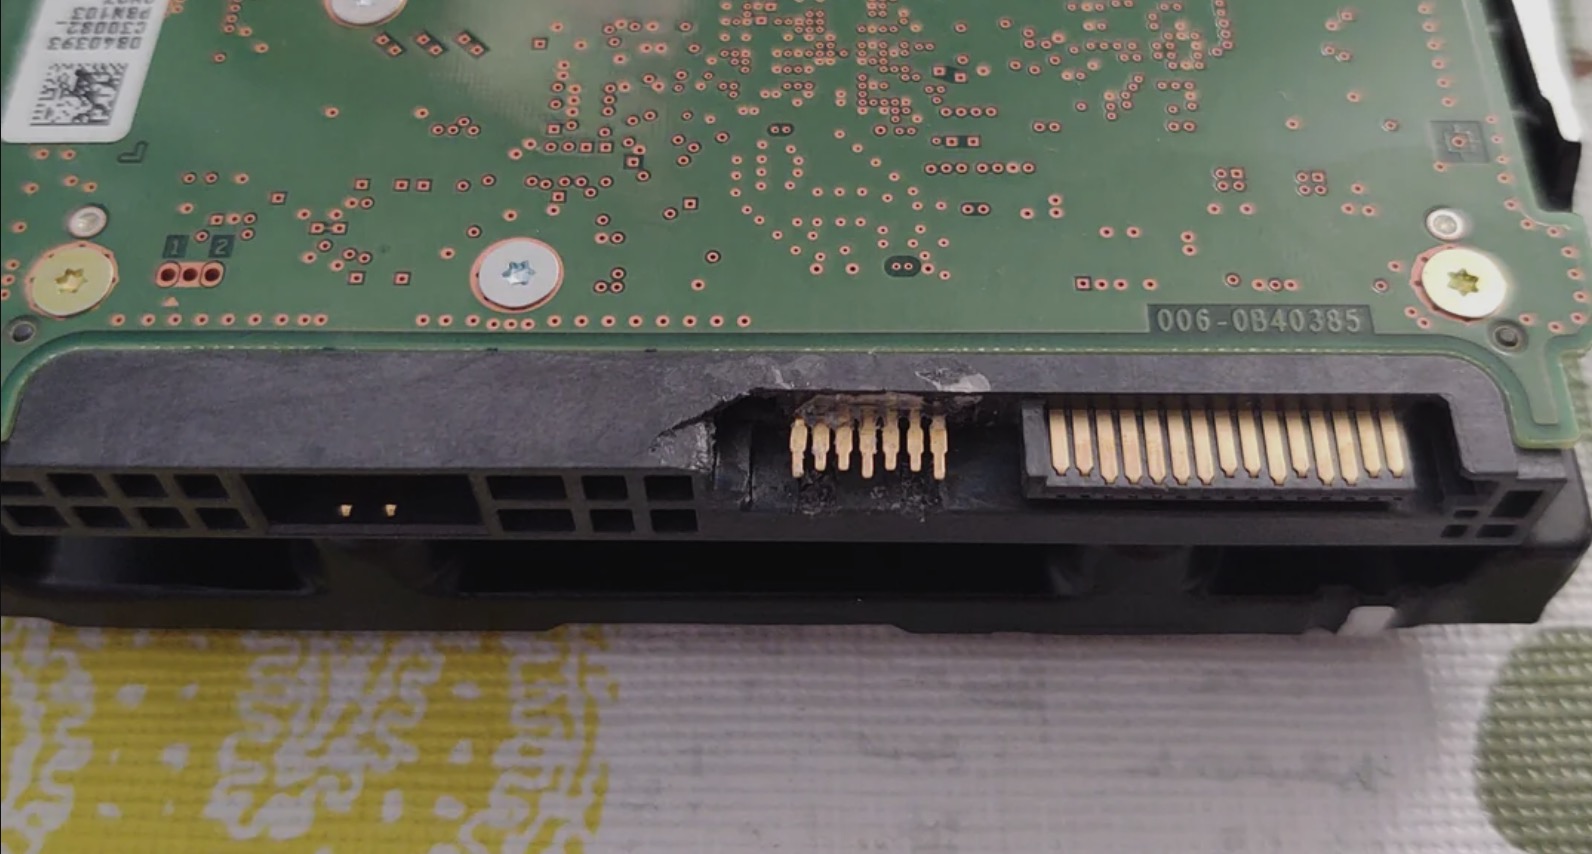
Even if you don’t notice any physical damage that’s clearly the cause of your HDD not detected in BIOS, I still recommend you replace the cables and try different ports on your motherboard/computer just to rule out internal damage before you move on to the next fix.
Fix 2: Test the Drive in Another Computer (Internal and External Drives)
Core issue: You can spend hours and days troubleshooting a hard drive that’s not recognized in BIOS, but it won’t help you if the computer itself is the cause of your problems.
Sometimes, the simplest solution is the most effective. After checking the connection and before doing anything else, I always grab the problematic hard drive and take it for a short test drive in another computer.

Very often, the drive is recognized without any issues in BIOS, which clearly tells me that the problem lies with the original system, not the drive itself.
Sadly, just because the drive becomes accessible when connected to another computer doesn’t guarantee that all data stored on it will be as well. I’ve encountered issues with corruption, files and entire folders not being visible on the drive, and more. In such cases, I scan the drive with data recovery software like Disk Drill (see the last section of this article for detailed instructions) to recover as much data as possible).
Fix 3: Make Sure the Port Is Enabled (Internal Drives)
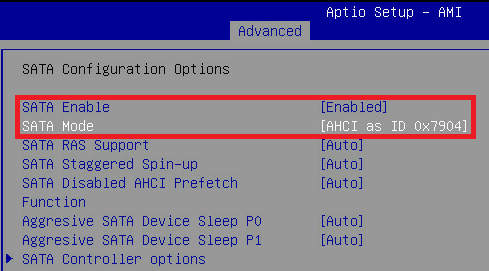
Core issue: Sometimes, a hard drive not showing up in BIOS isn’t due to a physical problem, but a settings issue. Just because you see multiple SATA ports on your motherboard doesn’t mean they’re all active and ready to go.
Does the hard drive that’s not detected in BIOS use the SATA port? If so, you need to fire up your BIOS settings and find what the current status of the SATA controller is.
Here’s a general guide on how to do this (the steps vary depending on your motherboard manufacturer):
- Restart your computer and enter the BIOS (usually by pressing F2, Del, or F10 during startup).
- Look for a section called “Storage,” “SATA Configuration,” or something similar.
- Locate the SATA controller setting and check if it’s set to “Enabled.”
Source: Asus
If the SATA controller isn’t currently enabled, then you need to change that and restart your computer for the new setting to take effect.
However, there’s another reason why an internal SATA drive might be refusing to show up in BIOS: the presence of an M.2 SSD. You see, many chipsets provide only a limited of data transfer lanes to support multiple SATA drives in addition to a fast M.2 SSD. As a result, an M.2 SSD in one slot will sometimes disable the last two SATA ports. This exact scenario happened to a user on Tom’s Hardware forums.
So, if you have an M.2 SSD installed and your hard drive isn’t recognized in BIOS, try connecting it to a different SATA port, such as the first or second one.
Fix 4: Provide More Sufficient to the Drive (Internal and External Drives)
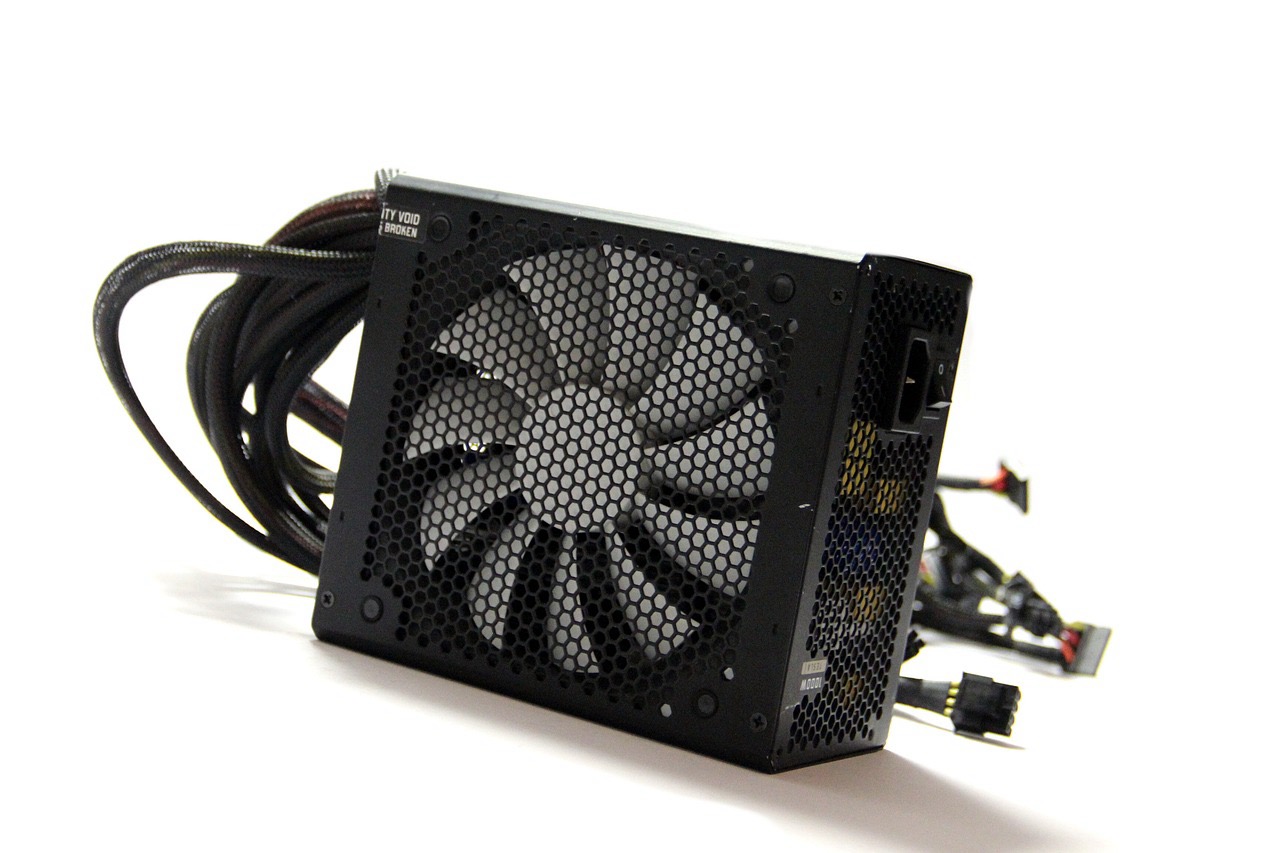
Core issue: There’s a chance that your hard drive doesn’t show up in BIOS because not enough power is provided to it due to a power supply issue or the inability of your computer to provide enough power on its own.
Drive Type |
Power Draw |
3.5″ Internal HDD |
10-15W |
2.5″ Internal HDD |
2-5W |
2.5″ Internal SSD |
1-3W |
M.2 SSD |
2-4W |
2.5″ External HDD (USB-powered) |
2.5-4.5W |
3.5″ External HDD (with AC adapter) |
12-30W |
External SSD (USB-powered) |
1-3W |
As the table above shows, different types of hard drives have different power requirements. I’ve personally encountered issues where I replaced an internal SSD with a larger internal HDD, but the new HDD refused to spin at all. It turned out that my aging PSU was unable to supply enough watts on the specific rail. You can also experience a similar problem with an external HDD because not all USB ports are created equal.
To provide enough power to your hard drive, you need to:
Internal Drives
- Disconnect all other drives and devices from the rail to free up more power for your drive. Alternatively, you can drive a different power connector from your PSU.
- Consider upgrading your PSU if it’s old or underpowered for your system’s needs. A new, more powerful PSU can often resolve hard drive detection issues.
External Drives
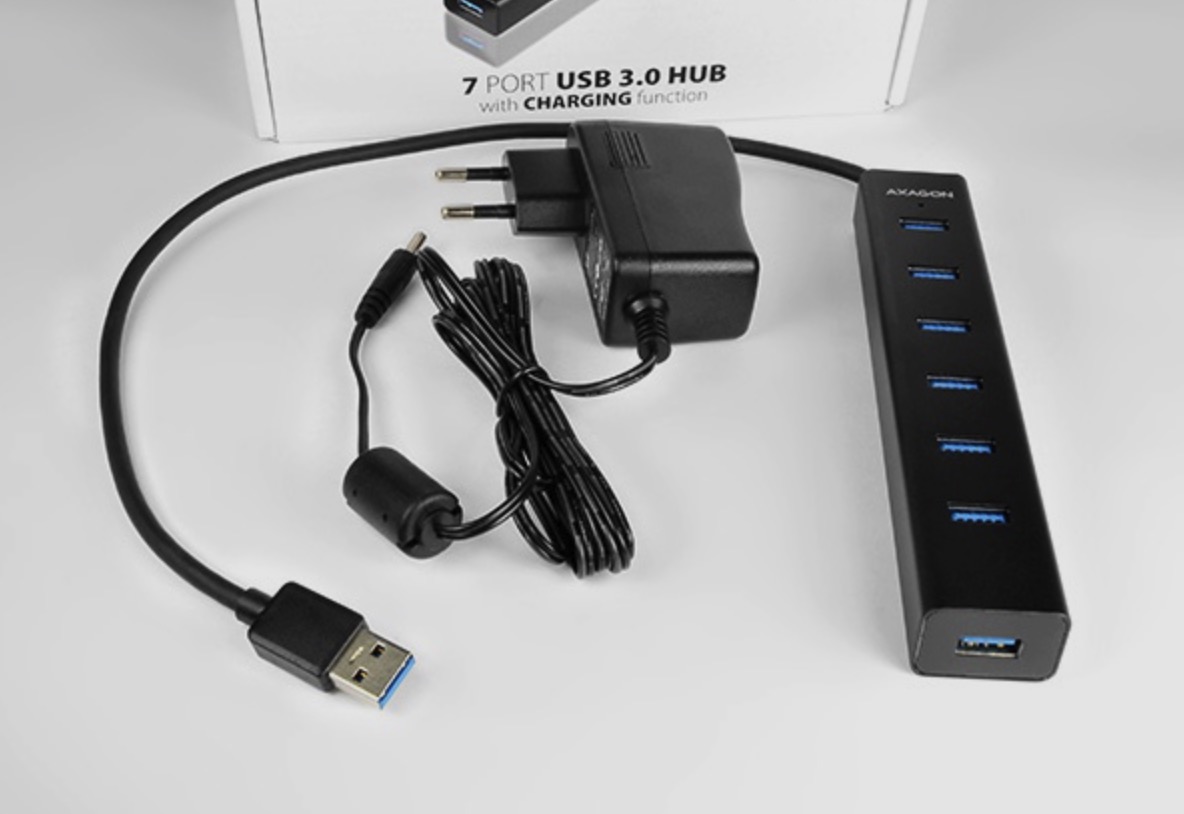
- Connect the drive to a USB power that’s designed for charging. Regular USB ports can supply only up to 500mA (2.5W at 5V), and that’s not enough for spinning HDDs and even some SSDs. Alternatively, you can connect the drive to a powered USB hub.
- Make sure any power cable that came with the drive is connected. This is especially relevant for external 3.5″ drives, which always require a dedicated power supply to work.
Fix 5: Update Your BIOS to the Latest Version (Internal Drives)
Core issue: An outdated BIOS might lack support for newer hard drives or have bugs that prevent proper detection.
BIOS is basically a very important piece of software whose purpose is to perform hardware initialization during the booting process. This software resides directly on the motherboard, and it sometimes receives updates from motherboard manufactures like ASUS, ASRock, MSi, GIGABYTE, and others.
BIOS updates do two things:
- Fix bugs: For example, there was an annoying BIOS bug in HP computers a decade ago that caused HDDs to be not recognized in BIOS unless they were very slow to spin up or the POST delay option was set to 5 seconds. It took some time, but the bug was eventually fixed with a BIOS update.
- Add new features: Many older motherboards don’t support the latest NVMe SSDs unless the latest version of BIOS is installed. In some cases, even that’s not enough, and only custom third-party BIOS can save the day, such with an AMI UEFI BIOS (proceed only if you know what you’re doing or are confident in your ability to follow technical directions).
Since BIOS upgrades can easily render your entire motherboard useless if something goes wrong, I strongly recommend you follow only the official guide provided by your motherboard manufacturer.
Here’s a general overview of the process:
- Identify your motherboard model and current BIOS version.
- Visit the manufacturer’s website and download the latest BIOS version for your specific model.
- Read the update instructions carefully. Some manufacturers provide a Windows-based update tool, while others require you to create a bootable USB drive.
- Back up any important data before proceeding.
- Follow the manufacturer’s instructions to update your BIOS.
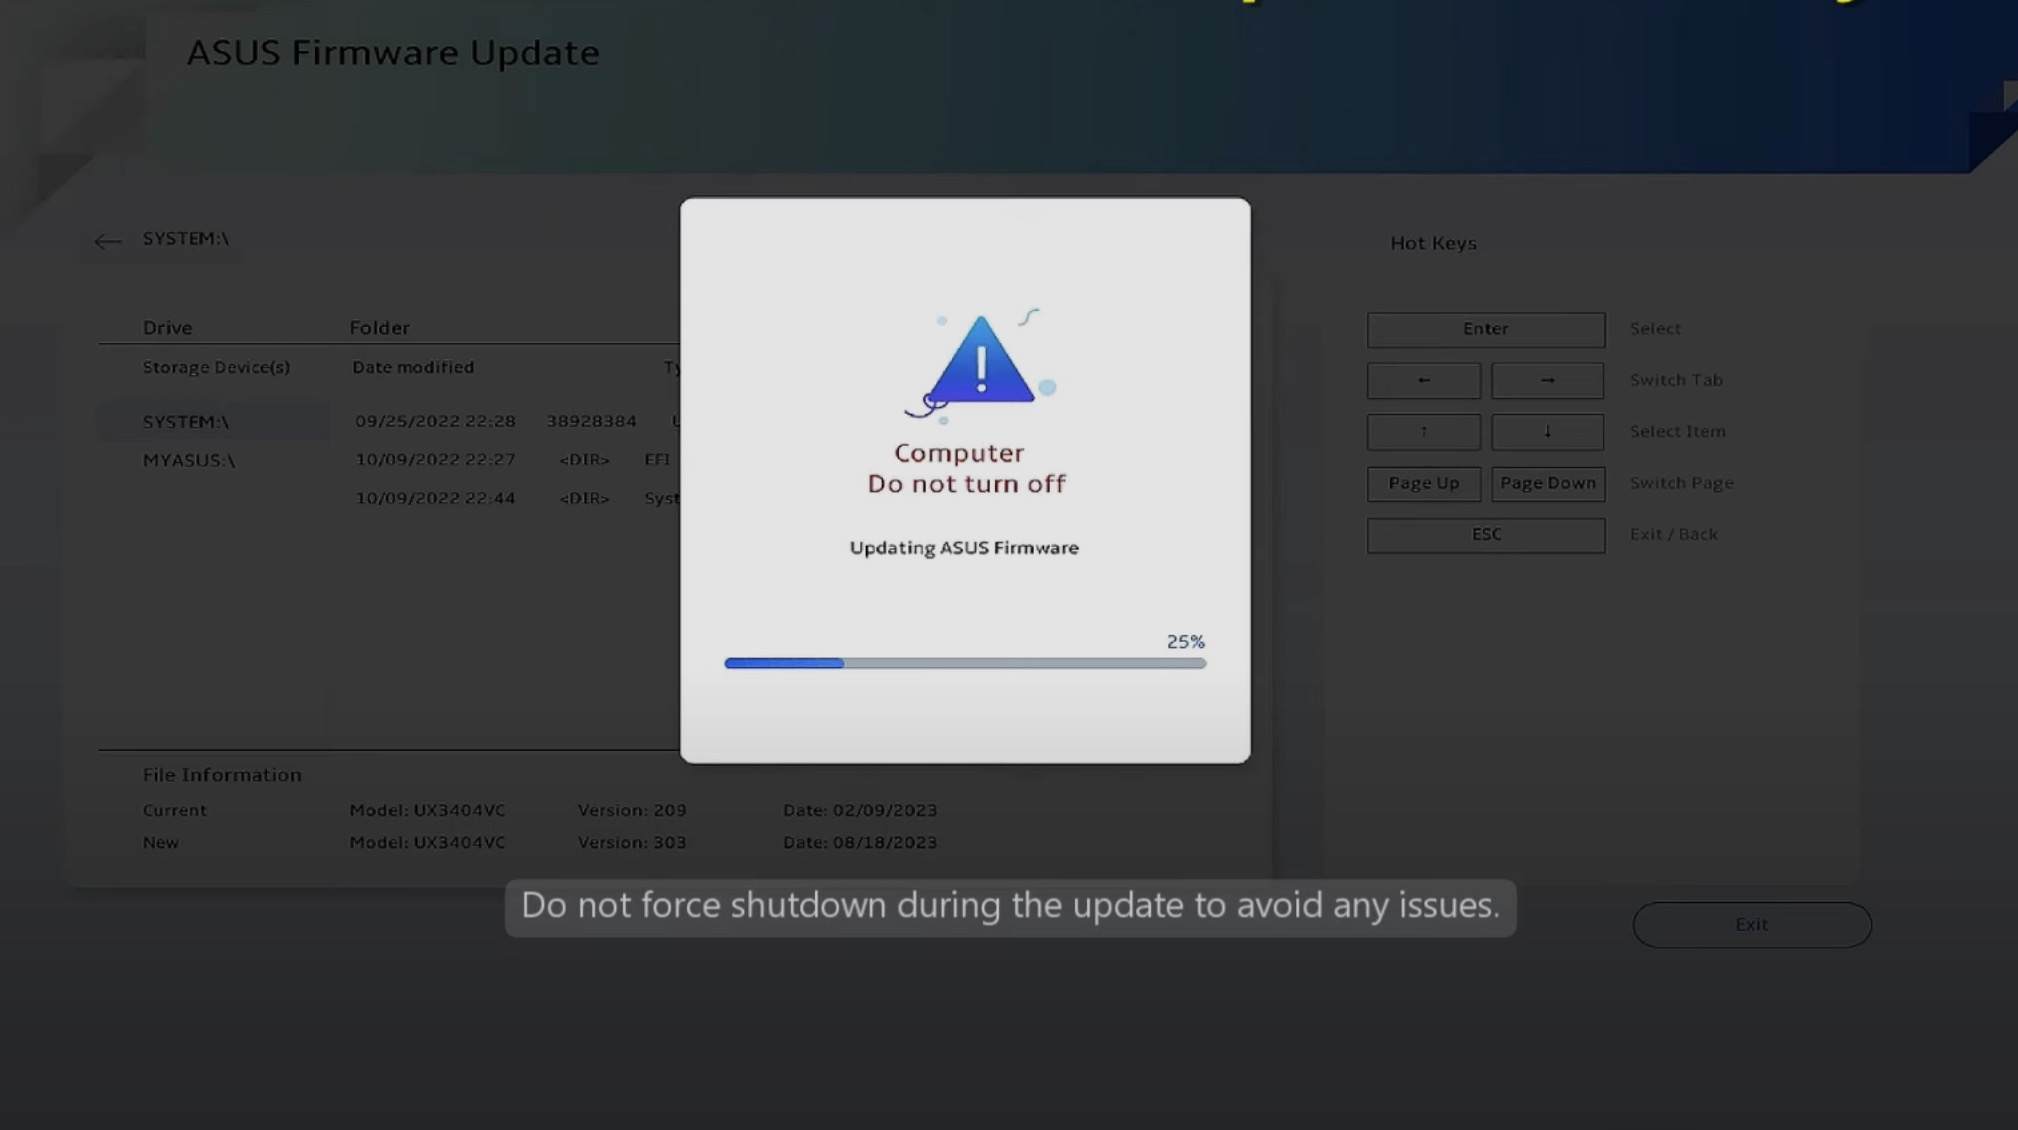
Once updated to the latest version, you can then check if your hard drive is detected.
How to Recover Lost Data After Fixing the HDD Not Recognized in BIOS Issue
Even after you’ve successfully fixed the issue of your hard drive not showing up in BIOS, you might find that some of your data is missing or inaccessible. As anticlimactic as this can be, you’re usually just a few extra steps away from the desired outcome.
Depending on why your hard disk wasn’t showing up in BIOS, some data that was stored on it might have become corrupted or deleted. However, in many cases, this data isn’t actually gone—it’s still stored on the disk, but you can’t see it because the logical references leading to it have been severed. Using data recovery software, you can find the missing data even without the logical references.
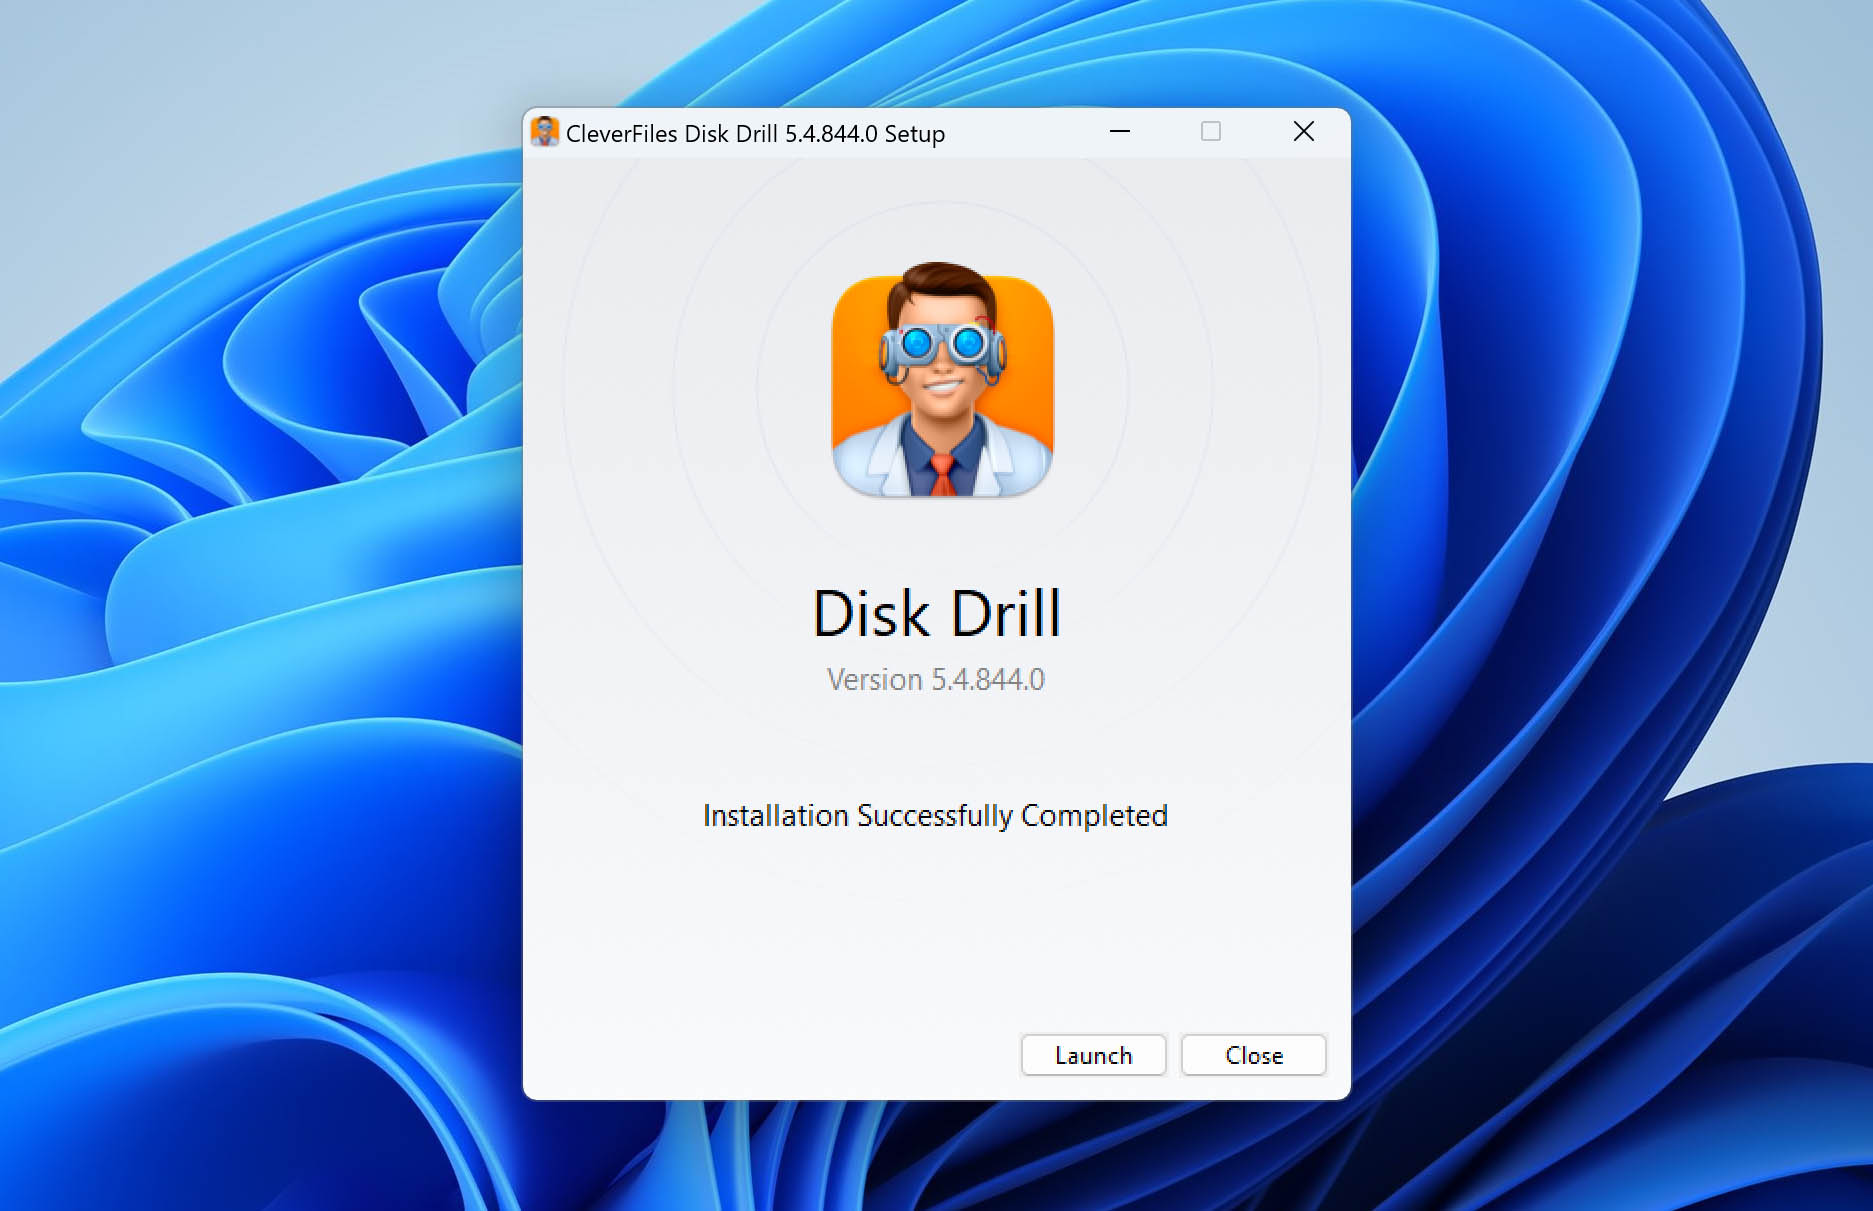
My data recovery software of choice is Disk Drill thanks to its category-leading performance and excellent usability. Here are some other reasons to choose it:
- Support for many file systems, including NTFS, FAT, FAT32, and exFAT.
- The ability to recognize and recover more than 400 file formats based on their signatures.
- Can recover up to 500 MB of data for free.
- Plenty of ways to filter, sort, and preview recovery results.
- Advantaged management of scan sessions.
Here’s a step-by-step guide to recover your lost data with Disk Drill:
- Visit the official Disk Drill website and download the software. You then need to install it on a different storage device than the one you want to recover to avoid overwriting of the missing data.
- Select the now-recognized internal or external hard drive and click the Search for lost data button to begin the scanning process.

- Once the scan is complete, you can preview the files Disk Drill has found. Choose the files you want to recover.
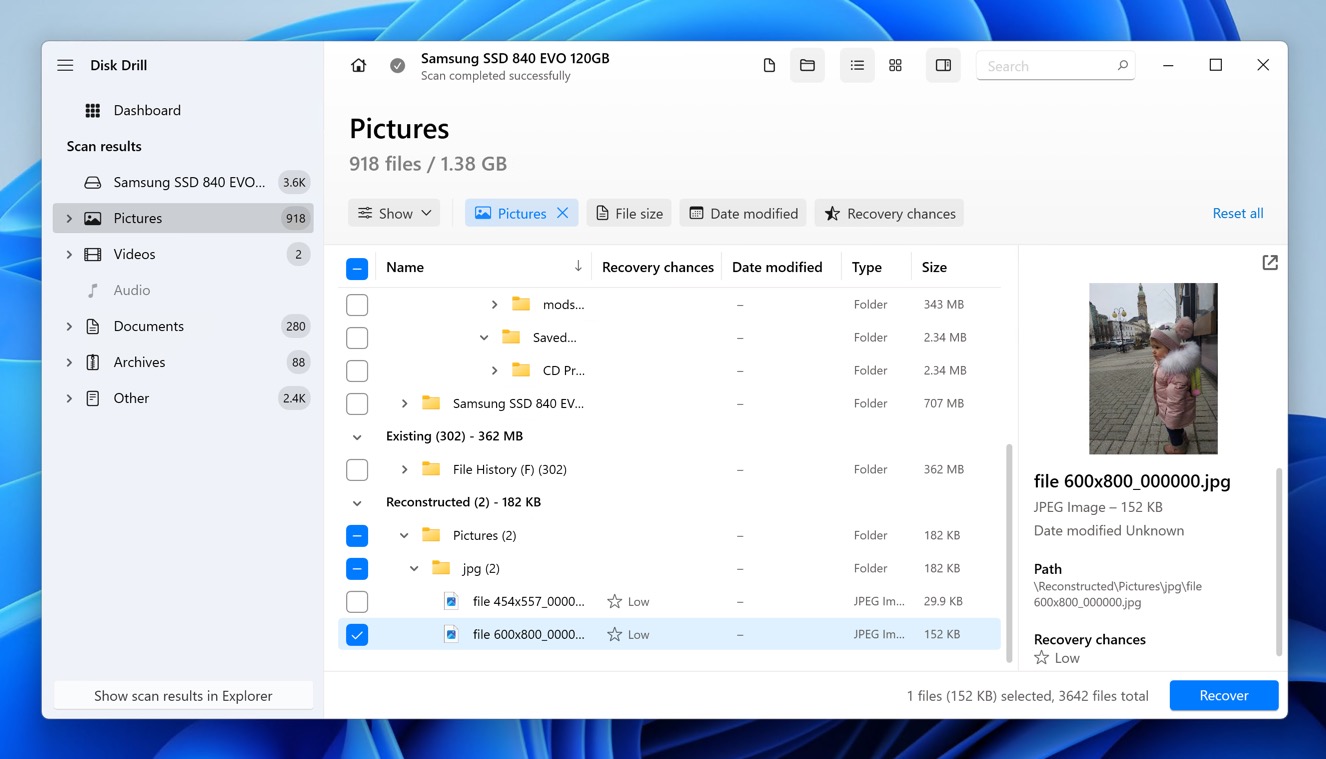
- Select a destination to save the missing files. Remember, don’t save recovered files to the same drive you’re recovering from!
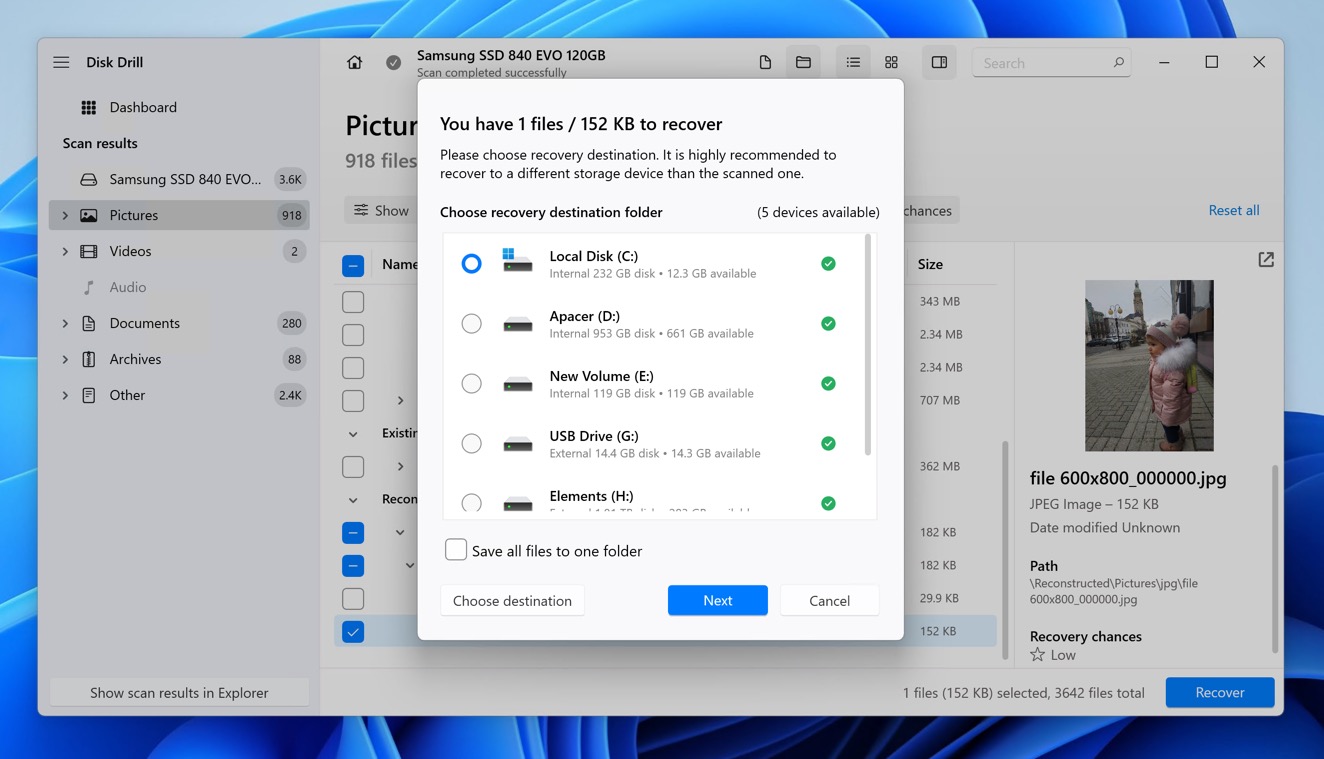
- After the process is complete, check the recovered files to ensure they’re intact and accessible.
For the best results, you should start the recover process as soon as possible. If you’re still not sure that Disk Drill is the right choice, then you need to stop all activity on your decide to prevent overwriting (which would make data recovery impossible). Then you can read our detailed Disk Drill review and inform yourself about its safety.
Final Thoughts
It’s always disheartening when a hard drive disappears from BIOS, and it’s not immediately clear why. Fortunately, the cause—and the appropriate solution—can often be pinpointed quickly, especially if you follow my systematic approach.
To avoid having to Google “how to fix HDD not detected in BIOS” in the future, I strongly recommend you consider setting up a RAID array or at least regularly backing up your data so that you always have a safety net—even if the worst happens.
FAQ
Can CHKDSK fix a hard drive that’s not showing up in BIOS?
No, it’s impossible to fix a hard drive that’s not showing up in BIOS using the CHKDSK tool because it needs a drive letter as an argument, and any drive that’s not recognized by BIOS won’t be recognized by Windows too.
What should I do if my external hard drive isn't detected?
If your external hard drive isn’t detected, then you should check if the connection is solid. If it is, then you can try a different port or even a different cable. If you still can’t see the drive in your operating system, then we recommend you connect it to a different computer to see if it helps.
Could an M.2 SSD affect SATA drive detection?
Yes, in some systems, an M.2 SSD can disable certain SATA ports. Try connecting your SATA drive to a different port, preferably the SATA port number 1 or 2.
When should I seek professional help for a hard disk not detected?
I recommend you seek professional help for a hard disk that’s not detected correctly only once you’ve tried all the basic troubleshooting steps, such as checking all connections, trying at least two different ports, and testing the disk in a different computer.
What are the BIOS settings related to hard disk detection?
BIOS settings related to hard disk detection typically include the SATA mode (AHCI, IDE, or RAID), boot order, and sometimes specific options to enable or disable certain SATA ports. Unfortunately, there are many different BIOS implementations, so the settings available in your BIOS might be completely different from those available in, for example, my BIOS.
How can I test if my hard disk is working correctly in the first place?
The biggest indication that your hard disk is working correctly (regardless of if you can access the data stored on it) is that your OS has detected it and displayed it in Disk Utility (macOS) or the Disk Management tool (Windows). If your drive doesn’t appear even in these utilities, then there’s a good chance that it’s not functioning well at a basic level. Unfortunately, further diagnosis is typically impossible without specialized equipment.
This article was written by David Morelo, a Staff Writer at Handy Recovery Advisor. It was also verified for technical accuracy by Andrey Vasilyev, our editorial advisor.
Curious about our content creation process? Take a look at our Editor Guidelines.